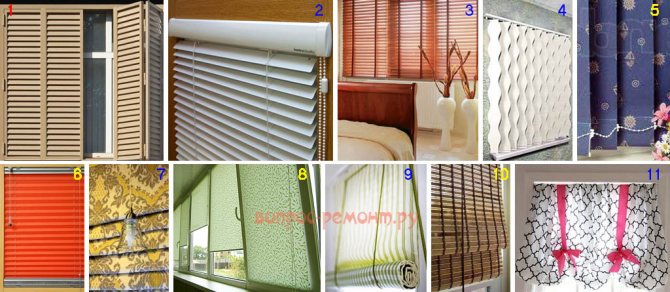
Blinds are an analogue of curtains, they are distinguished by an attractive appearance and certain functional qualities: they regulate natural light in a room, decorate window openings in rooms. Do not interfere with frequent ventilation, do not take up a lot of room space. Types of fabric textures make it possible to choose a harmonious option for the design of residential and non-residential premises.
Models by design type, fabric models are vertical, horizontal and roll. Designed for residential premises: houses, apartments, summer cottages. Not always a person buys a model of blinds in the market. Perhaps you are a creative person or a connoisseur of unique hand-made models, so we will tell you how to do it yourself at home.
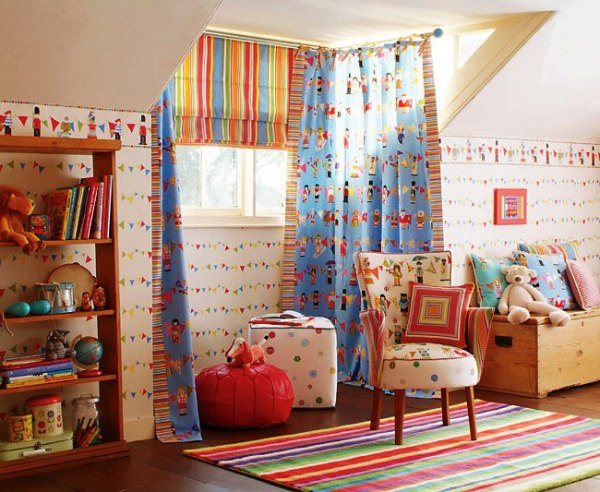
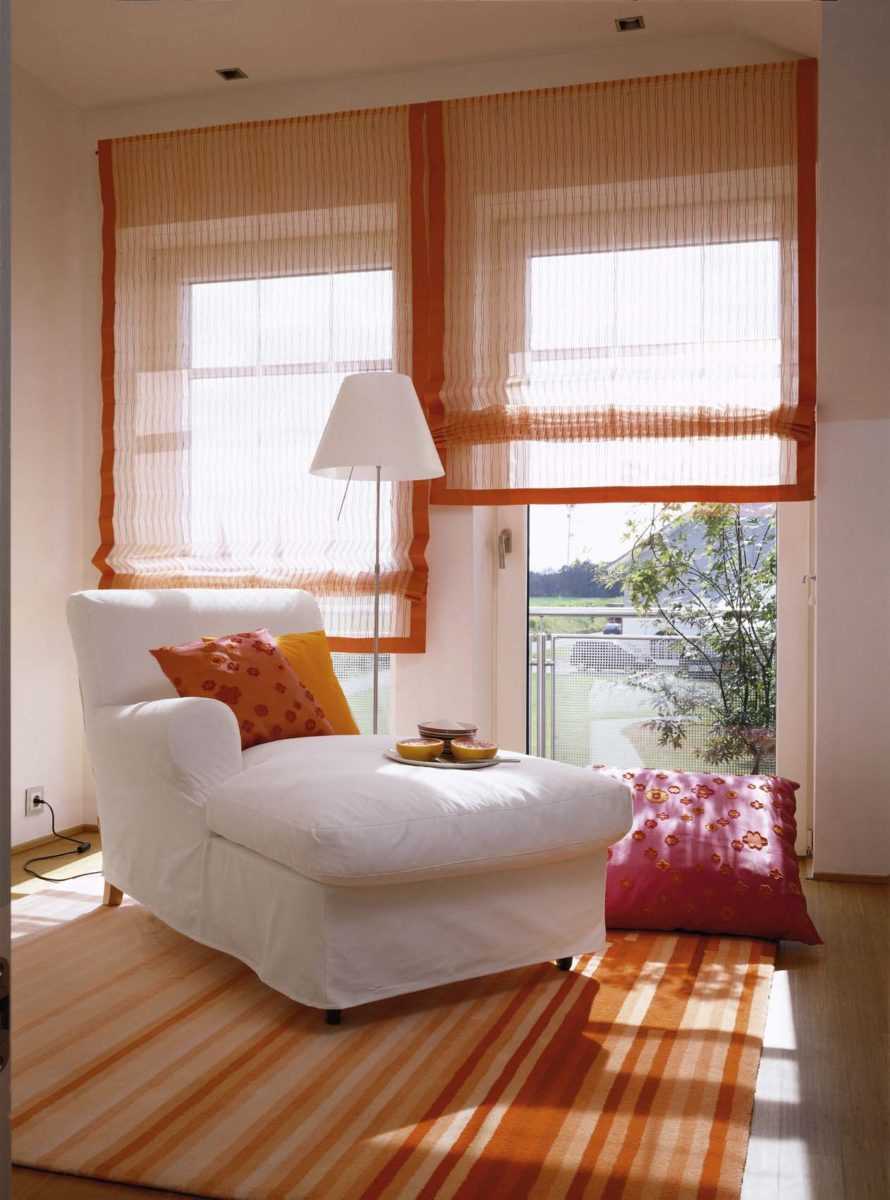
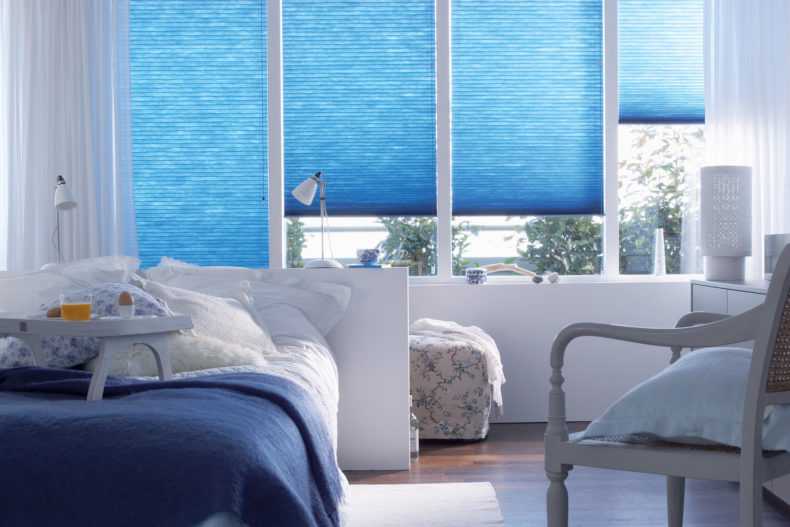
Fabric blinds for the nursery
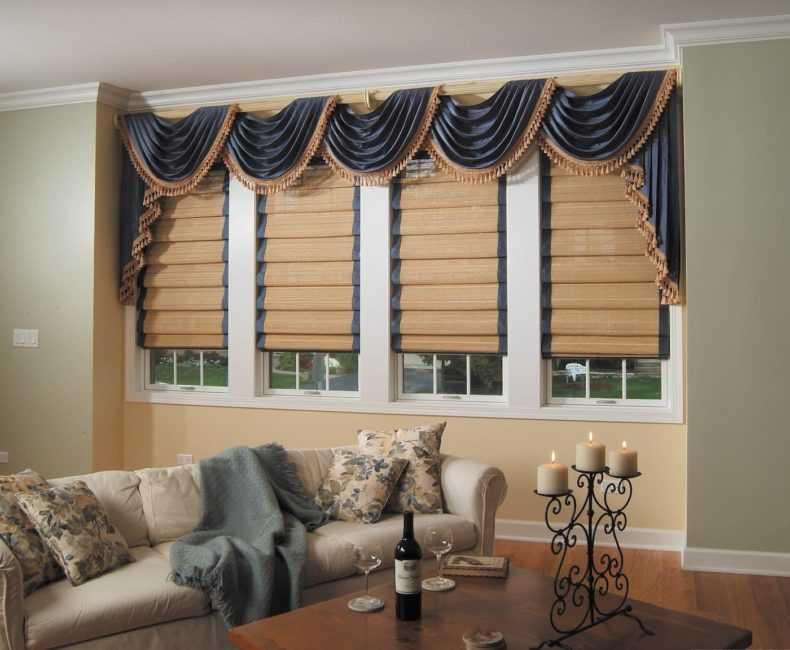
Beautiful blinds from the wallpaper
Make simple and at the same time original blinds on the windows with your own hands from wallpaper. For example, what was left of the renovation. A piece of wallpaper is cut to the width of the window or half of it. Since the wallpaper will gather in an accordion, immediately add 30-50 cm to the length. The accordion will "take" this length.


The width of the "accordion" strip should not be made too narrow, such blinds will look sloppy and wrinkled. Home craftsmen recommend strips from 3 to 6 centimeters wide - this will be more beautiful and neat.
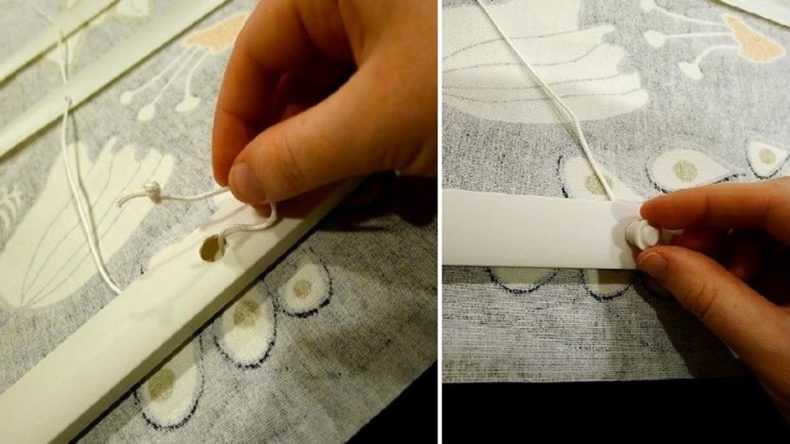
The wallpaper is marked, and when the roll is assembled into an accordion, a hole is made in the center. It is needed for the cord, with the help of which the wallpaper will be collected and unfolded.
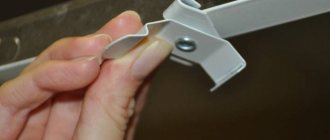
A knot is tied at the bottom of the lace. The lifting mechanism is not needed here. Three or four decorative clothespins are enough to attach the blinds to the curtain rod. But the ends along the edges are pulled higher and glued.
The bottom of the wallpaper will look like a fan. And the blinds have a rich, "palace" look. In the design of curtains, this decorative element is called "swag". There are many photo blinds made of paper on the Internet and it is easy to choose the design you like the most.
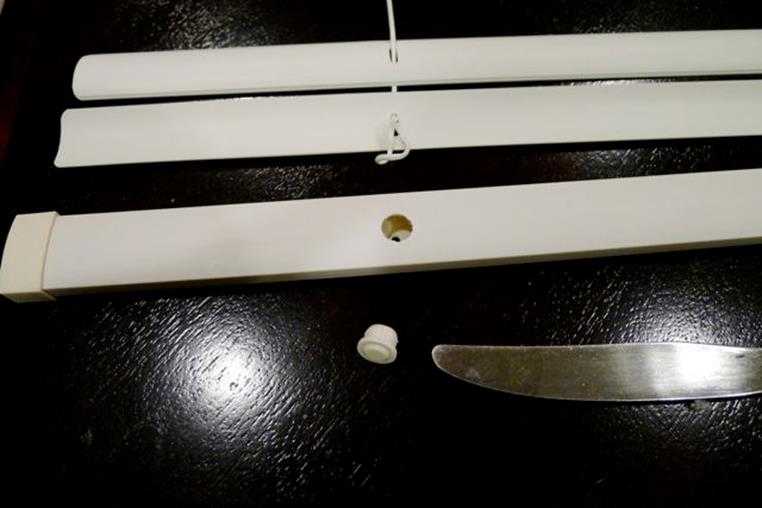
If the swag is not needed, it is done along the hole closer to the left and right edges. Two laces are passed through them. Since it is not difficult to "create" such wallpapers, beginner lovers of creative decor usually take on them, below are tips on what tools will be needed:
- Paper wallpaper. Others do not work, as they do not fold into an accordion
- Necessarily scissors, you can use a stationery knife, an elastic band, a longer ruler, an awl and a soft pencil (B-2B)
- You will need a decorative twisted rope half a centimeter thick and one and a half the height of the window
- Beautiful shiny ribbon
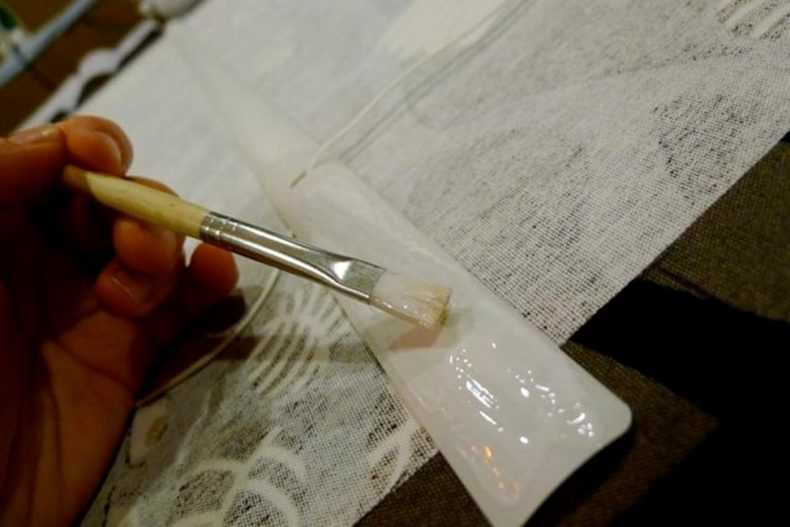
- Necessarily scotch tape or glue
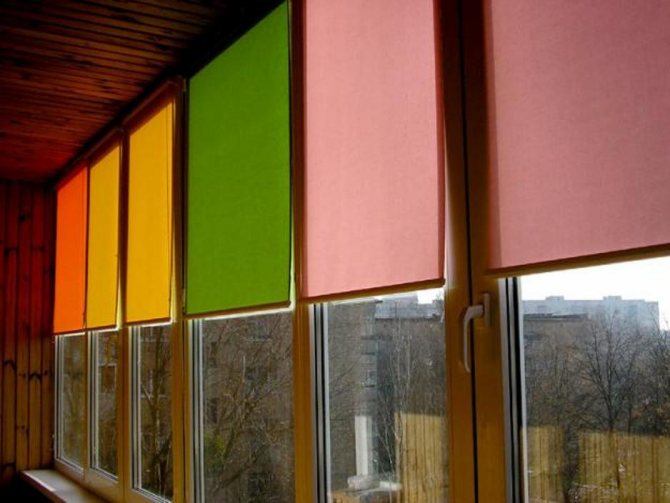
Usually, such sun protection is done for the summer, on the windows on the south side. As a rule, these curtains are disposable - they quickly fade and tear. It's okay: by next summer you can make new ones from other wallpapers.
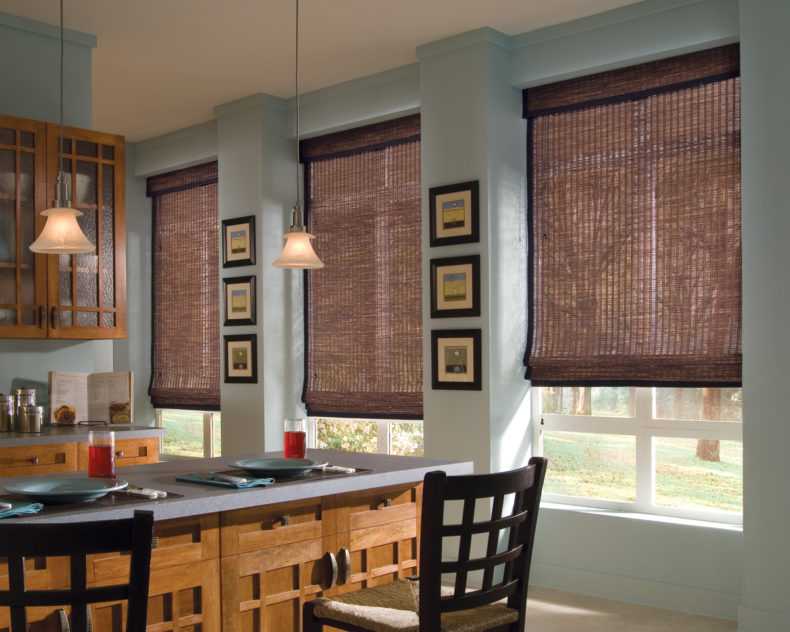
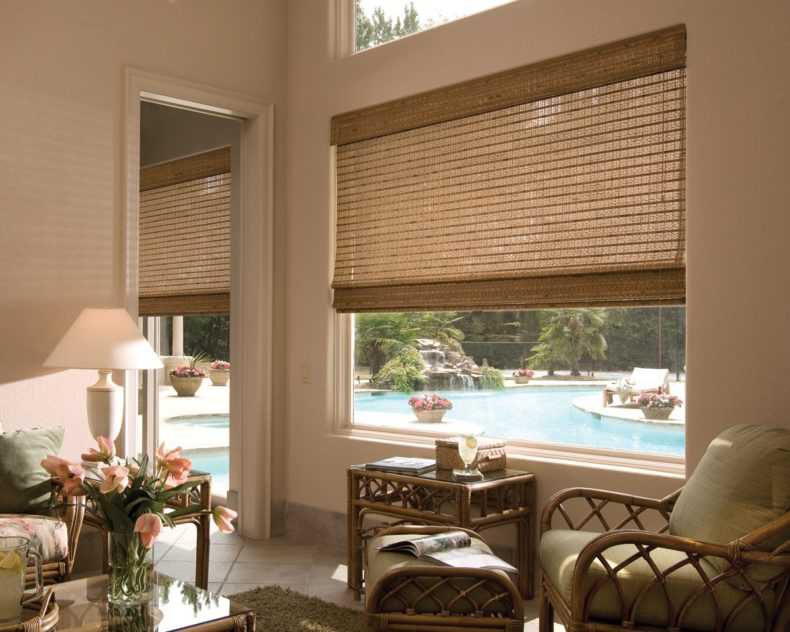
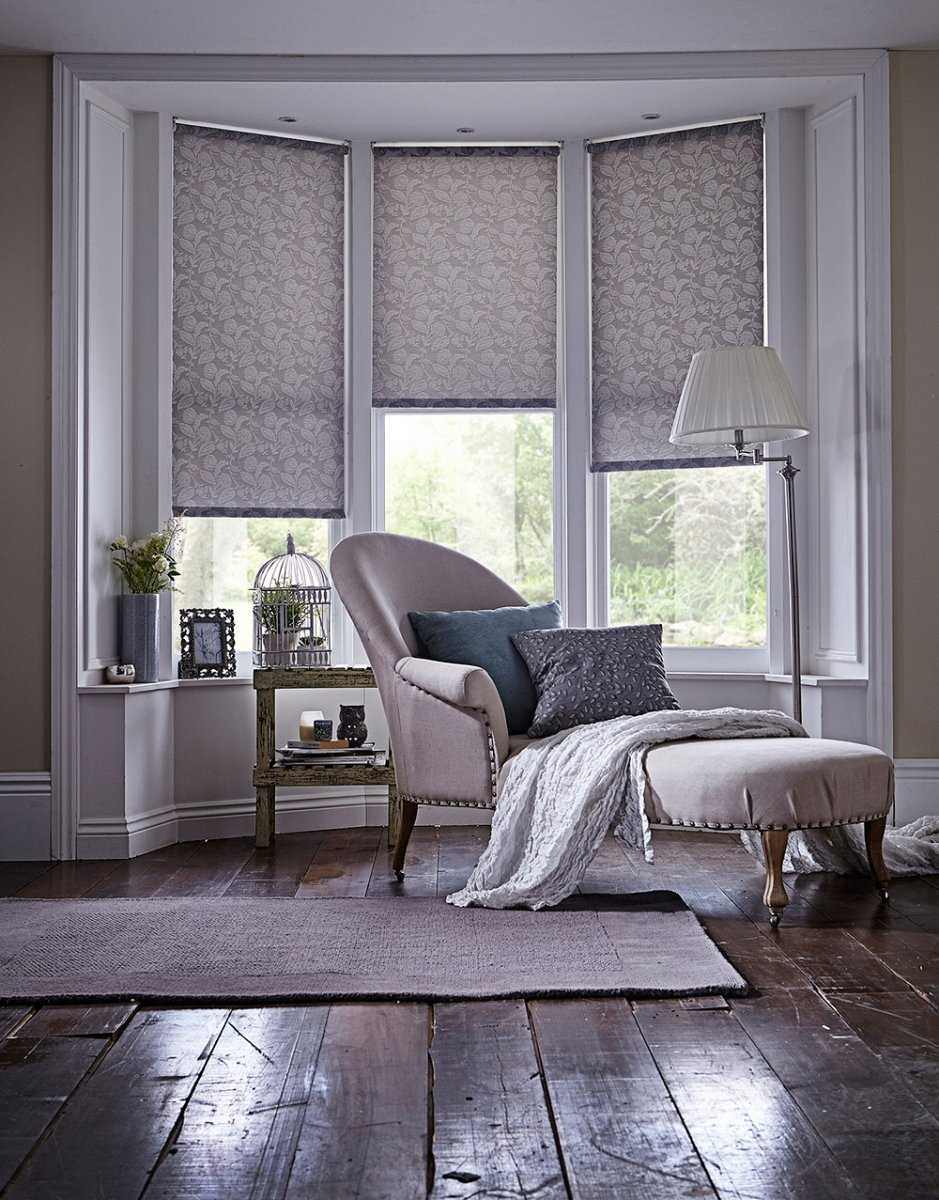
What types and materials are there blinds?
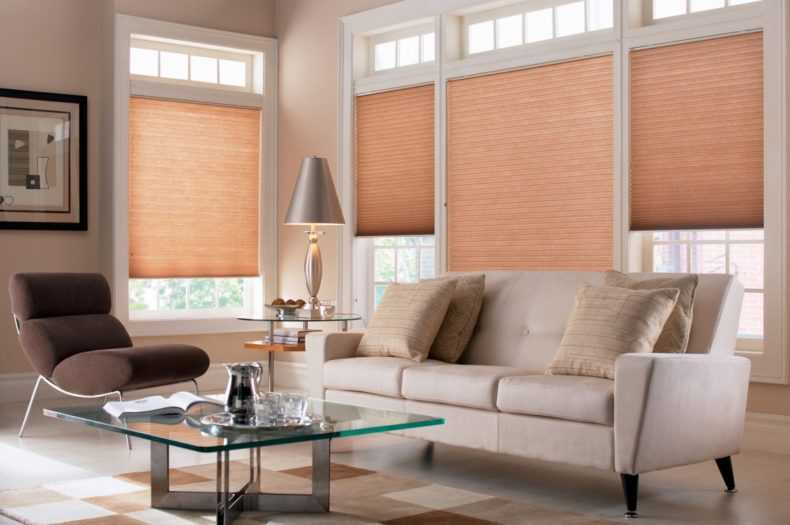
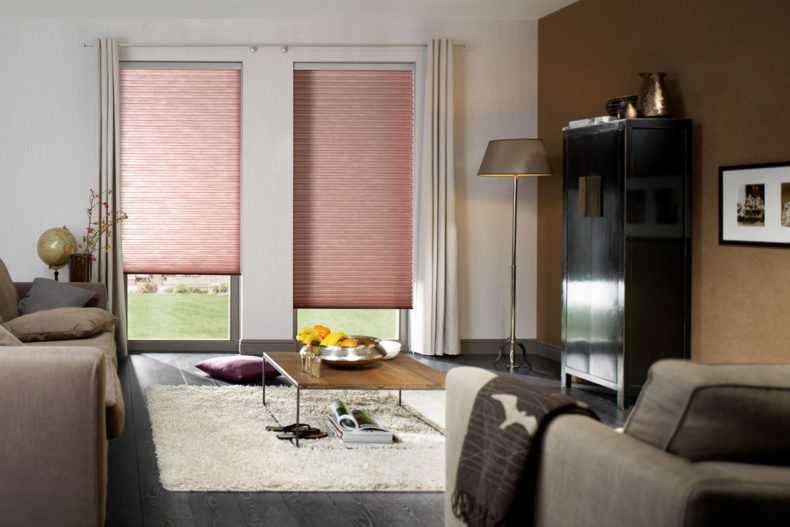
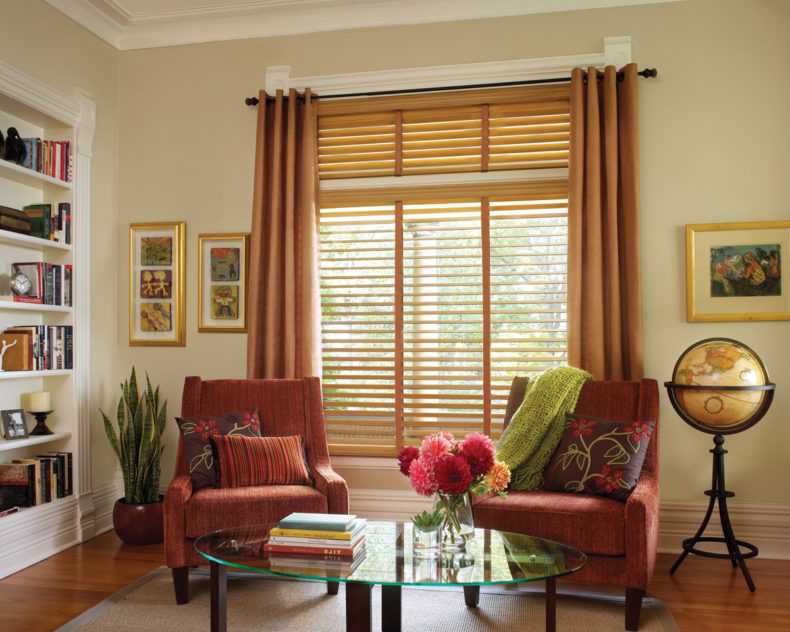
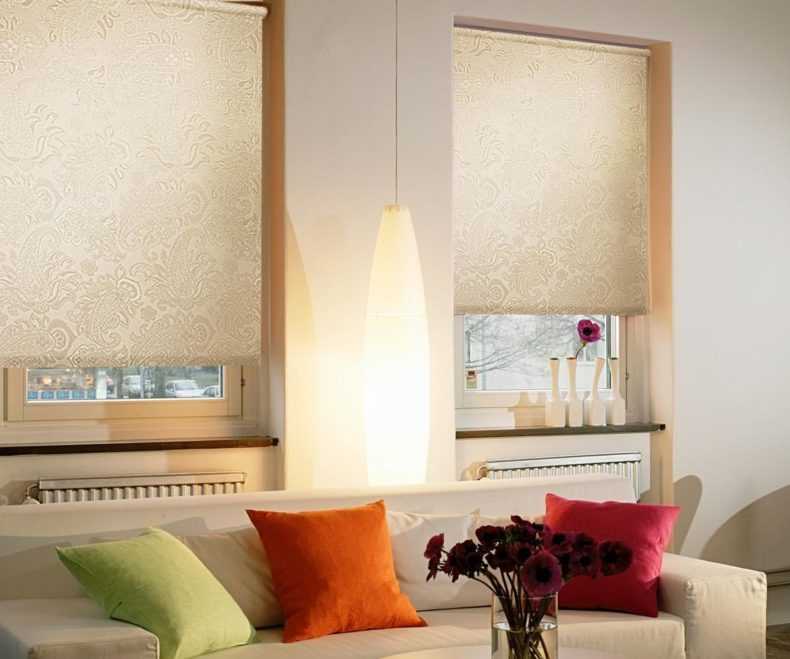
There are 3 types of blinds: horizontal or vertical, as well as roller blinds. In the manufacture, as a rule, are used: hard plastic or wood and soft fabric. Fabric or paper blinds are good for a living room or office space.
It is recommended to decorate windows in the kitchen and bathroom with wood or similar artificial materials, because the level of humidity in these rooms is high. But each owner has his own view of which blinds to use for a particular room.
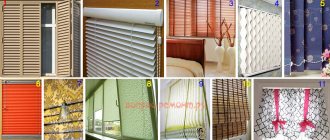
Blinds are of the following types:
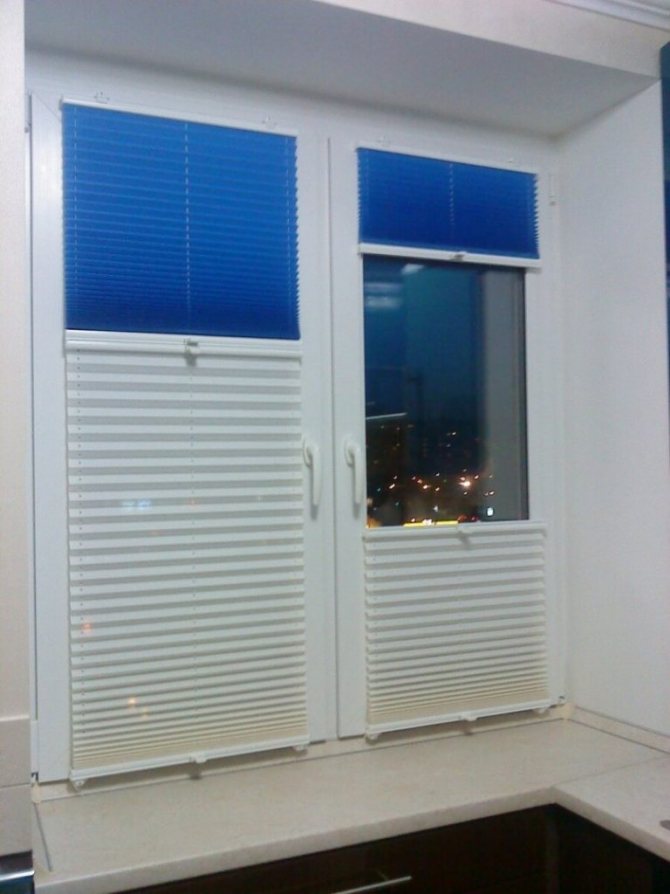
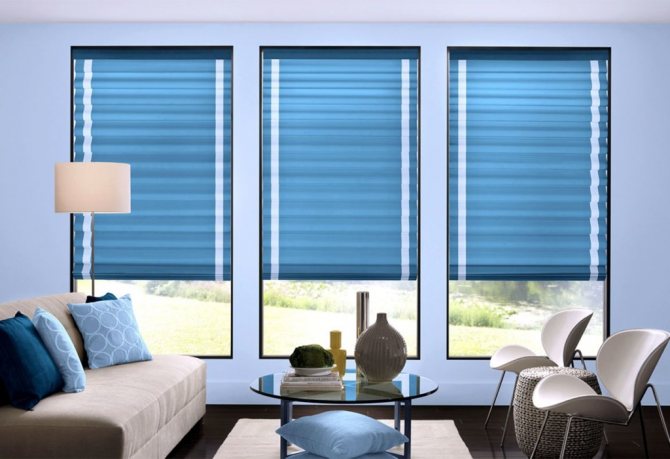
- Horizontal. The strips of fabric (lamellas) on the product are located horizontally, this system is called "ladder". This type uses a special rotating drum, through which the lamellas open and close.
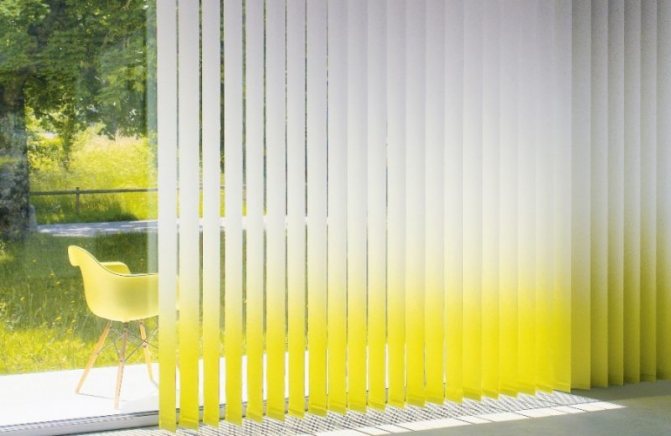
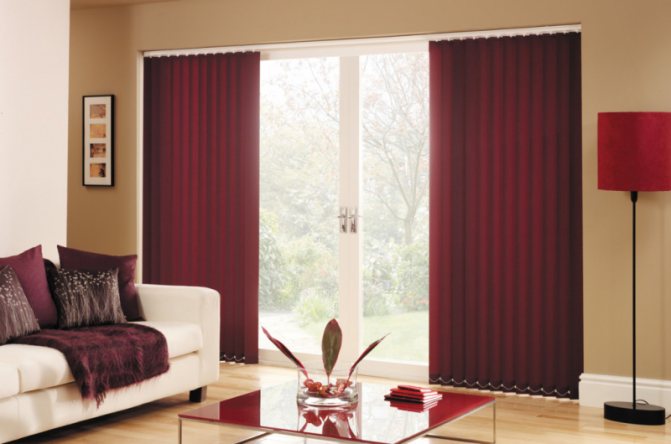
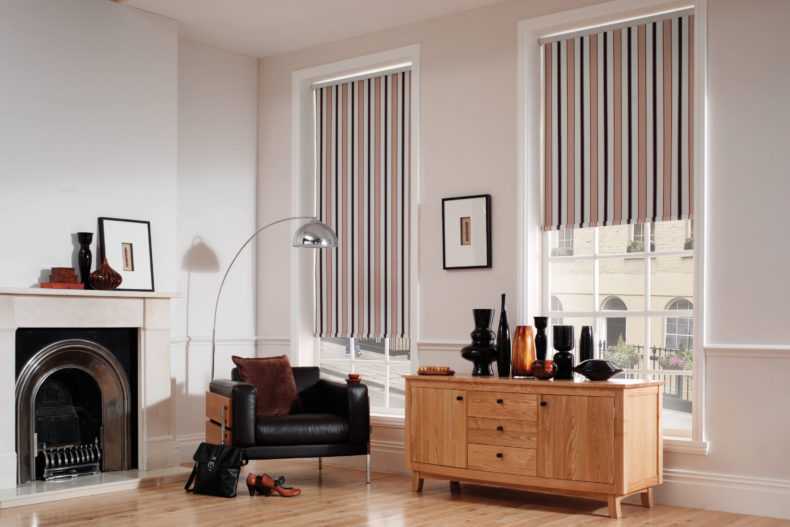
- Vertical. The strips of fabric are fixed at the top and rotated at different angles. You can open the window opening by sliding them in any direction. Several mounting methods are possible: on the ceiling, above the window opening or in it.
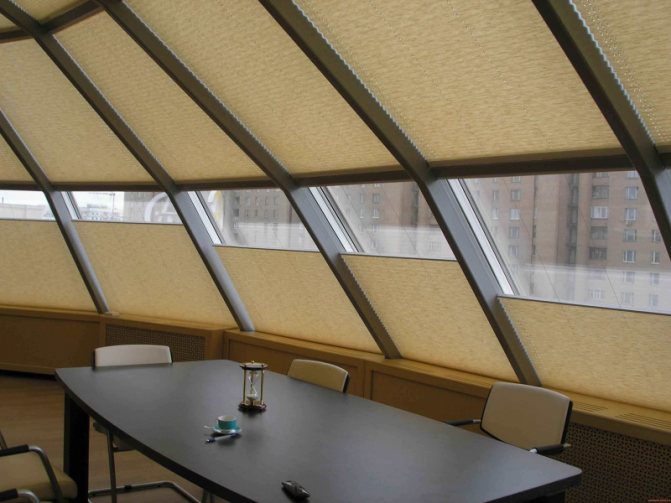
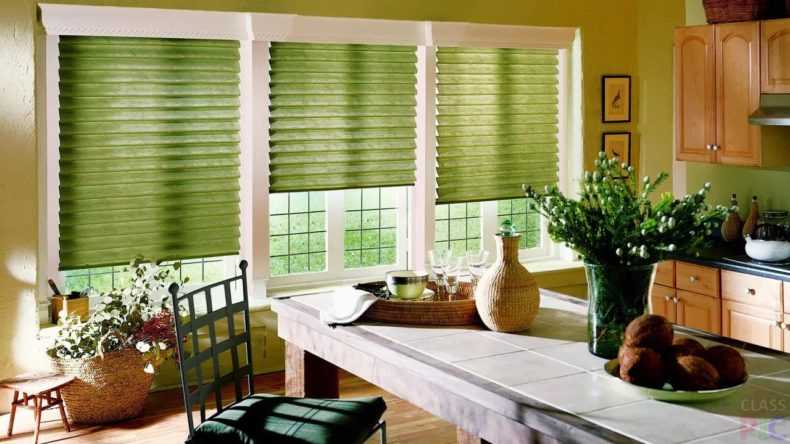
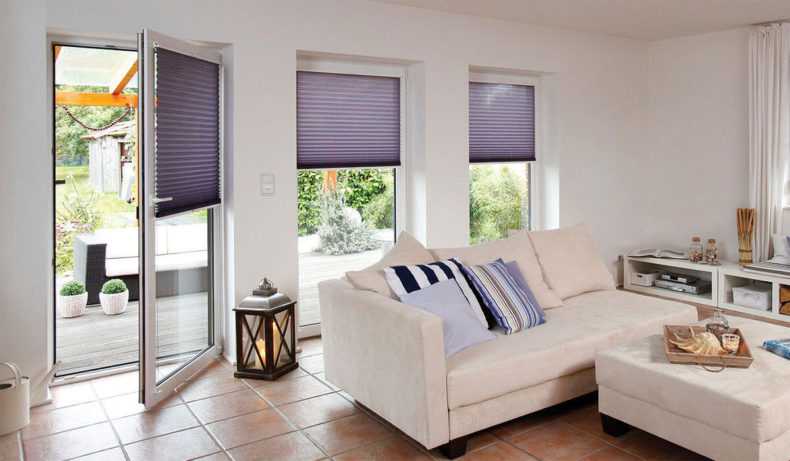
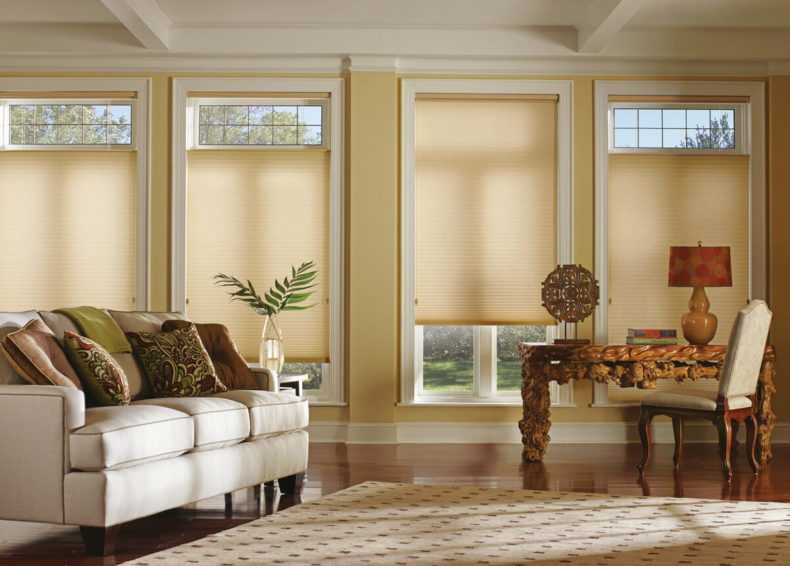
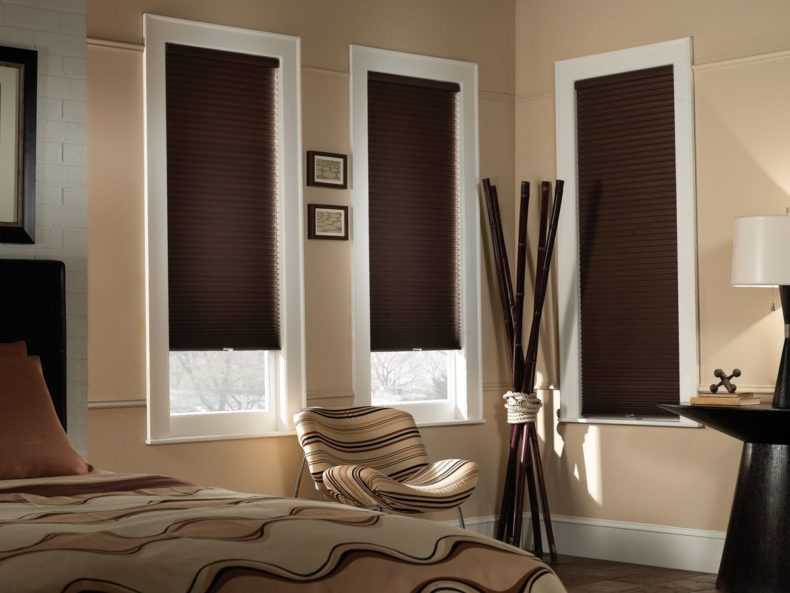
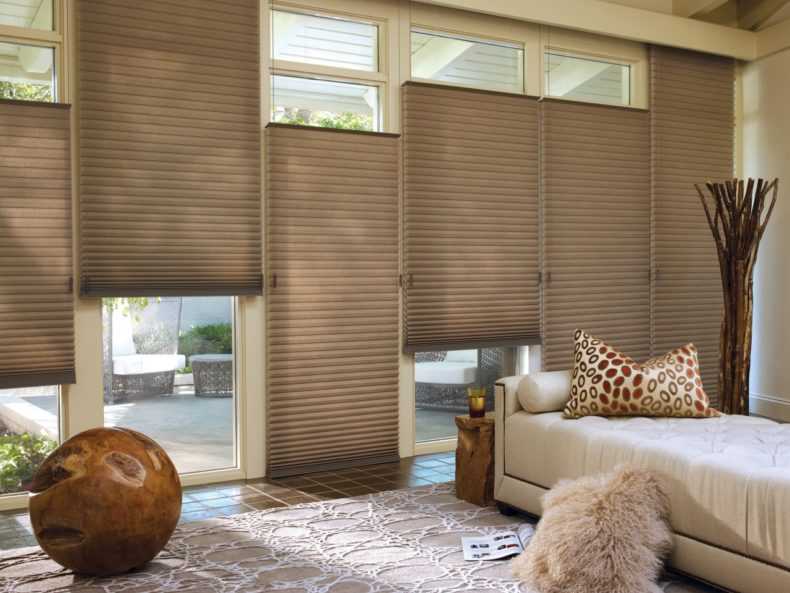
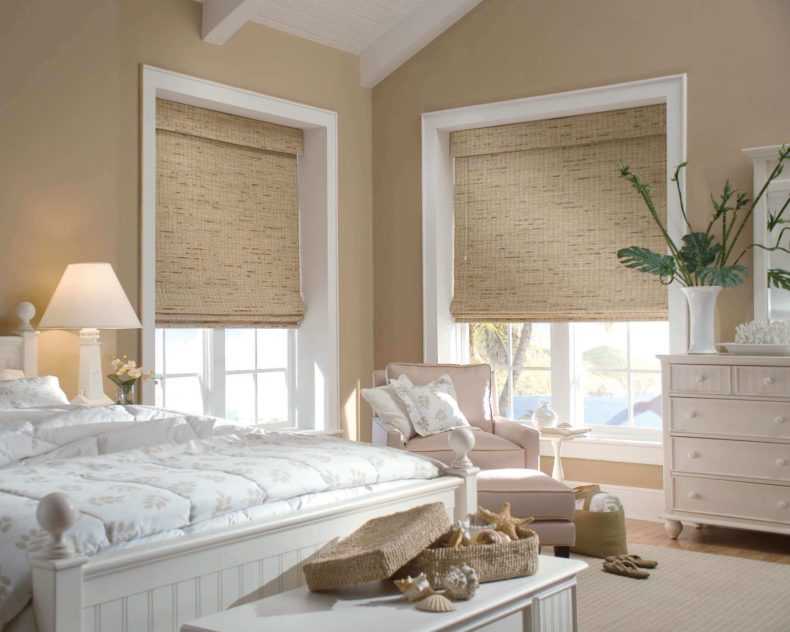
- Plisse. They are made of fabric or paper by folding them like an accordion. They look good on irregularly shaped windows. These products can be used to decorate round or triangular windows, trapezoidal or arched window openings. They are controlled by clips that are attached to the guide cords.
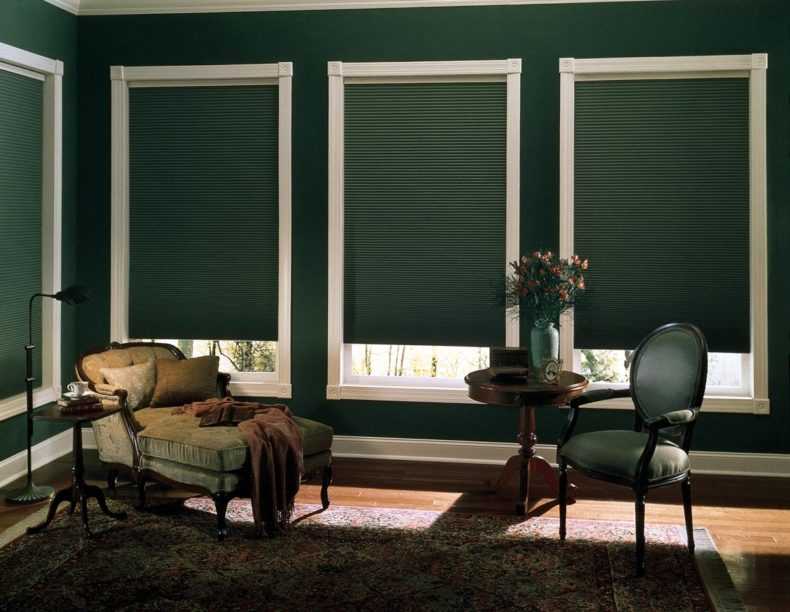
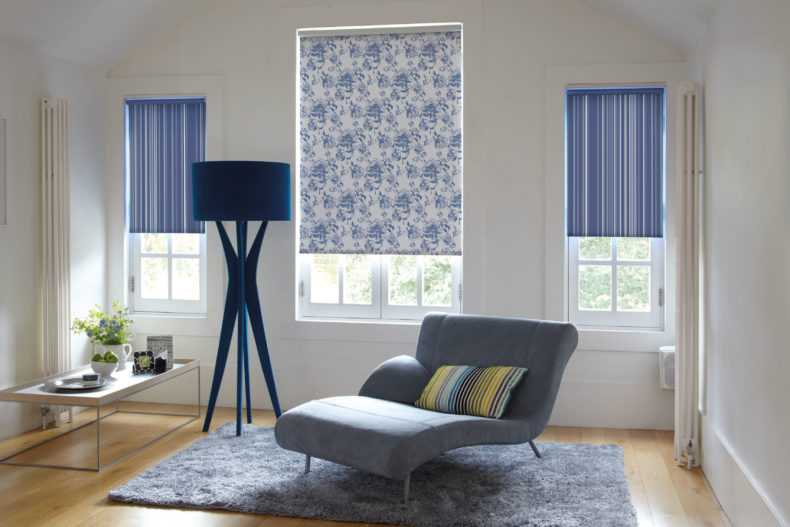
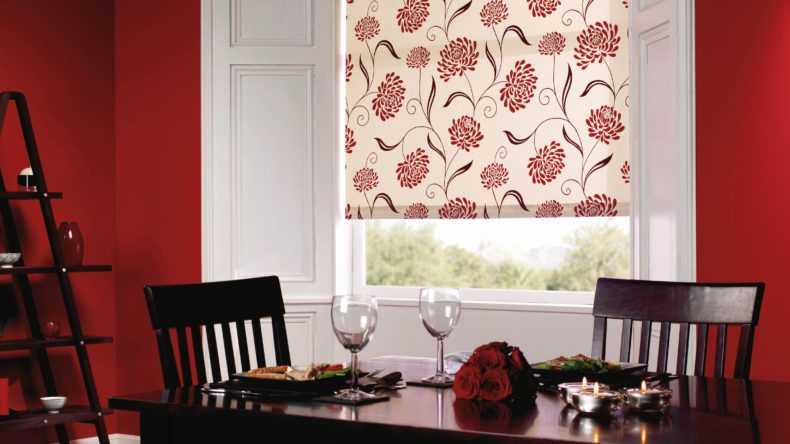
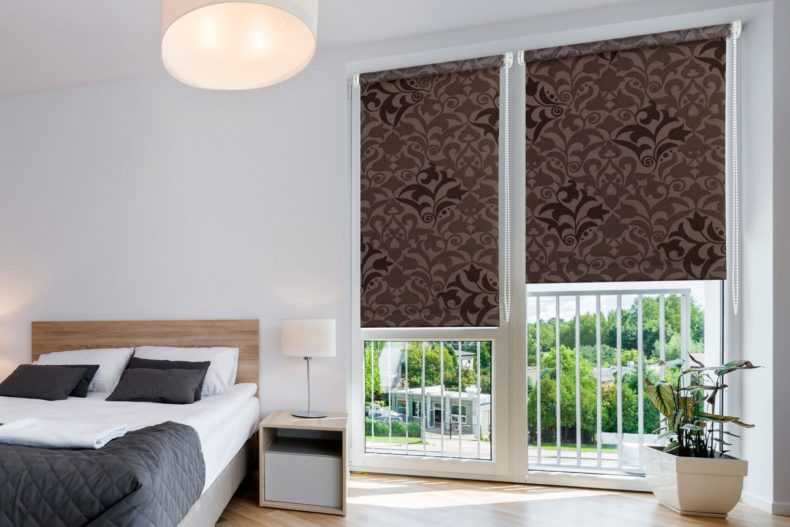
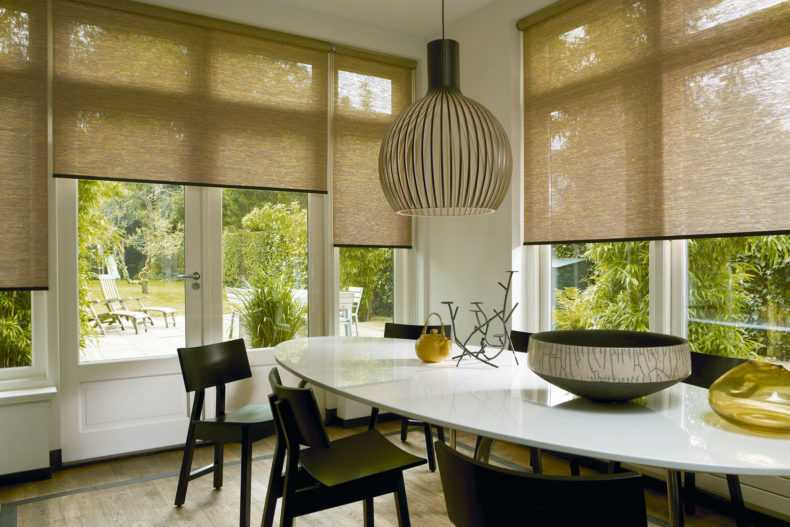
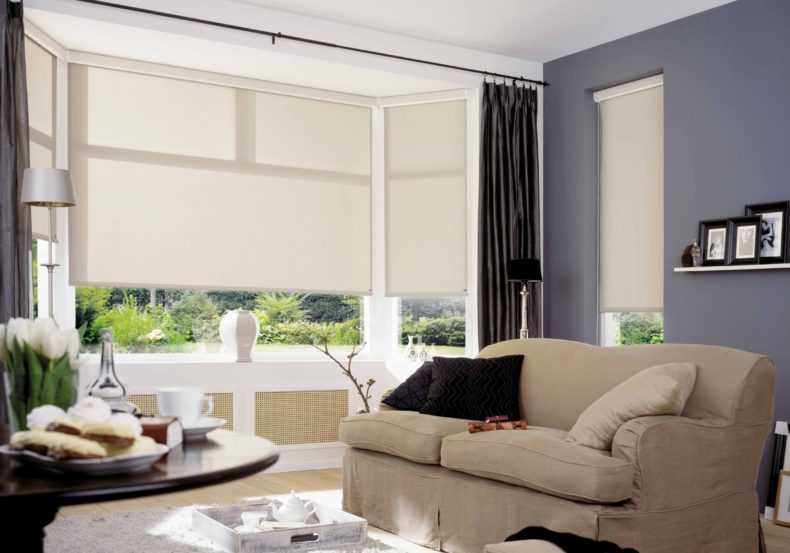
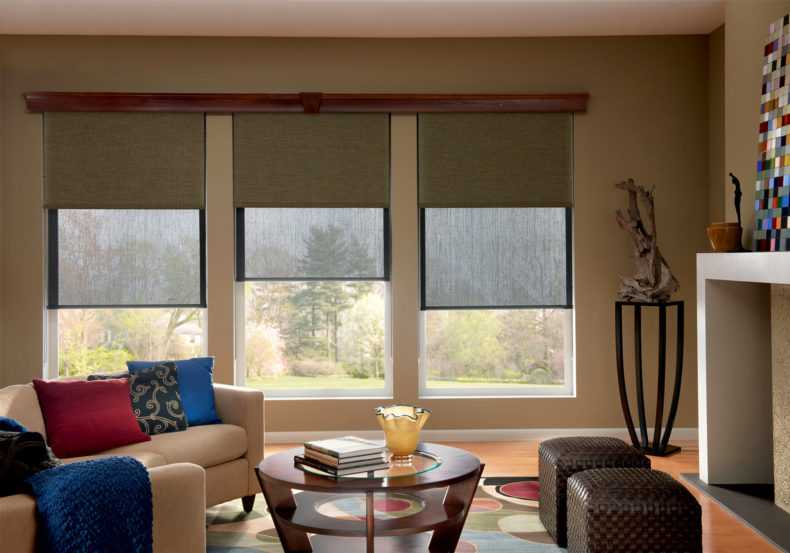
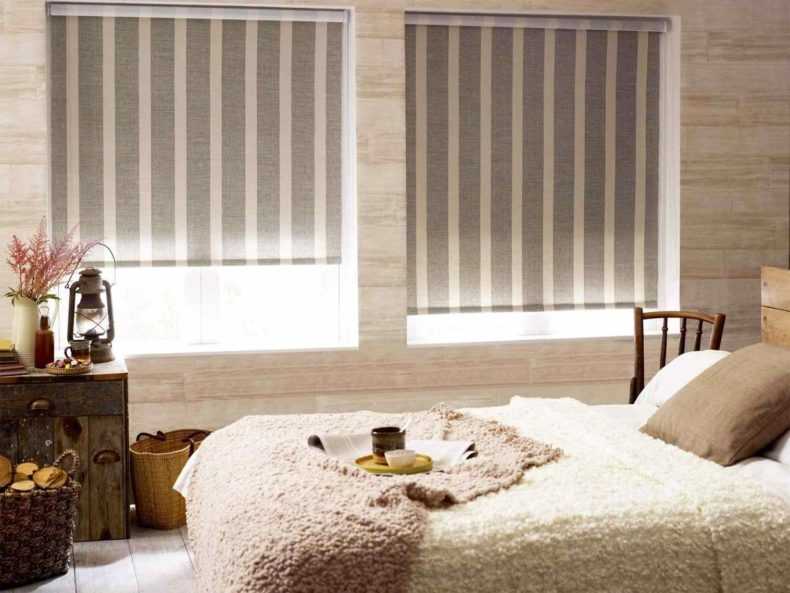
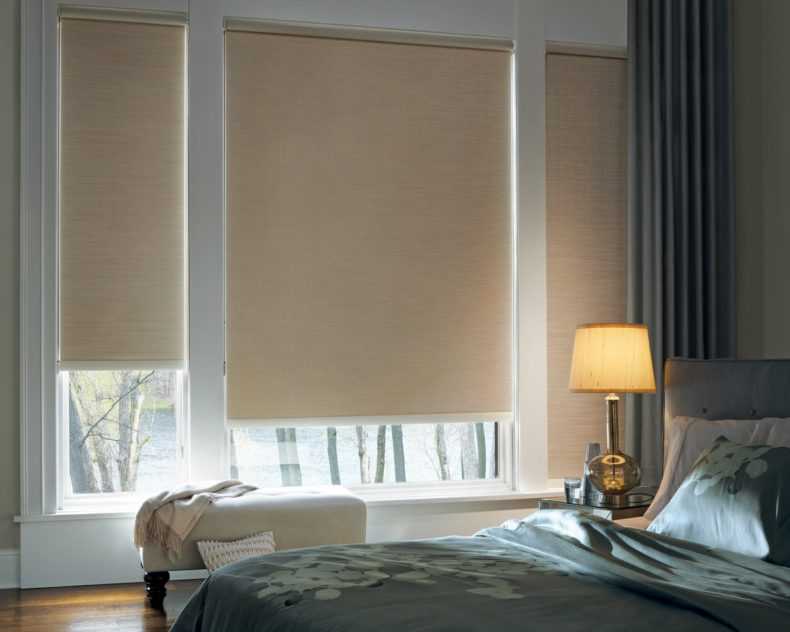
- Roll. This is a cloth made of fabric, which is wrapped in a roll using a special design. When open, it closes the entire window with a continuous sheet.
It will also be interesting: How to sew a curtain in the kitchen with your own hands
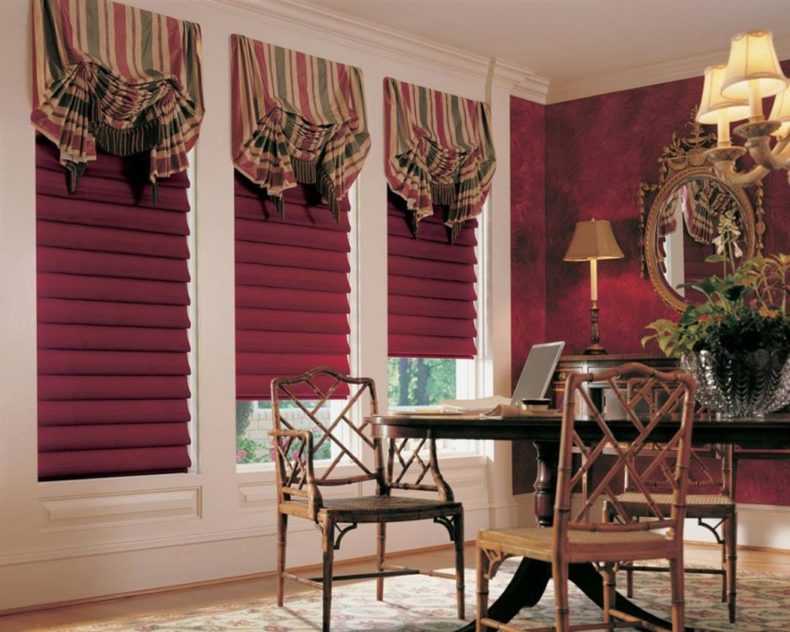
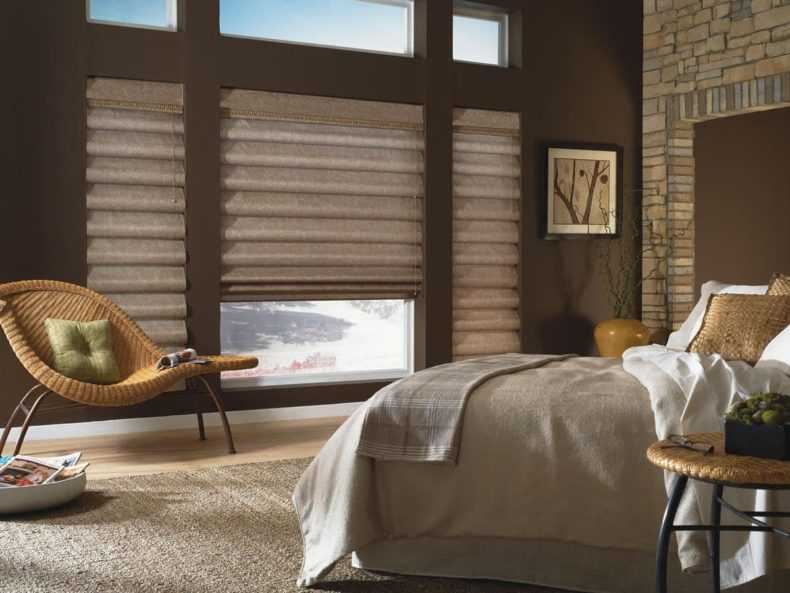
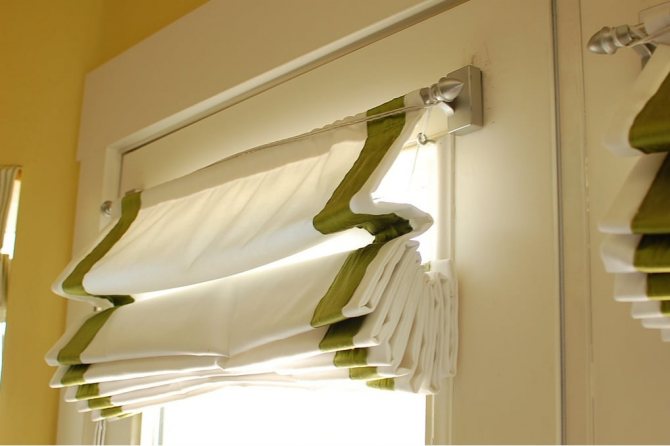
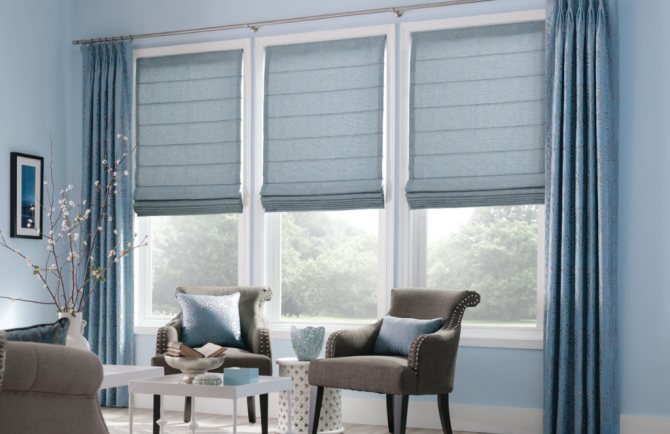
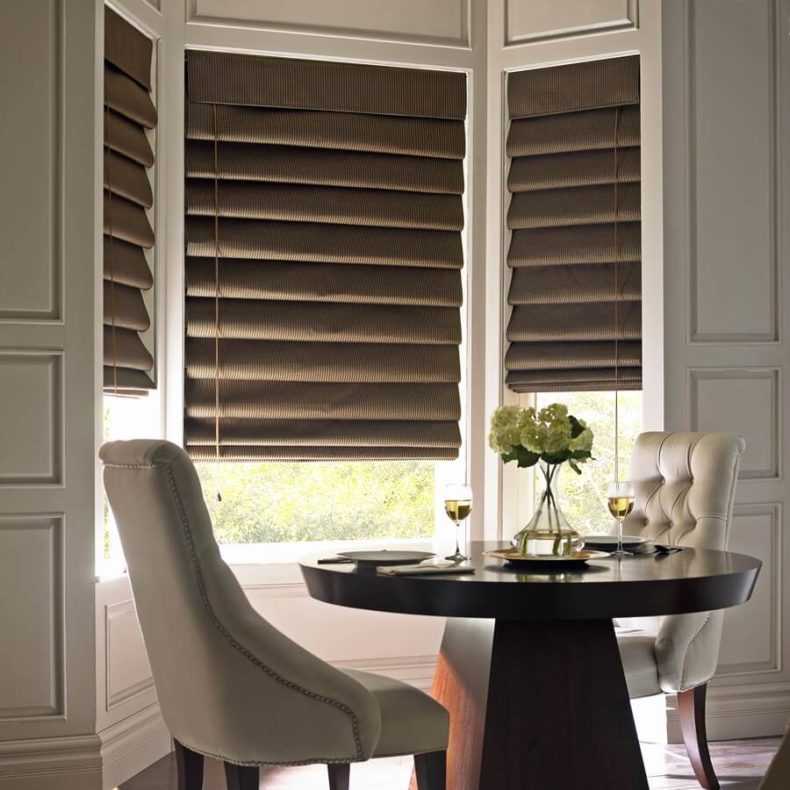
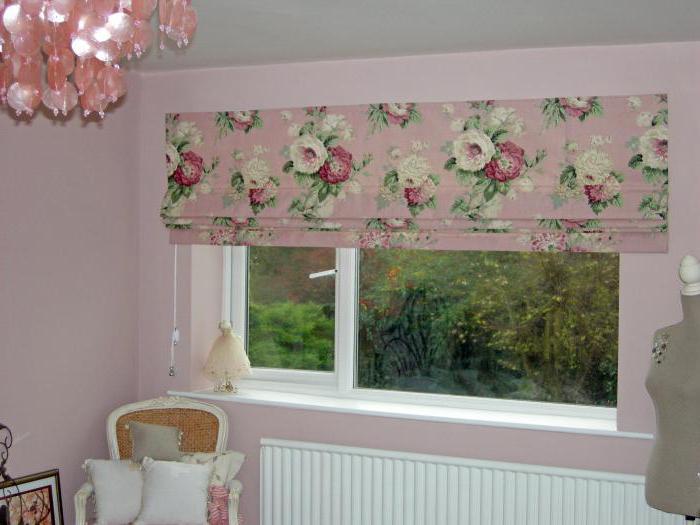
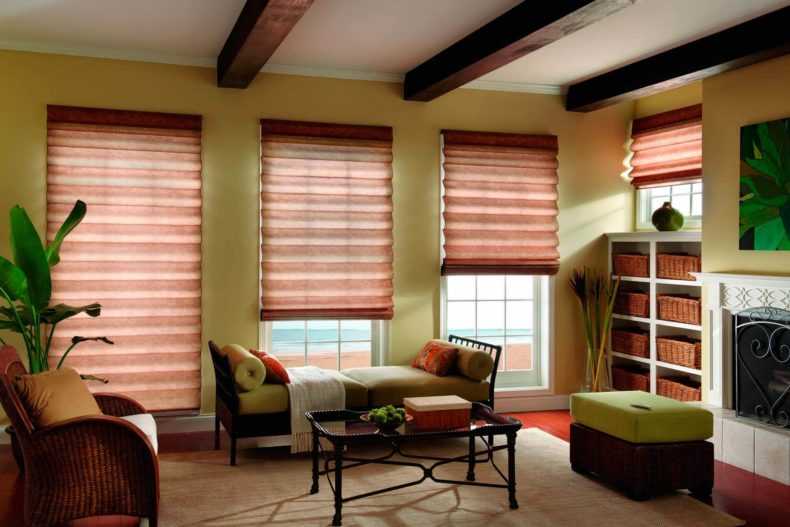
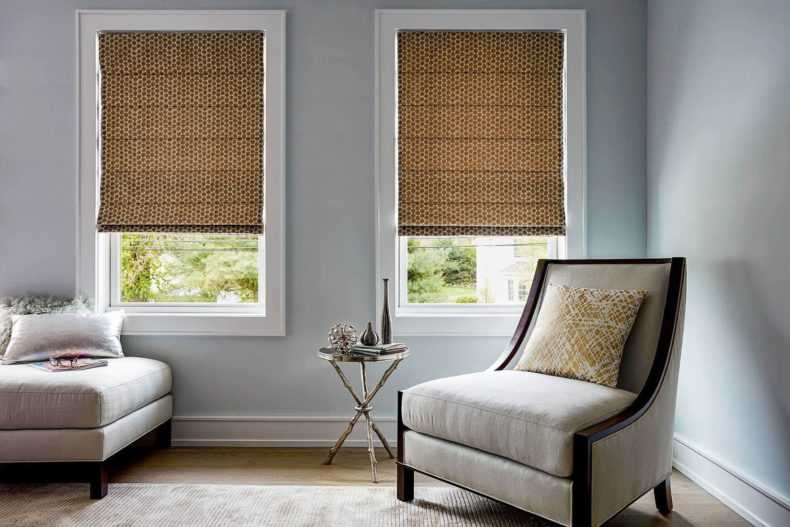
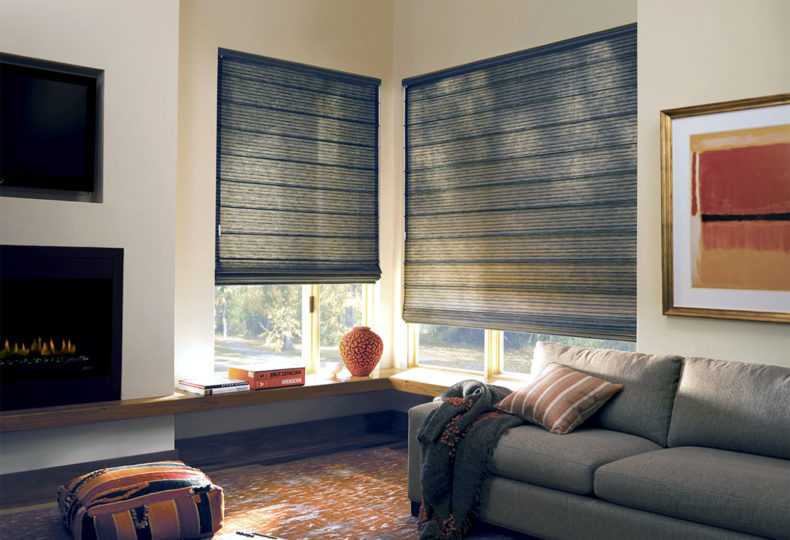
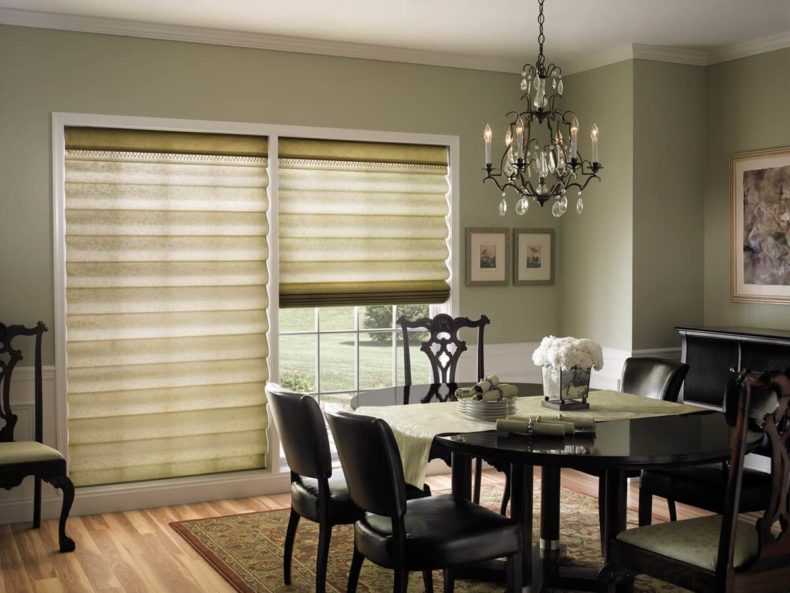
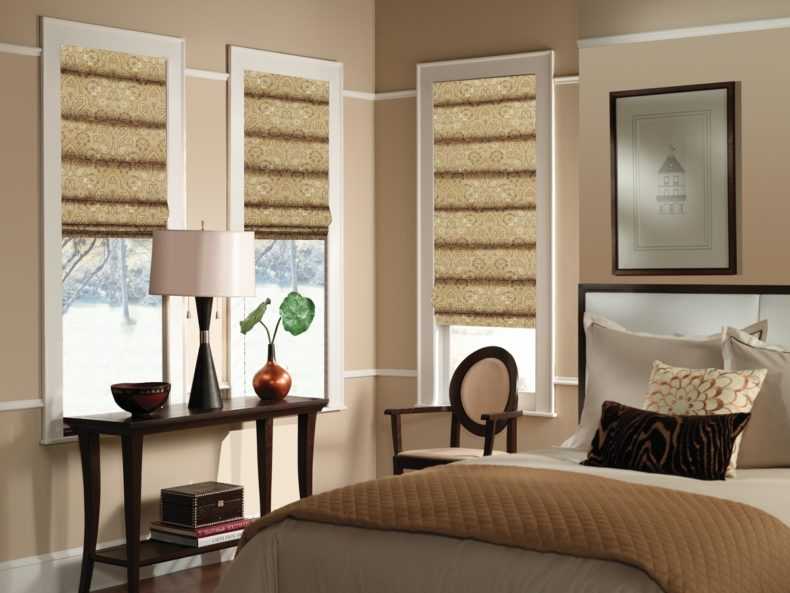
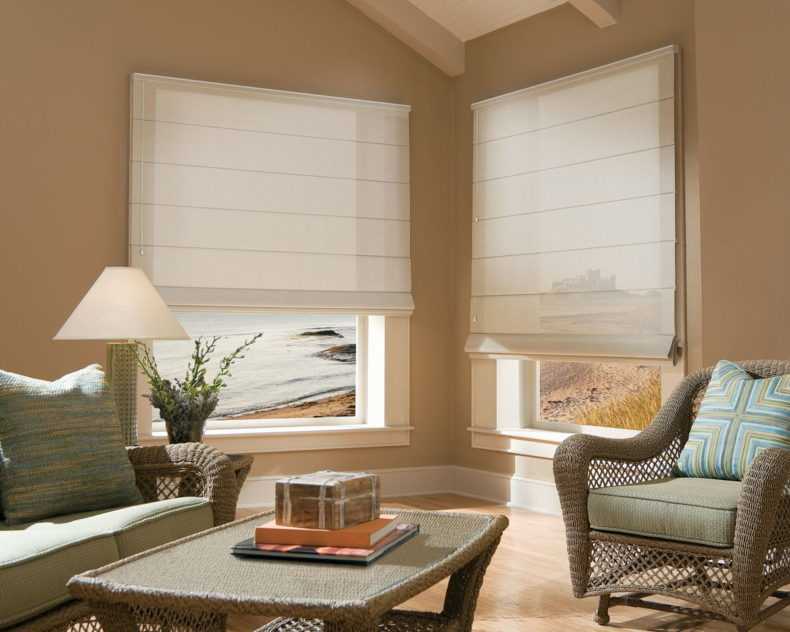
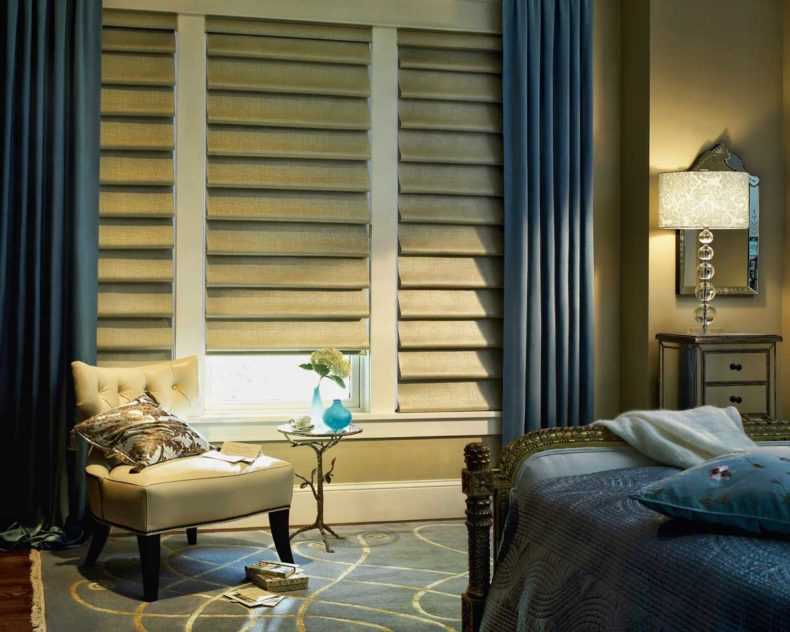
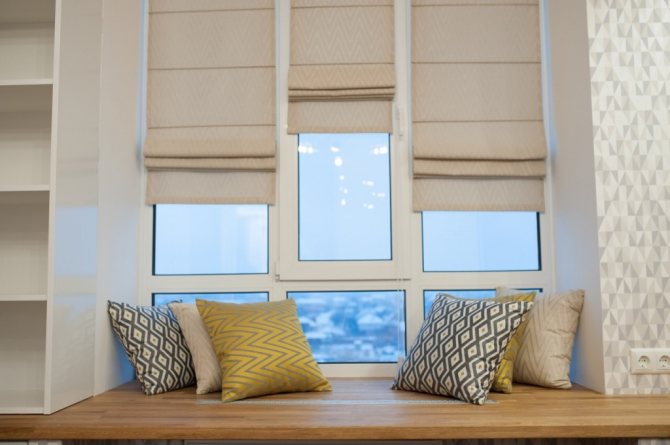
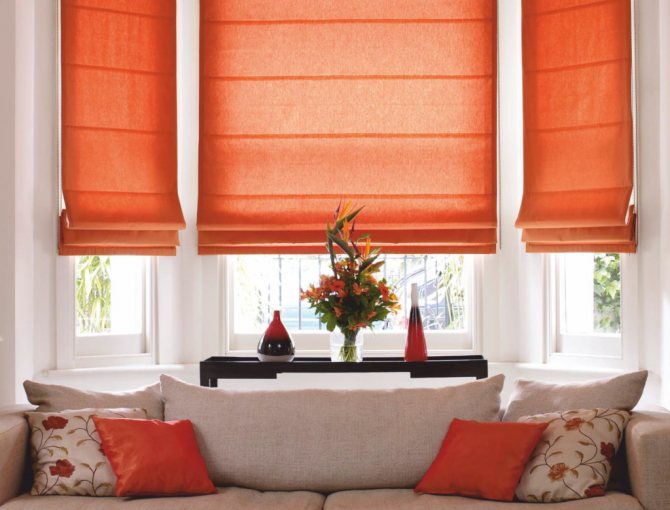
Roman blinds
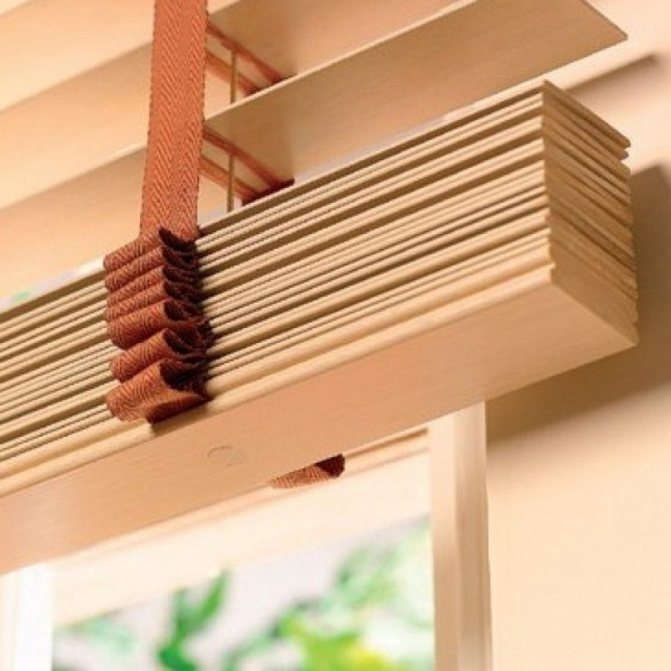
The material is cloth. Preferably dense. Wooden or metal rods are sewn into it in width at equal intervals - say, 20 centimeters - from each other.
In the middle and at the ends of each rod, plastic or metal rings are sewn in, laces are passed through them, which are attached to the cornice. By pulling on these laces, the curtain can be lifted by division - from one rod to another.
Part by part, the curtains fold into a large accordion. The most ancient and proven type of curtains. Known since the days of Ancient Rome. Hence their name.
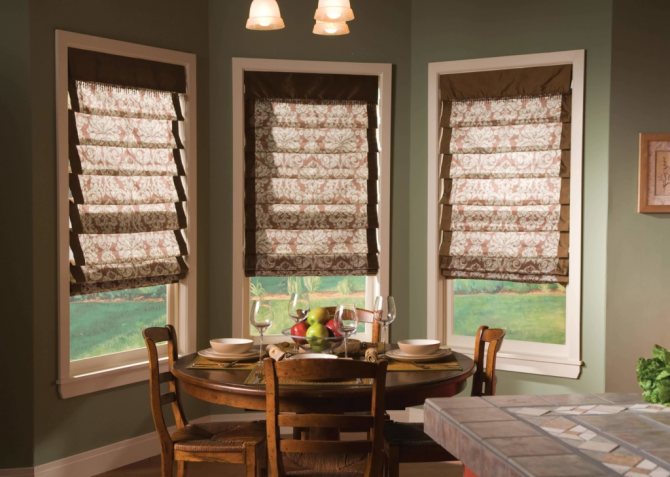
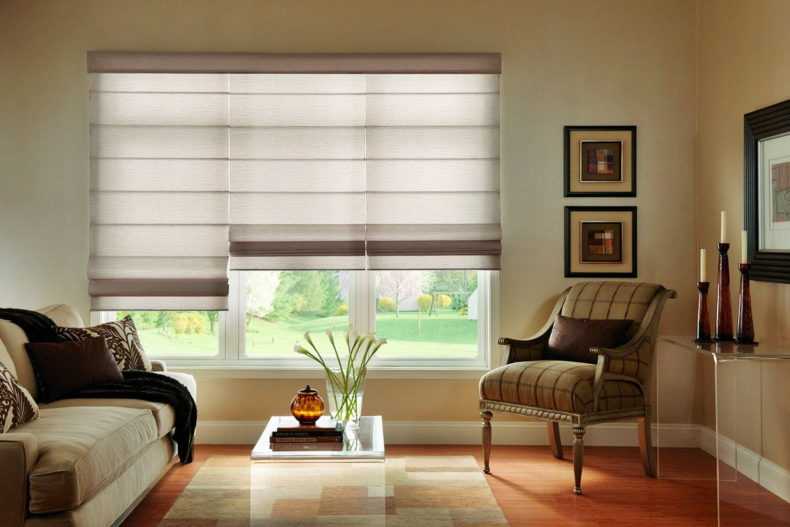
Self-production of blinds
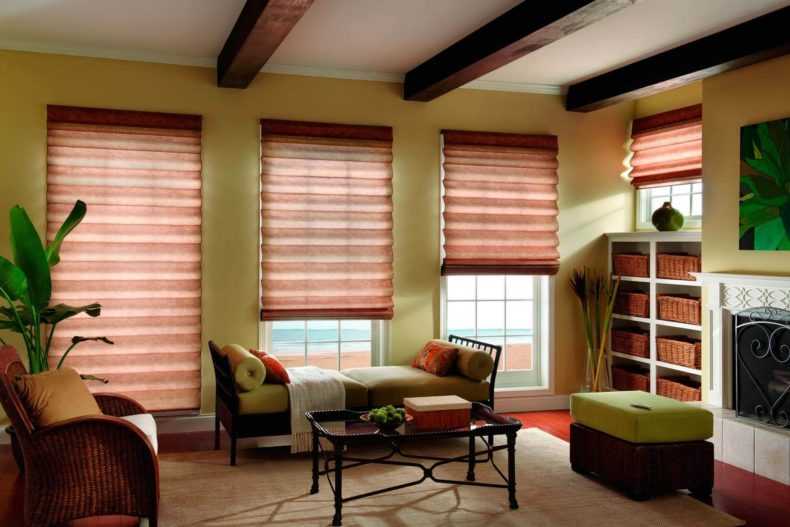
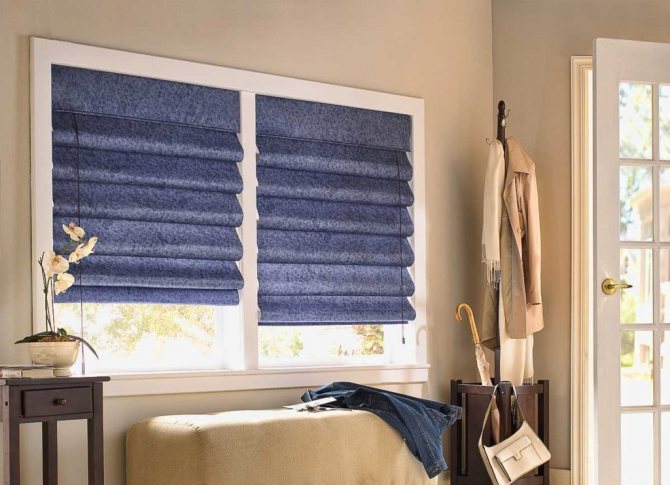
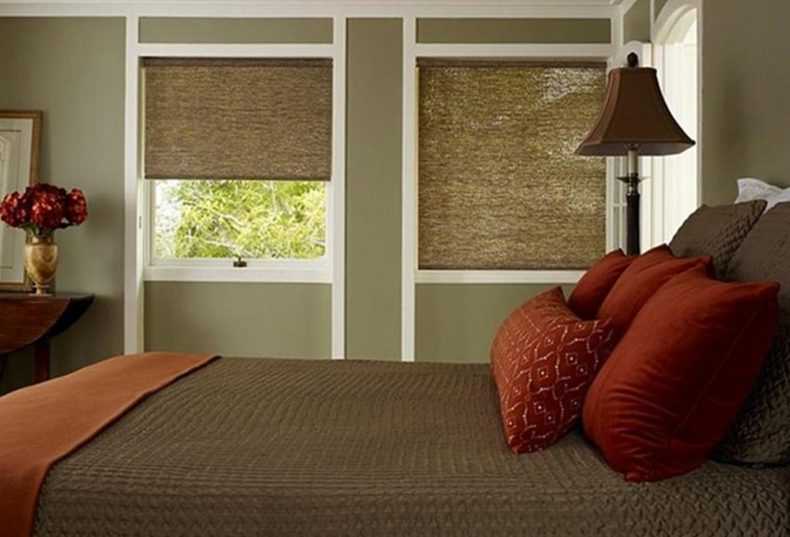
How to make blinds with your own hands is of interest to many. Fabric blinds, also called roman blinds, are ideal for rooms with low light. These products open upwards, and light enters the room as much as possible. To make them yourself, you need to have the following materials:
- fabric suitable for the design of the room;
- nylon cord;
- threads in the color of matter;
- lining fabric;
- scissors;
- Velcro;
- a set of small (furniture) nails and screws;
- metal or wooden bar to make the canvas heavier;
- a wooden plank with a diameter of approximately 4 mm.
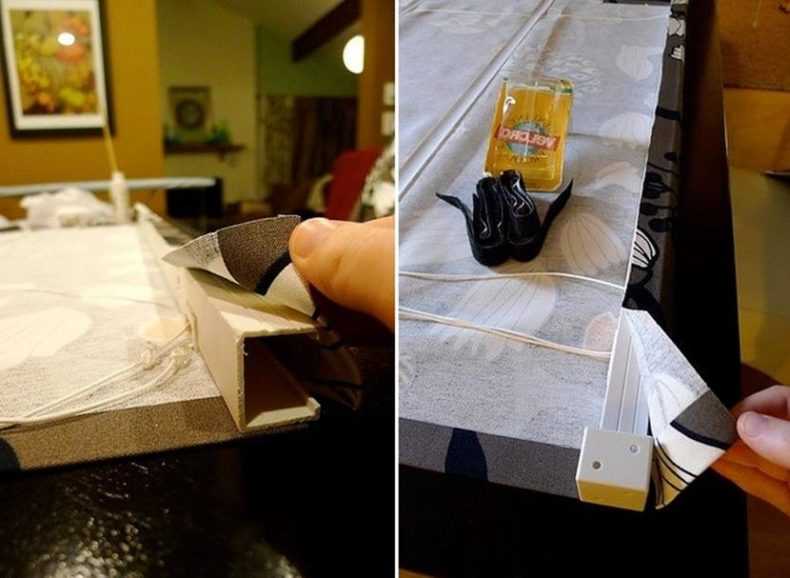
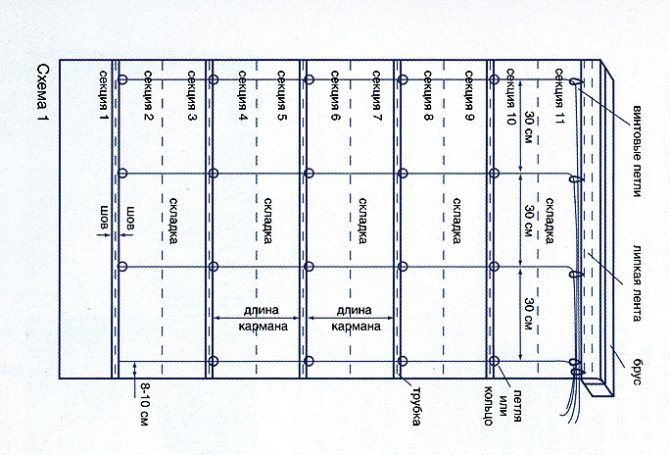
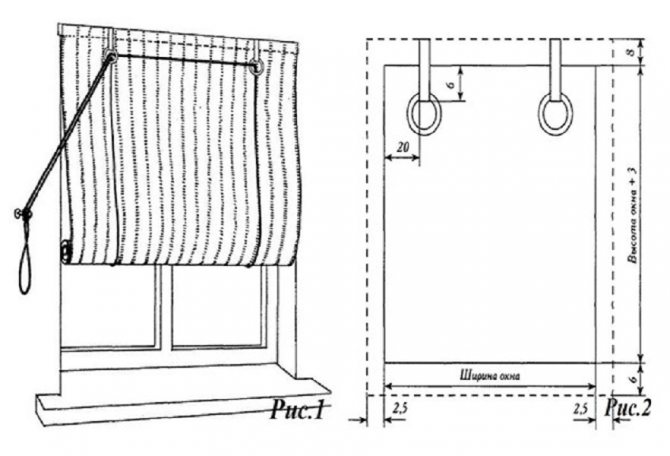
Before starting work, measure the window. In size, the curtain should be equal to the width of the window opening, and a little must be left for allowances. The length of the fabric blinds depends on the width of the folds, it can be chosen spontaneously. First, cut out a solid rectangular cut. Then the side edges are processed, after which a pocket for the weighting bar is stitched from the bottom.

Before finishing the upper part, it is necessary to choose the method of fixing the moving mechanism. It will be easy if you attach the curtain to a cornice or wooden plank. After measuring out that part of the fabric that is needed for fastening, future folds are cut out. It is of great importance that they are the same in width. The important thing is the distances that limit the marking lines: each should be 2 times the size of the fold.
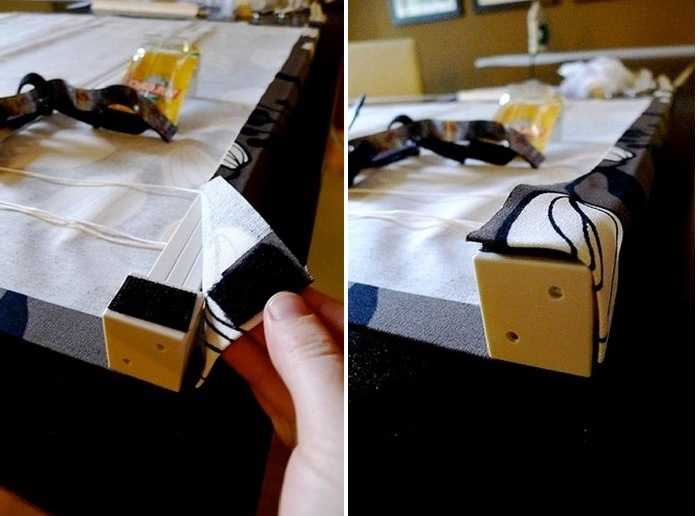
Planks are inserted into the pockets, which are formed by sewing the braid along the marked lines. The curtain rises vertically with the help of nylon laces. The cords are adjusted with rings sewn to the braid in the same direction. The fabric blinds are raised by fixing the cords with bundles at the bottom of the mechanism. The upper rings are hung on the cornice. Then the laces need to be brought out to one side, along all the upper rings. The movement of the blinds is limited by the fixing of the cords. To do this, a bracket or hook is nailed to the wall.
It will also be interesting: Making a curtain rod for a Roman shade with your own hands
And now a detailed video master class:
Step-by-step instructions on how to make blinds
- Calculate how many strips (lamellas) are required
- Cut the required number of lamellas with a seam allowance. One finished lamella requires two pieces of fabric
- Sewing two strips of fabric, we get a lamella blank. The cuts at the ends remain open.
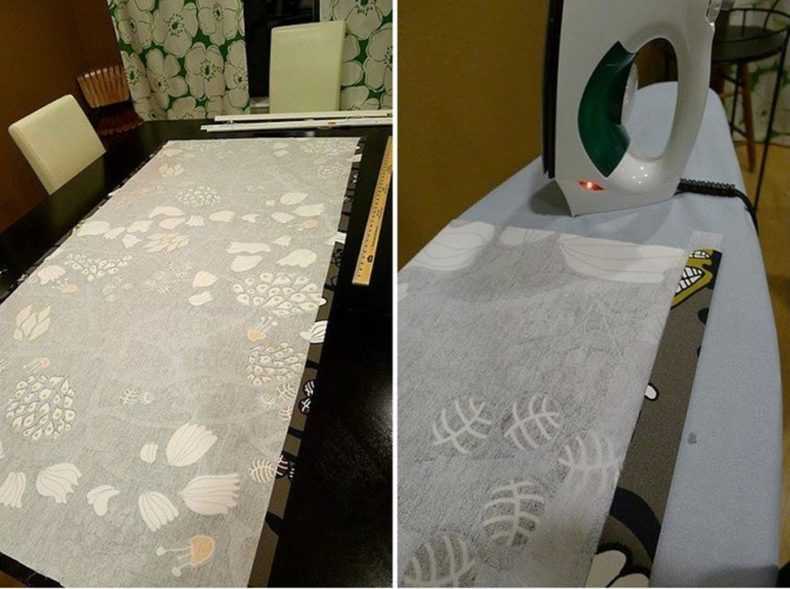
- The cuts are folded inward and ironed carefully.
- Then a narrow ribbon or braid is sewn onto the ironed lamellas.
- The tape is sewn to the lamellas, covering the seam.
- Hooks are sewn to the ends of the lamellas.
- The finished blinds are hung from the curtain rods.

Final assembly
So, two panels are ready. If you have experience with sewing on a typewriter, then you can immediately insert the knitting needles and sew the panels with a seam along the very edge. You can connect the front and back parts, leaving room for the knitting needles, then unscrew the curtain, iron it well and only then insert the knitting needles and the weight bar. In this case, the holes for all the parts can be carefully sewn up by hand.
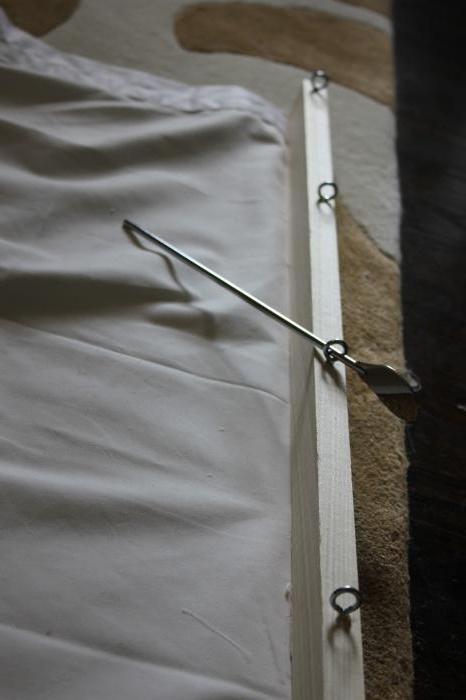
- Then, according to the marking, the rings are manually sewn under the cords, capturing both the front and back panels.
- Now you can thread the cords through the rings, carefully securing them to the lower rings.
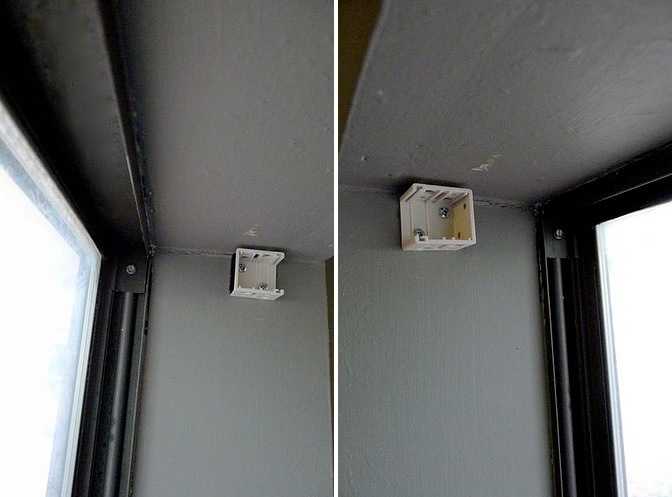
- Screw special threaded rings into the wooden cornice and pass the cords through them, gradually passing from one to the other.
- If it was provided, then hide this block with a canvas using a Velcro tape. If this option was missed, then the curtain fabric along the edge is attached to the bar using a construction stapler.
- Attach all two or three cords with a bead weight at some distance.
- Fasten the wooden curtain rod.
DIY blinds photo


0
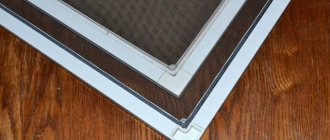
Blinds care
DIY fabric blinds are comfortable in their practicality. Especially if they have Velcro tape (Velcro tape) in the form of fasteners on the cornice. They can be easily removed and, without removing the knitting needles and weighting materials, simply wiped off the dust with your hands, when suspended, such blinds will straighten, and with the help of a steamer they can be easily brought into perfect condition directly on the weight without damaging the needles and the weighting bar.
The only point: if the blinds are sewn from colored cotton or linen fabric, which is prone to shrinkage, then it is best to wash the fabric in hot water before work to check for shedding and give it a chance to “shrink”. Good luck!
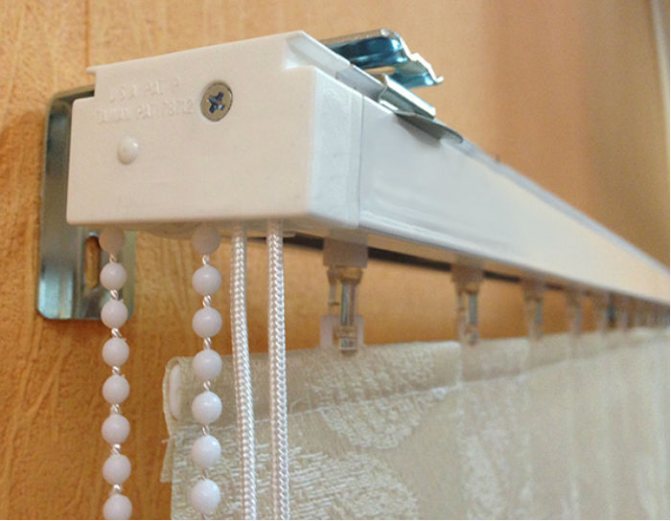
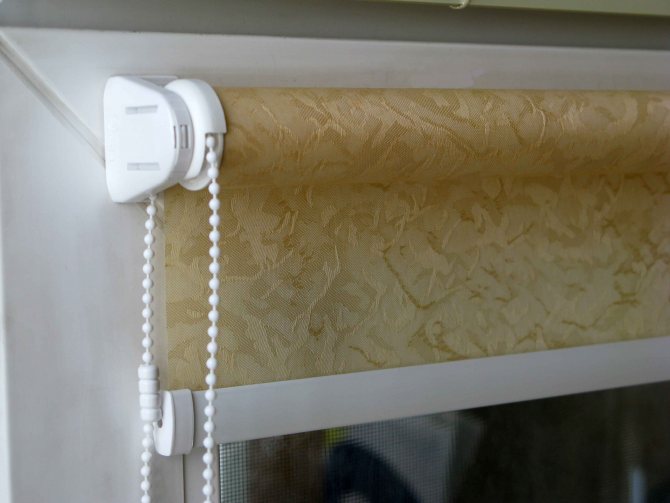
Mechanisms for adjusting roller blinds
The easiest way to adjust the canvas is a lace on a chain. The string is attached to the roller shade mechanism on either side of the curtain. Adjustment and fixation of the lace with a mechanism. The web is regulated by a chain. The next mechanism that lifts the web from bottom to top is the holder with the help of springs. The curtain locks automatically when the curtain reaches the set level. Of course, such a mechanism will not last you long, as the springs stretch and the whole mechanism needs to be replaced. The spring holder is more often used on roof or sloped windows.
If you are installing roller blinds in inaccessible areas, for example, on the ceiling or window in the attic, then a mechanism using an electric drive will be suitable for you. Such a mechanism is controlled by an electric motor that turns the shaft on which the web is wound.
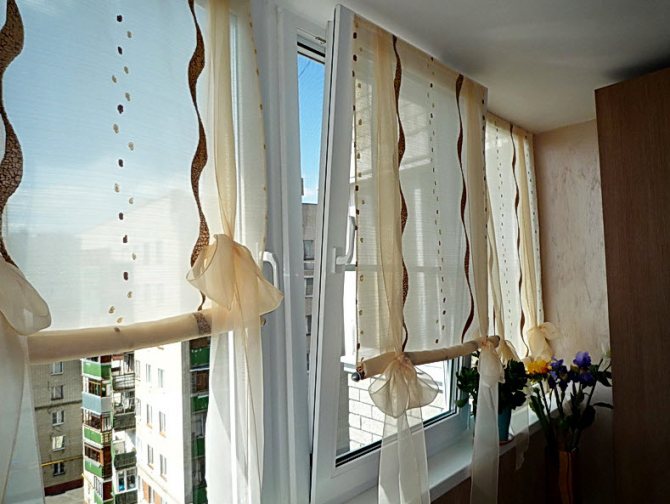
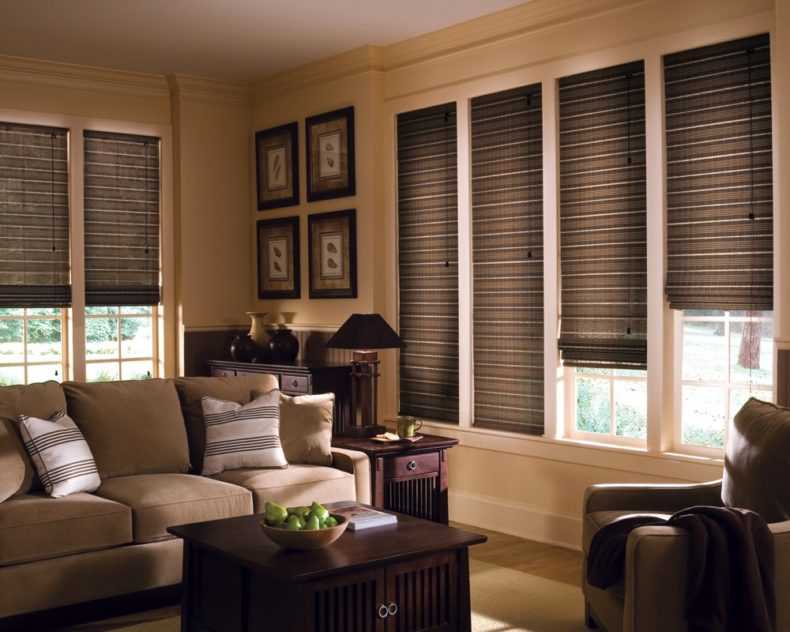
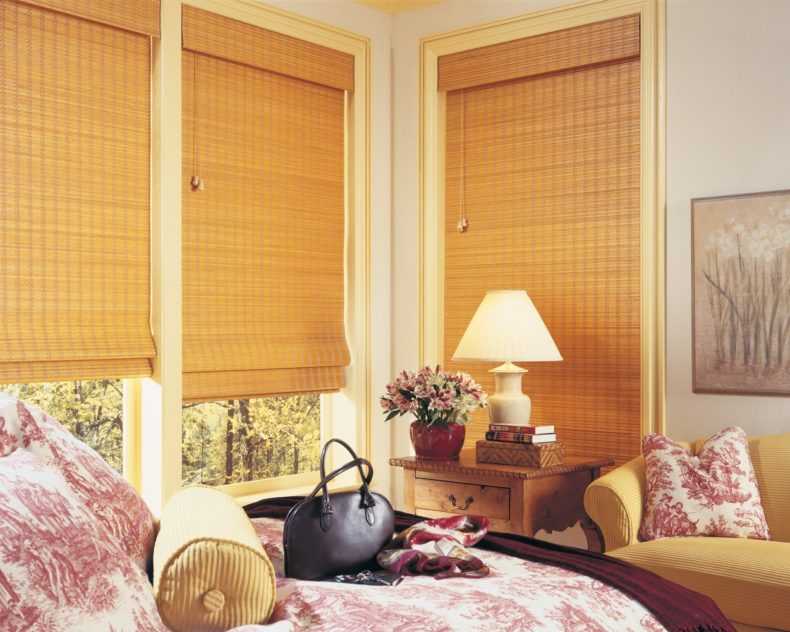
Photo inspiration ideas
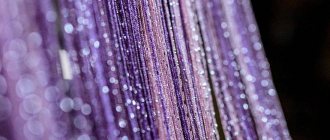
For those who are not looking for simple solutions or easy ways, a non-standard type of blinds, for example, made of silk threads, is suitable.
They are attached in much the same way as ordinary roman blinds. To do this, use:
- adjusting cord;
- special runners;
- and a small weight for weight.
It is noteworthy that threads of different colors can be used in silk blinds.
Due to the specifics of its design, such a curtain does not 100% protect against light penetration. This should be borne in mind beforehand. But this type of curtains will emphasize the unique style of any room.
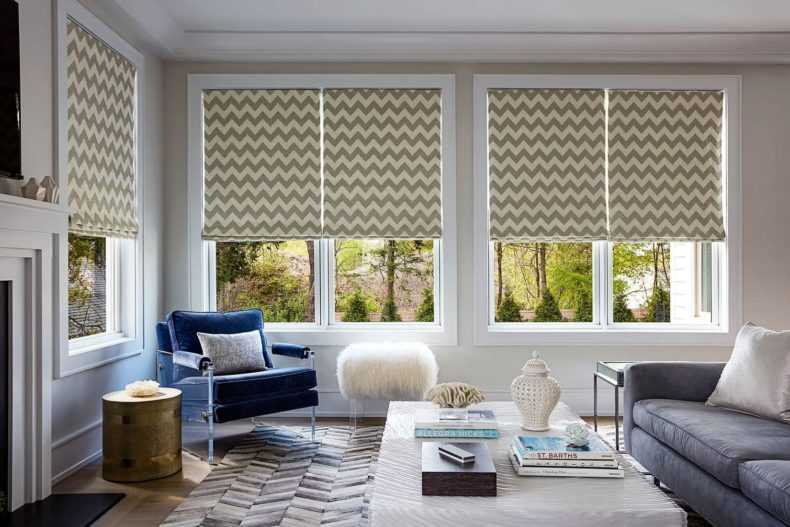
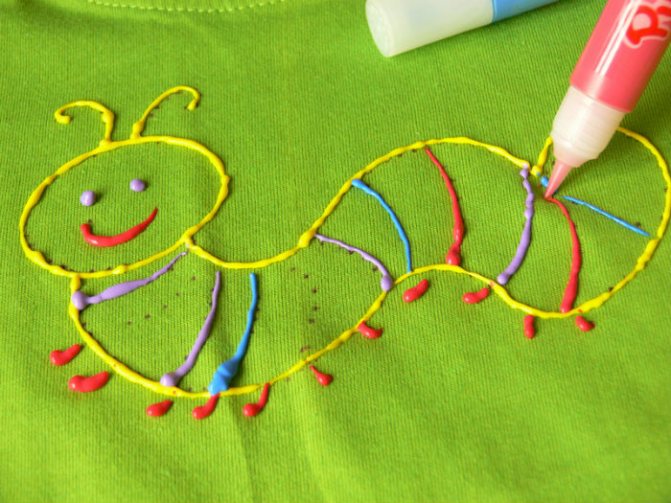
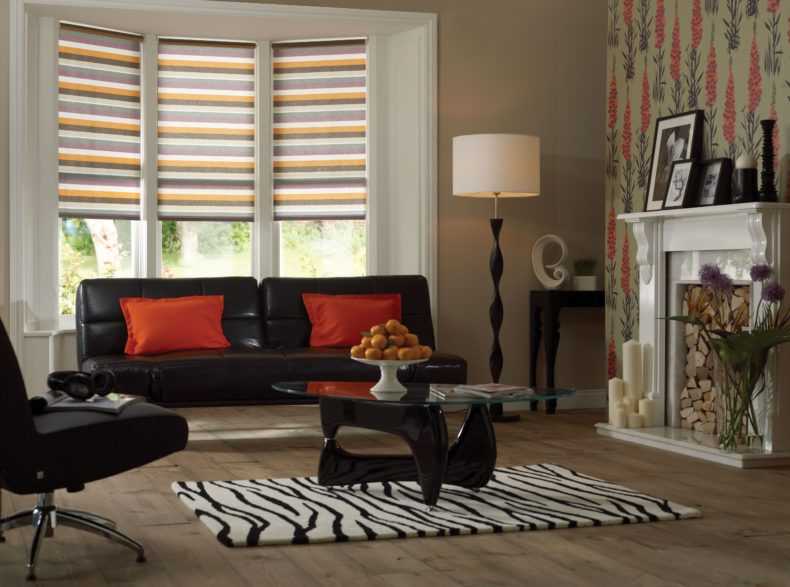
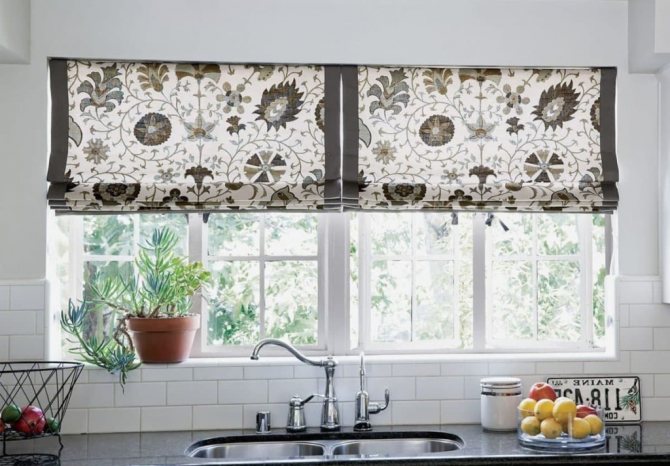
It is not at all necessary to use only plain fabric for blinds. Bright and colorful patterns can be a great addition to the interior.The most important thing is to choose the right shades in relation to the overall color scheme of the room. Simple patterns can be embroidered with colored threads on your own according to your own idea.
For a children's room, original blinds with applications will be an ideal solution. Various patches can be bought at the store and sewn onto the fabric base of the curtain. There are also types of patches that are enough to steam with an iron.
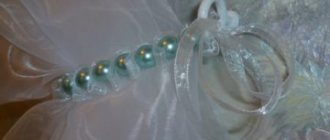
Nylon roller blinds cords can be creatively wrapped with thick threads or ribbons. Particular attention should be paid to the outside that faces the room.
Necessary fittings and tools
You can purchase all the necessary components at hardware stores or special outlets for sewing skills.
The general list looks like this:
- The fabric in the required quantity.
- Threads.
- Swivel cord.
- Screws and nails (preferably liquid).
- A set of velcro or tape (double-sided or one-sided).
- Scissors.
- Ruler.
- Pencil.
- A thick, sharp needle (an awl may be needed for very heavy fabrics).
- Plank for the bottom of the blinds made of wood, metal or plastic (as a last resort).
- Thin slats or knitting needles to make the folds heavier.
- Pliers.
- Other fittings (rings, runners, hangers, etc.).
Something from this list is probably already in almost any home, and some positions with great experience can be replaced with something similar. The main thing is to follow the technology of manufacturing high-quality blinds at home in order to remain satisfied with the result.
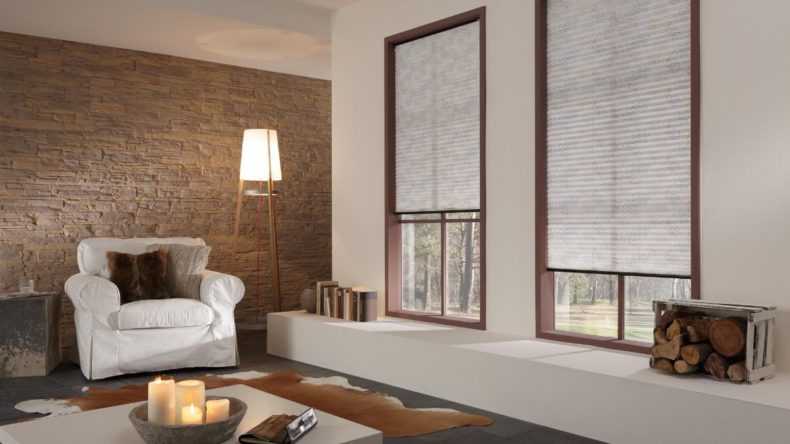
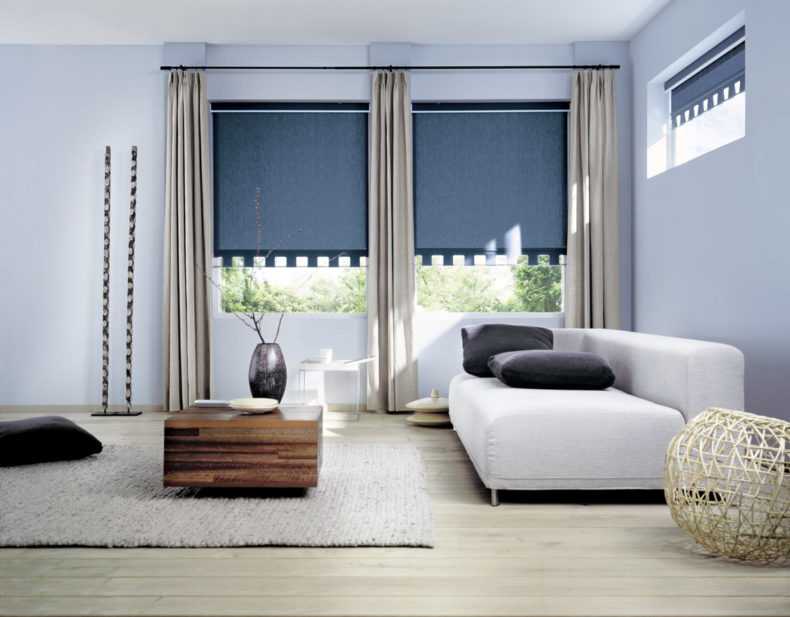
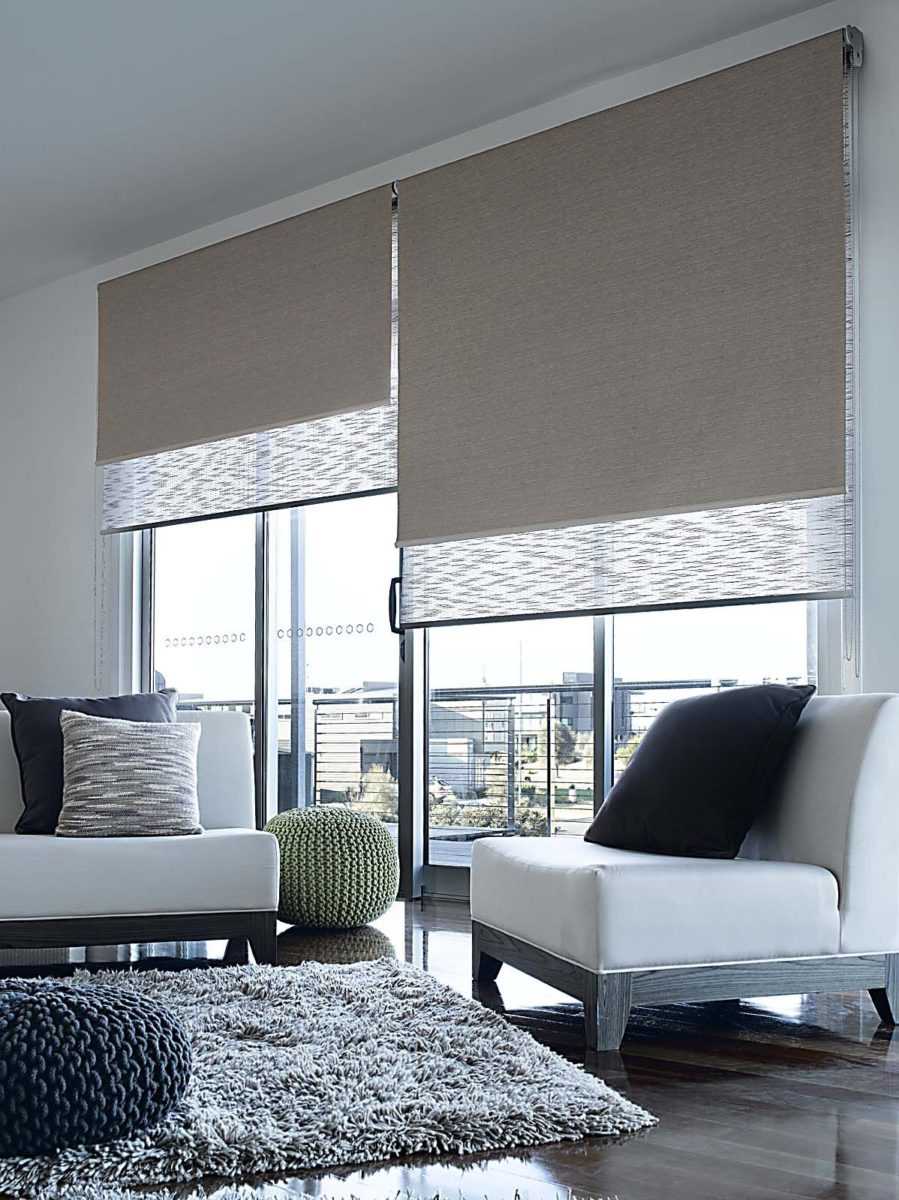
Roller blinds advantages and disadvantages
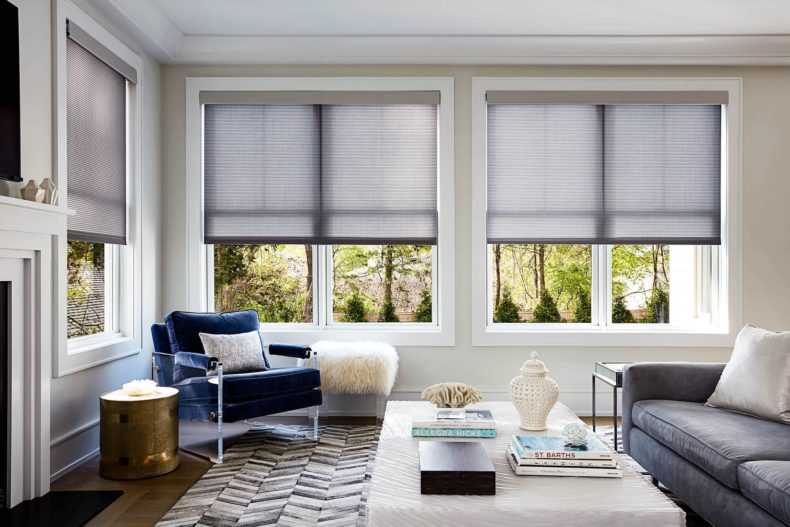
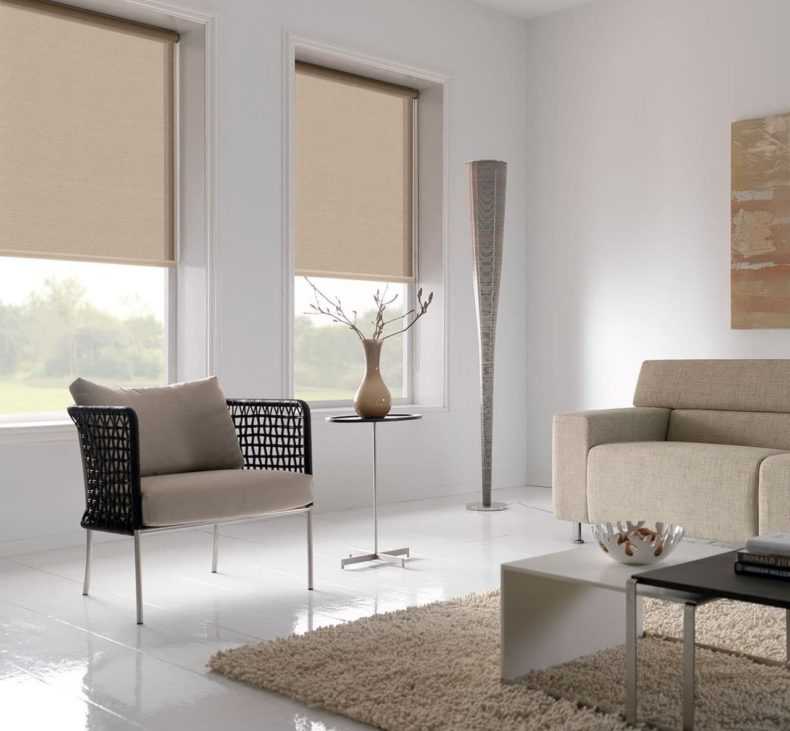
Roller blinds are common among those who wish to preserve innovation in the interior. They have many advantages, but they also have several disadvantages. Among the advantages are:
- 1. Large selection of fabrics, providing an opportunity to choose an individual design of roller blinds.
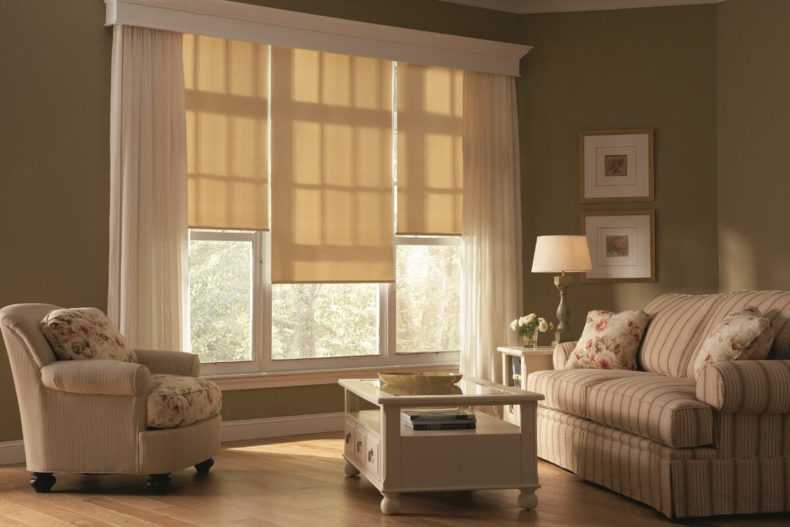
- 2. It goes well with the elements of the interior of the window: tulle, ordinary curtains, curtains.
- 3. Roller blinds do not need special care, it is recommended to simply wipe them with a damp cloth no more than once every 6 months. In addition, thanks to the new technology for impregnating the canvases, the light entering the room through the window prevents furniture and wallpaper from fading.
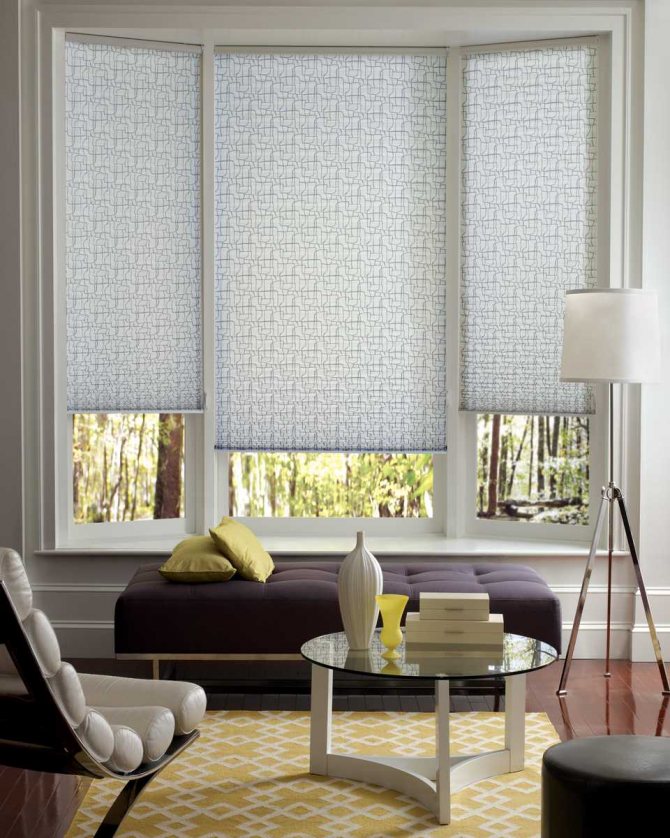
- 4. The canvas can be fixed at any height, if necessary, block the sun, leaving a strip at the bottom to illuminate the plants.
- 5. Due to the ease of use of roller blinds, they can be installed in doorways, balconies and loggias.
- 6. A wide range of roller blinds control system, allowing you to choose the curtains for any window opening.
Among the minuses it is worth noting:
- 1. In most models of roller blinds, the working mechanism may break down after a few years, and it has to be replaced.
- 2. Since roller blinds were created for plastic windows, with other types of windows it may be difficult to open the window.
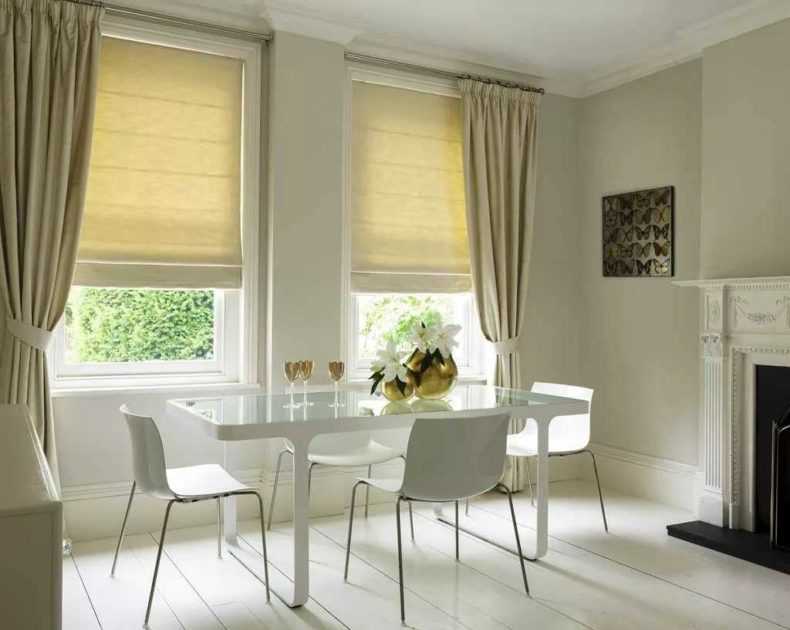
Basic selection principles
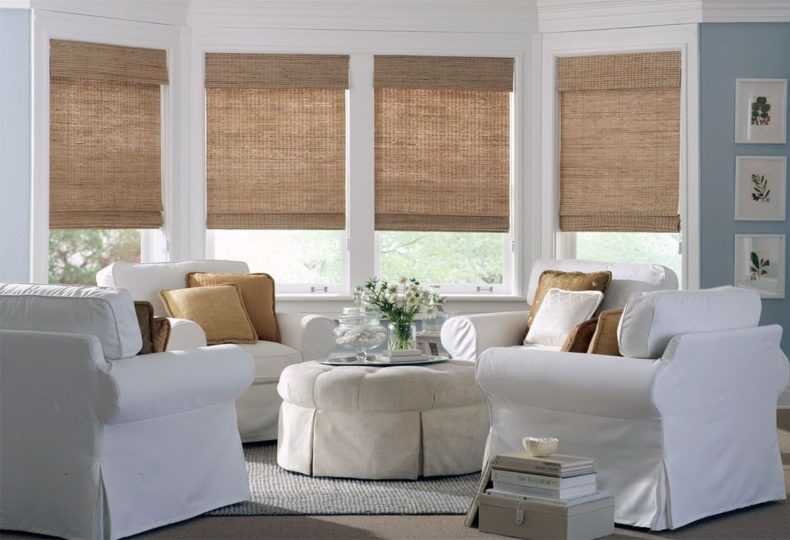
Regardless of which preference is given, there are some basic rules to follow in order not to spoil the look of the room. First of all, it is worth choosing the color and pattern of the blinds or curtains.
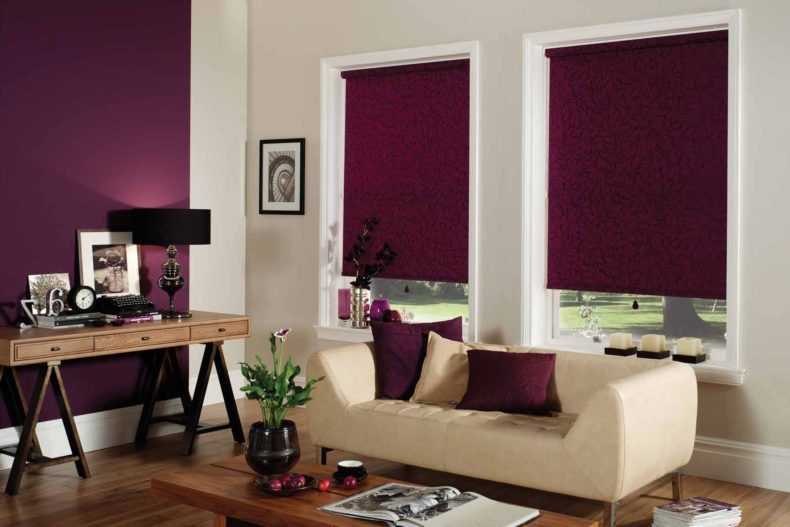
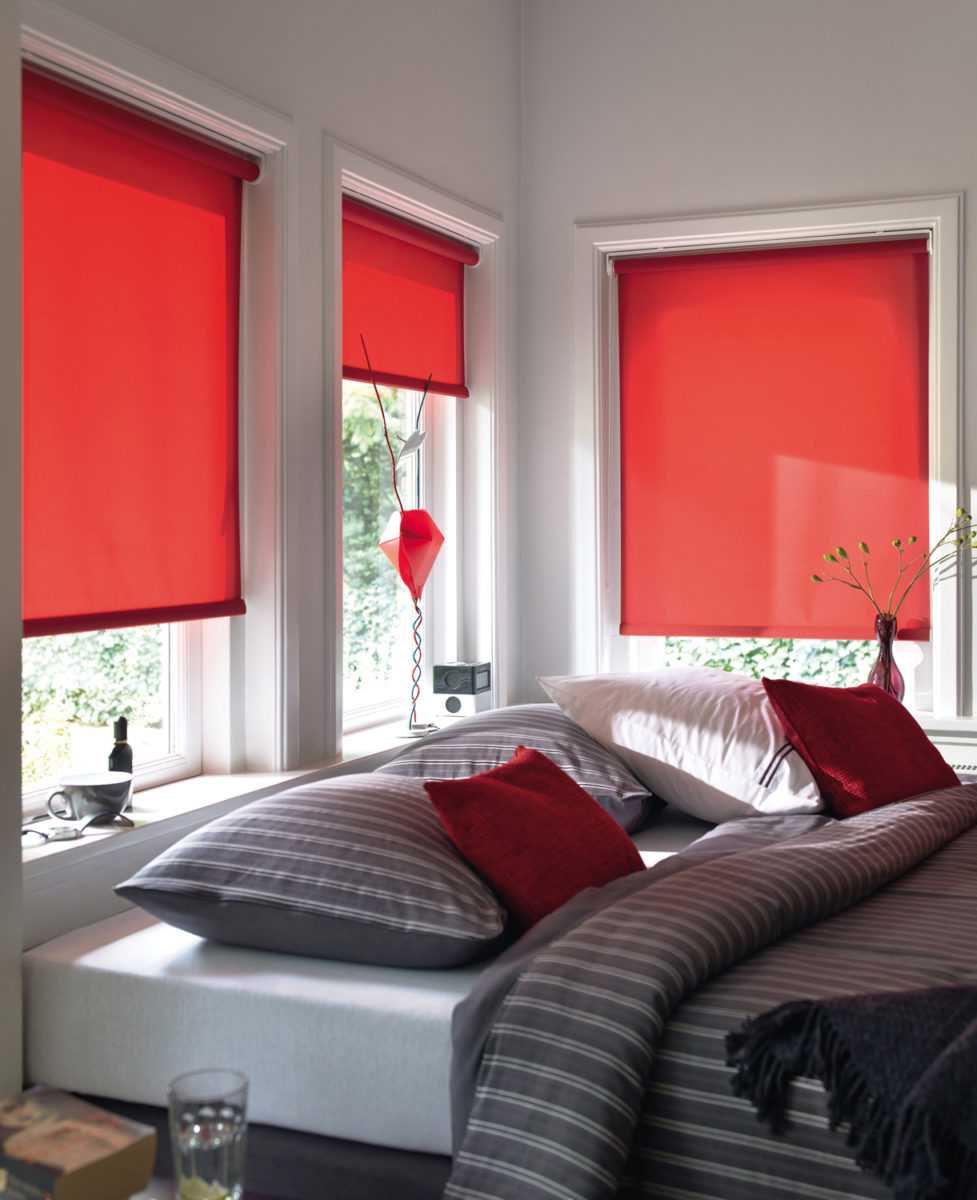
There are two principles to help you navigate. The first is to keep the dominant color in the interior. For example, if wallpaper or furniture upholstery dominates, then the color of the blinds and curtains should be in harmony with the main colors. Another option involves choosing a color for blinds or curtains that would contrast with the base color.
To prevent the window from being lost in the interior, it is better to choose either lighter fabrics or darker ones compared to the main color of the walls or furniture. If furniture or walls are patterned or, for example, striped, then it is better to choose plain curtains for windows and vice versa.
For low ceilings, curtains or blinds starting from the ceiling are best.Optically raise the ceiling and contrasting colors. Cold, light shades will visually enlarge the space.
Abundant decorations can visually reduce the space, while simple uncomplicated ones, on the contrary, will enlarge the room. For large rooms, rich warm fabrics with an expressive pattern are more suitable.