
The design of balconies is associated with some difficulties. The work is carried out using materials that are resistant to moisture and temperature extremes.
One of the options for durable finishes is considered to be MDF balcony cladding with panels. And you need to consider the strengths and weaknesses of the method, as well as the algorithm for performing the installation.

What is MDF panels
The abbreviation is translated from English as wood fiber board material. It is used for decoration of walls and ceilings of various types. Including for balconies and loggias. Decorative coating for vertical surfaces is similar to plastic panels. But they are made from natural wood raw materials. Their colors match the natural shades of wood, are pleasant to the touch, have a rounded smooth surface.
Manufactured from wood waste. In fact, this is a twin brother of the Soviet chipboard, but created using a new technology. The composition does not contain hazardous resins, phenol. The presence of paraffin, lignin is allowed.
The basis of the composition is wood dust, which is obtained from sawdust. After grinding, it is dried and fired in ovens. When heated, lignin is released, it is processed into powder. After the raw material is pressed, panels are formed, cut. They are pasted over with a melanin film with a pattern imitating natural wood.
The structure is pliable, similar in properties to cardboard or plywood. Easy to cut, has excellent thermal conductivity. Can be painted in any color.
Varieties
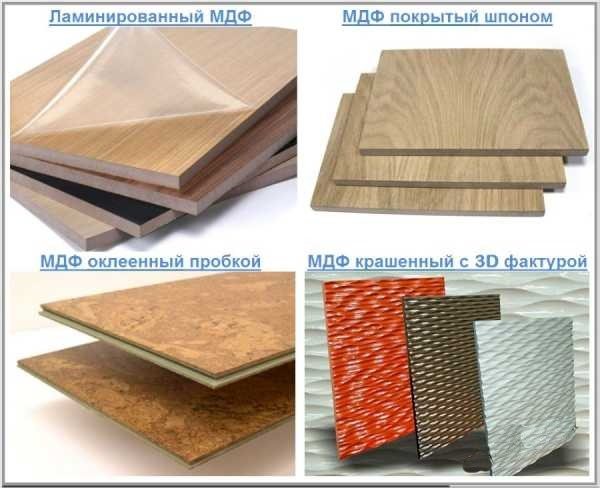
The production is carried out according to a single technology, they differ only in the external finish:
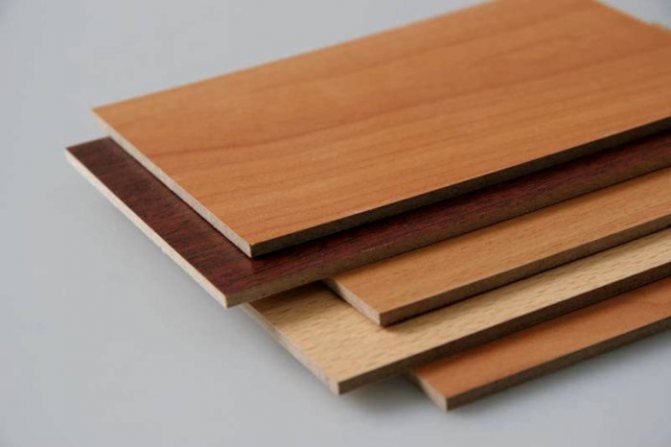
- Veneered... The top layer is wood veneer. Several types of wood are used in the production at the same time. Outwardly, such MDF panels look natural, imitate natural wood. The cost of these products is the highest of those presented.
- Laminated... The most popular option, pasted over with a melanin film. MDF panels for a balcony are usually selected from this type of product. A lot of options for colors, images, which are applied to the film, have been developed. From above, the veneer is covered with a laminated film to create the effect of exclusivity and respectability.
- Painted... The outer coating of such plates is paint. Any color can be used, imitation of wood is not used.
The preference in the choice is made based on the characteristics of the room where the decoration is made. Laminated panels protect from moisture, expensive ones with veneer from scratches.

Design solutions
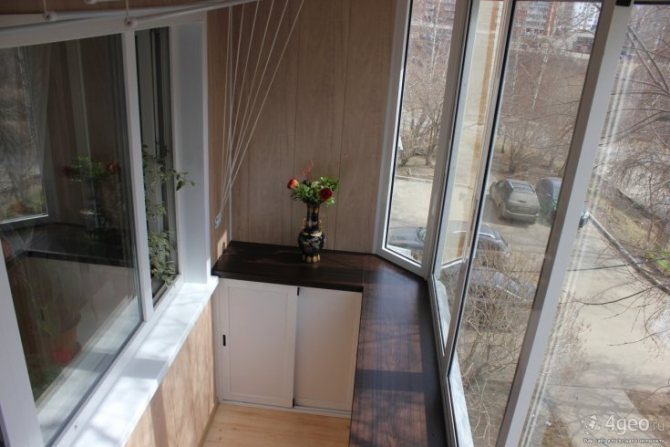
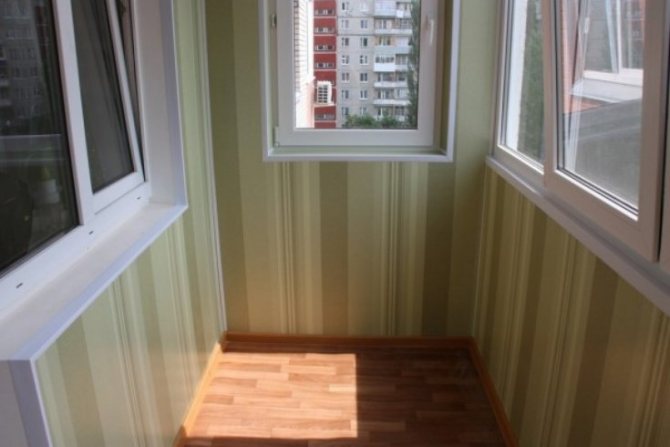
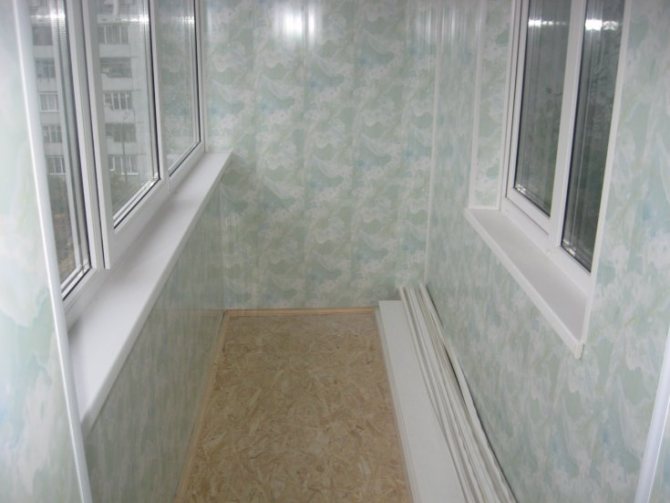
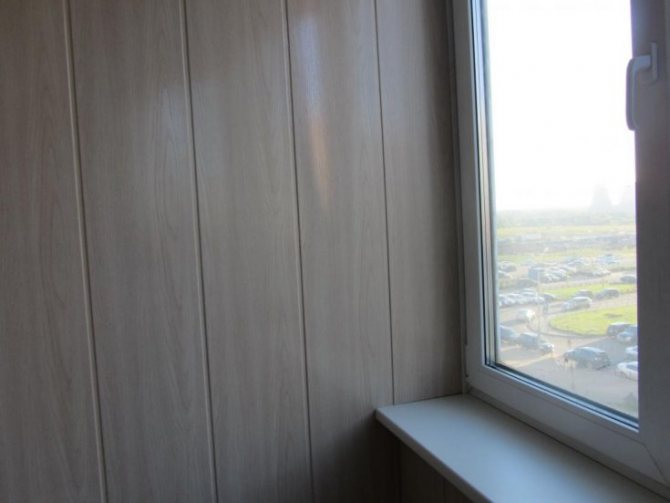
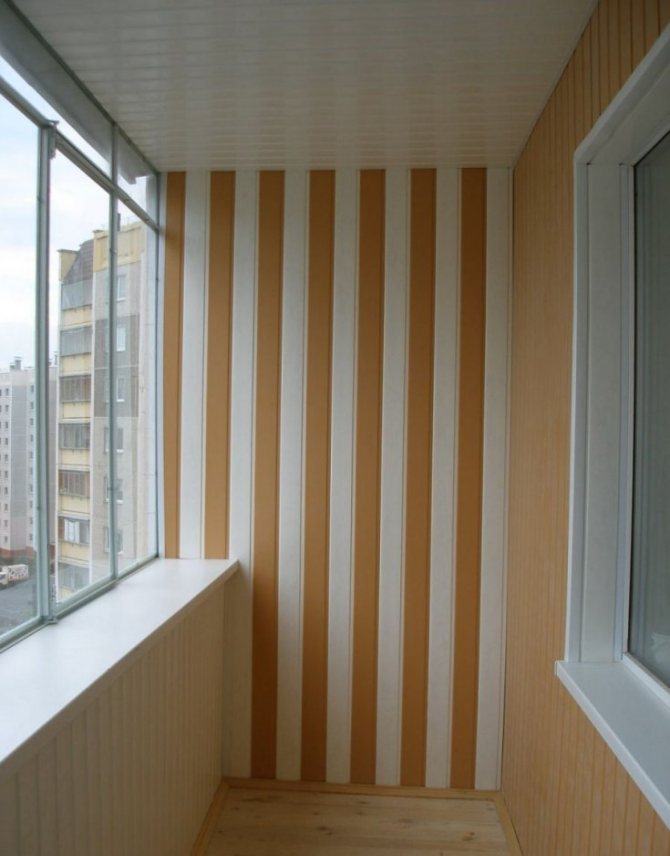
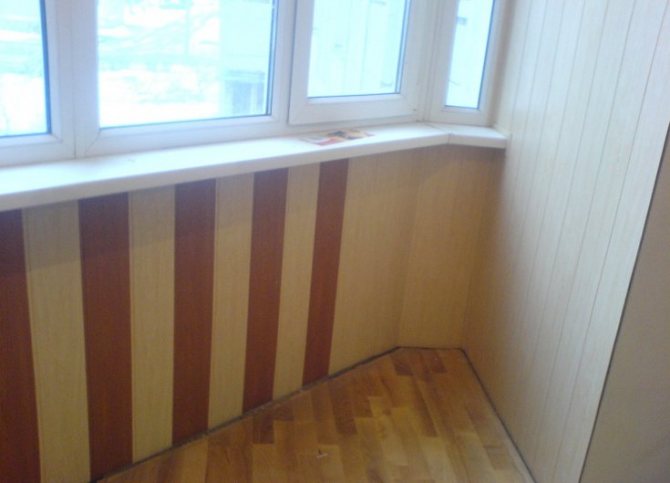
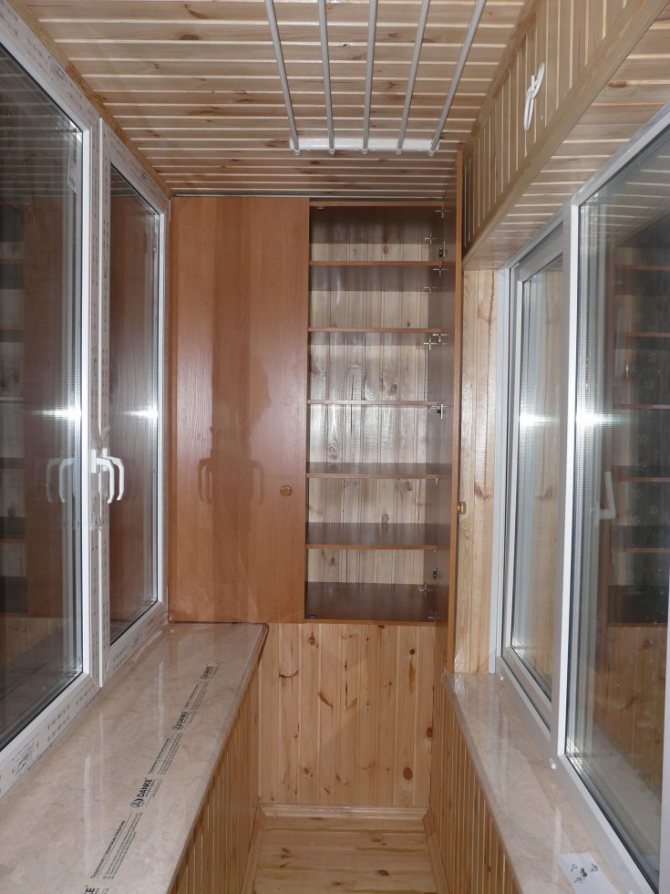
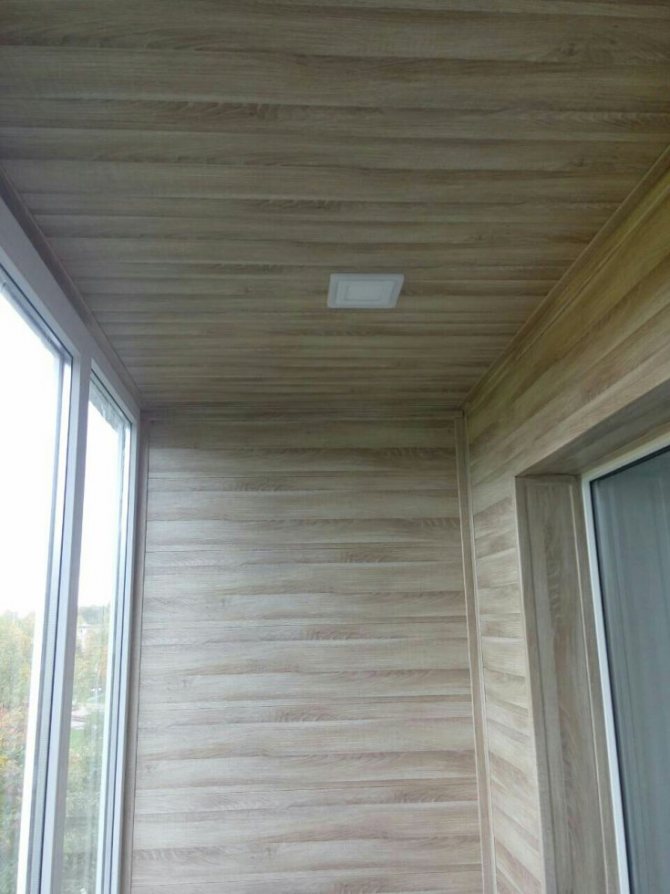
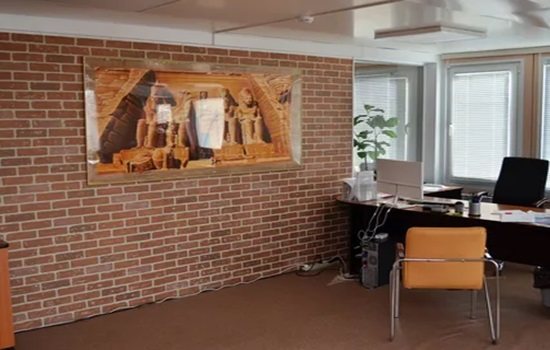
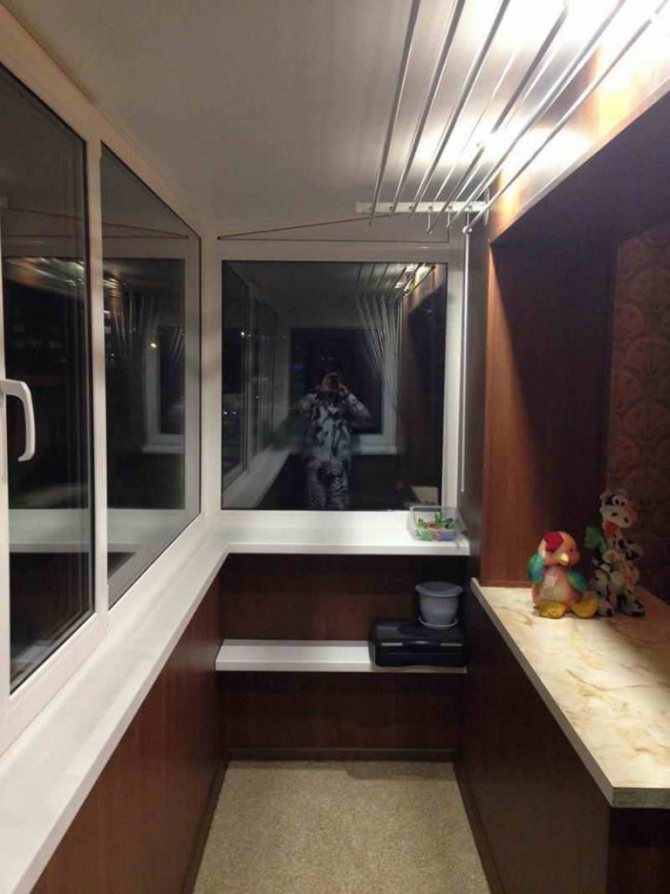
The visual appeal of the finish is provided in various ways. The above photo designs show some interior design options. The following typical design techniques can be distinguished:
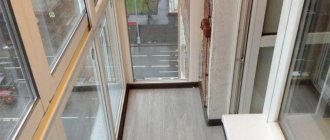
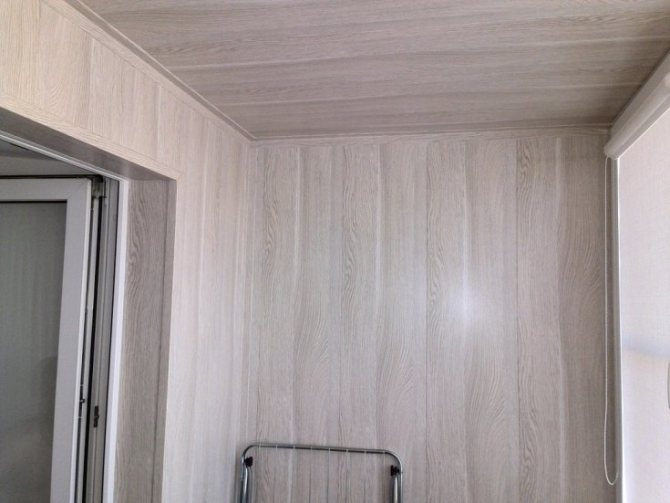
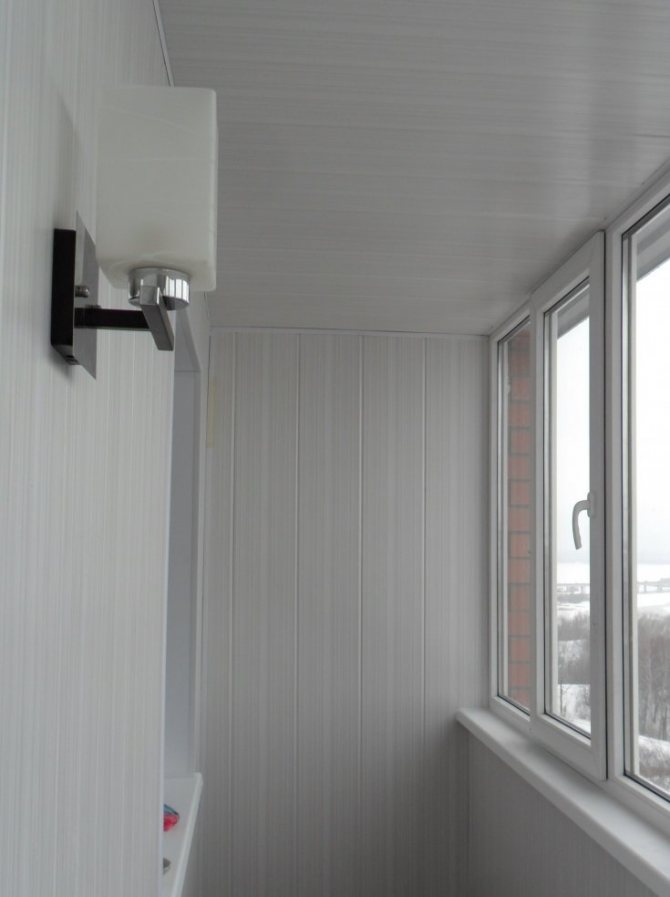
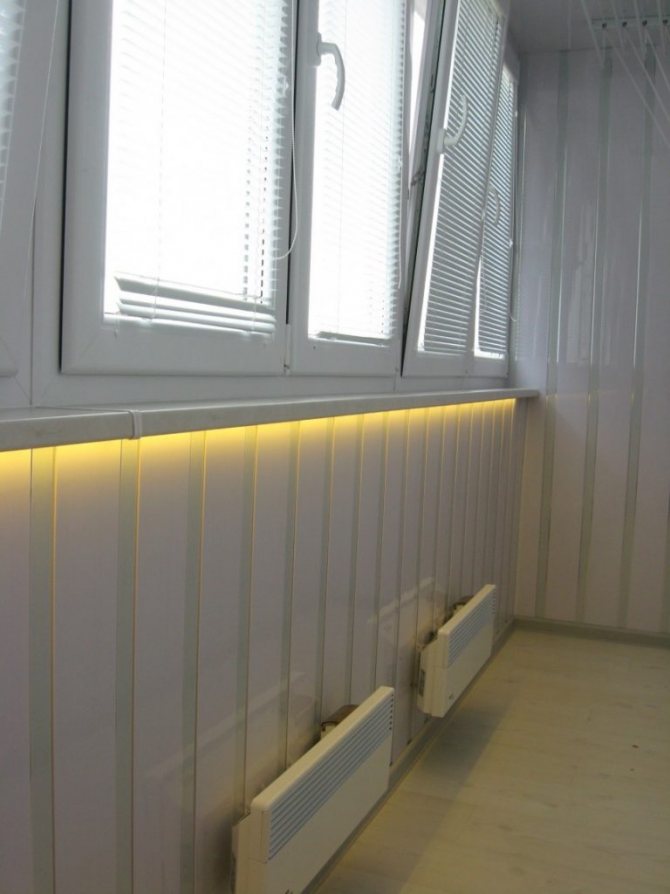
- Combination of different arrangement of stripes. Even modest white panels with a harmonious combination of vertical and horizontal slats, accentuated by PVC profiles, create an original interior.
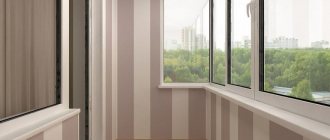
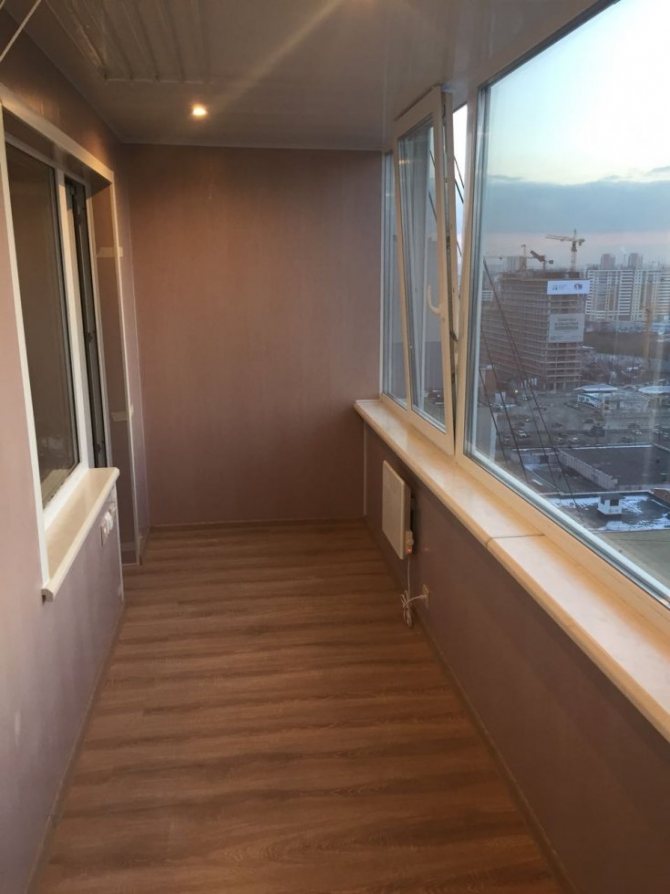
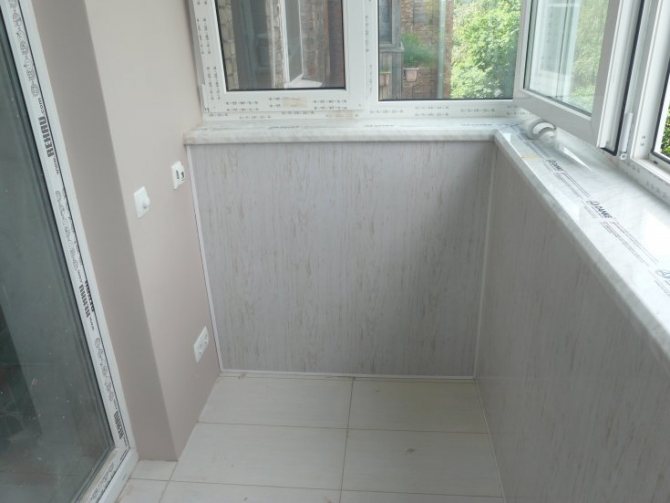
- A color scheme in the form of a general background. Warm colors create coziness. The pastel colors add a special flavor to a pleasant stay. The photo shows an example of design in pink.
- Colour contrast. Modern design styles make extensive use of a combination of black and white, red and white, and other opposing shades.
- Striped wall. Colored stripes can visually change the space: the combination of light and dark stripes in the vertical direction increases the height of the room.
- Picture.Plastic panels are available with bright patterns and ornaments. Their different arrangement allows you to create a colorful interior.
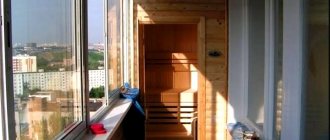
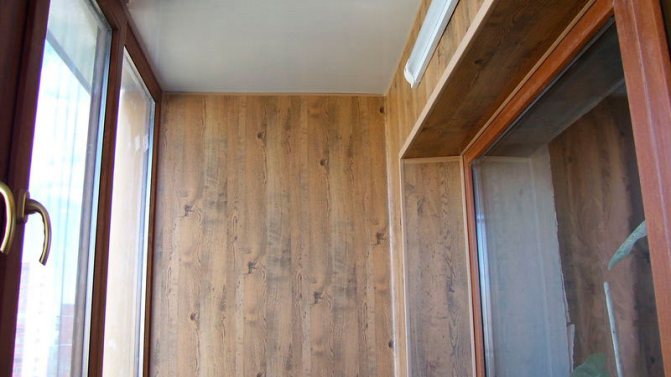
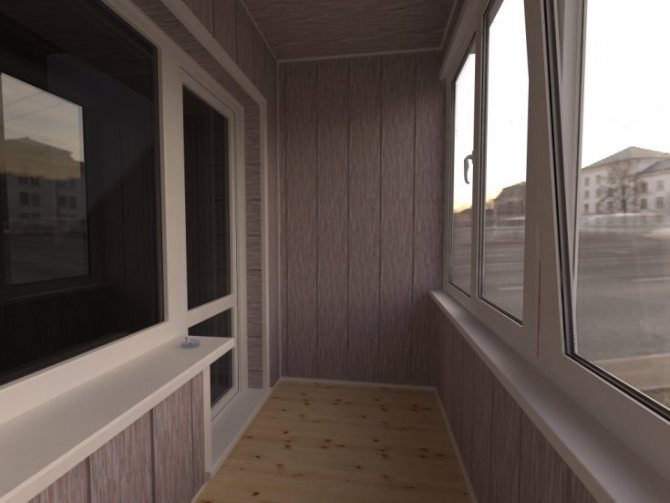
- Imitation. This method is widely used when decorating a balcony. Popular is the material imitating valuable wood species, natural stone, marble, granite, paper. You can imitate ceramic tiles.
Plastic panels allow the designer's imagination to unfold. There are many design options. Which one to choose depends on the preferences of the master and the general style of decorating the apartment.
Should you use MDF panels for balcony cladding?
For this zone in the house, materials are suitable that have high wear resistance, easily tolerate low and high temperatures, are stable, and are not heavy in weight. Decorating the balcony with MDF panels is one of the most demanded design options. The material is liked by consumers for its performance properties, a variety of colors, ease of installation.
The cost, in comparison with similar types of finishes, is usually lower. There are a number of special benefits:
- outwardly look presentable;
- resistance to temperature extremes in the environment;
- they are easy to care for, moisture resistant, can be cleaned with detergents;
- variety of design options.
The material can be treated with any detergent, it is unpretentious. Warning: Aggressive chemicals should be avoided so as not to damage the laminate and, behind it, the entire board.

On the balcony, MDF plates perform a soundproofing function. Installation can be done with your own hands, it does not require special skills, the use of special equipment.
Finishing material options
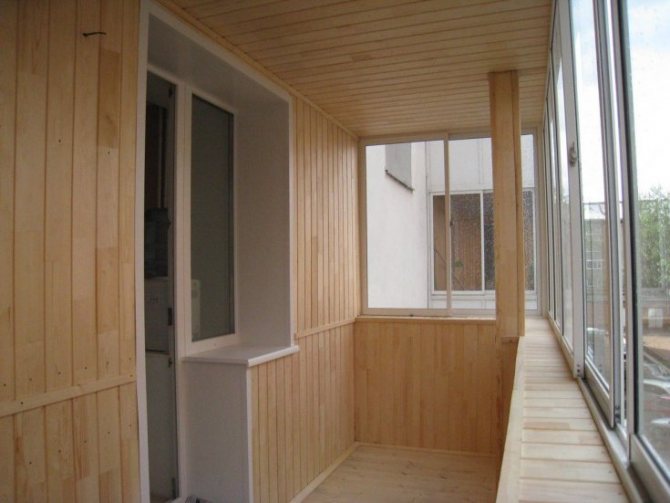
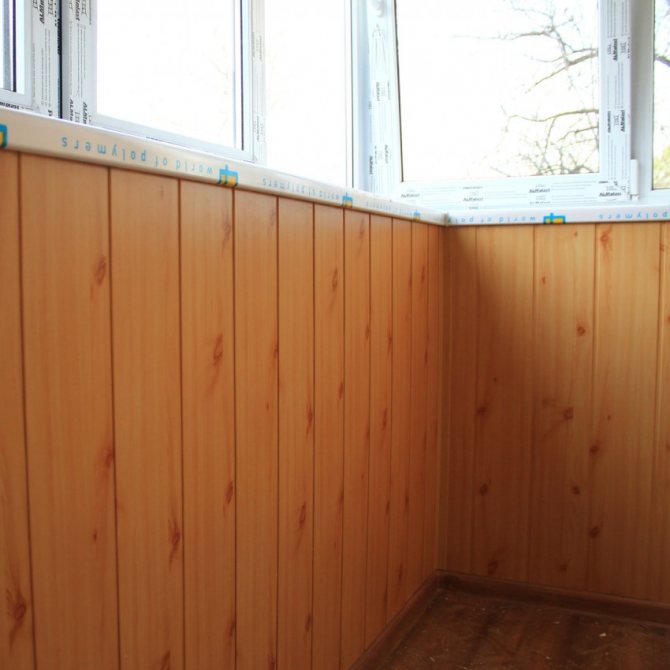
Wooden lining
For cladding balconies, it is better to use conifers. Such lining is most resistant to changes in temperature and moisture.
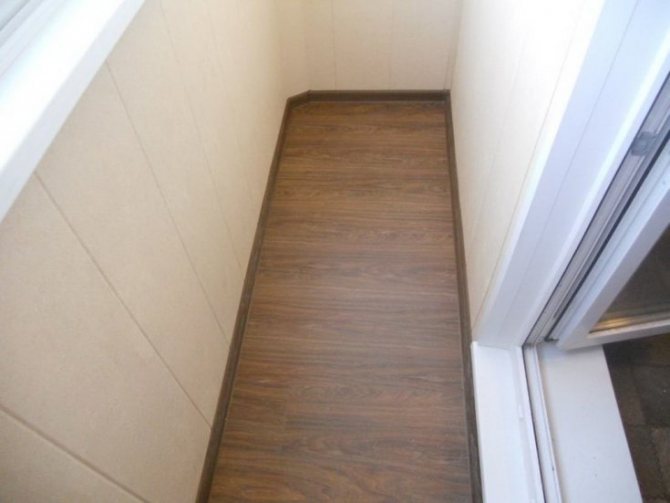
Facing the floor and walls with wooden clapboard.
So that the elements do not lose their visual appeal, timely protection against darkening during operation is necessary. Damage to the surface should also be avoided.
The use of lining provides a spectacular finish and comfort in the room.
Finishing the surface of the walls with clapboard, linoleum was chosen as the flooring.
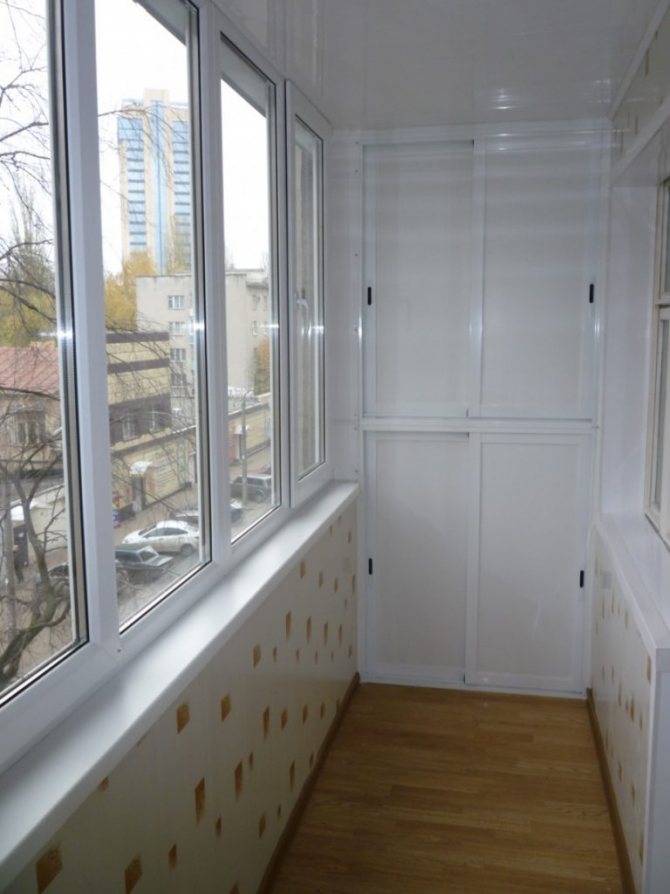
PVC panels
Cladding with PVC panels is an economical finish. Installation of elements is easy to carry out on a wooden frame using self-tapping screws. If the walls are sufficiently flat, the crate can not be created, in this case, special glue is used for fastening.
Sheathing with PVC panels.
A prerequisite for operation: the temperature inside the room must be from + 5 degrees and above.
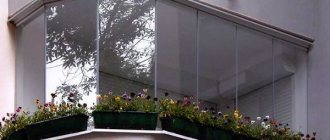
In order to preserve the appearance of the panels from fading in the sun, it is necessary to arrange the windows with curtains or blinds.
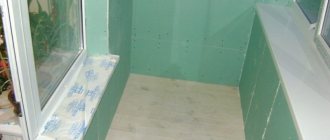
Drywall sheets
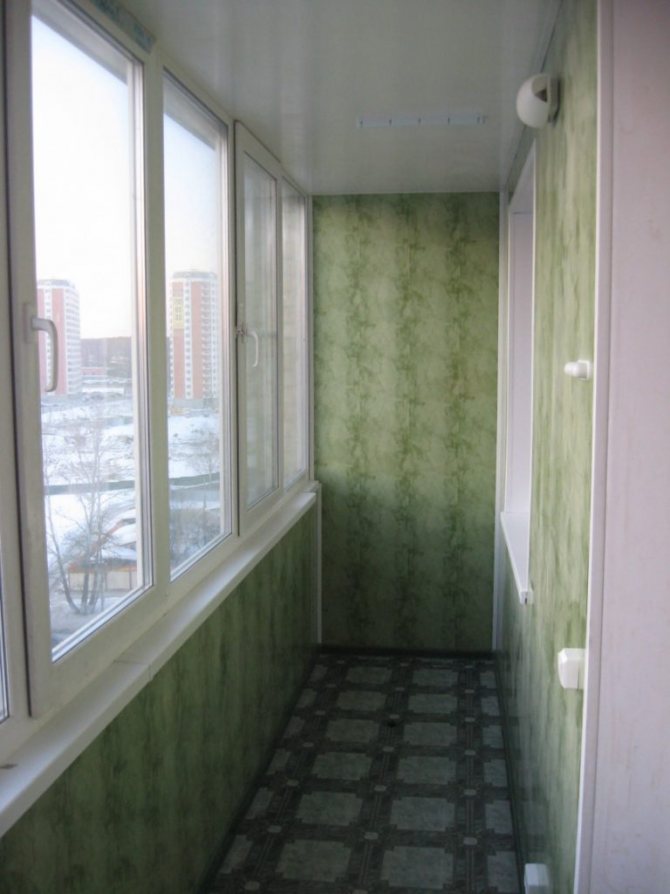
With the help of gypsum cardboard, you can create curved shapes, thanks to its good flexibility. The surface is painted, decorated with decorative plaster, wallpaper or artificial stone.
The base is drywall, the top layer is wallpaper.
Combination of decorative plaster and wallpaper with bamboo texture.
Artificial stone and plaster.
The finishing layer is wallpaper.
The main disadvantage is poor moisture resistance. It is better to use a moisture resistant version of drywall (GKLV).
This method does not require much time and money.
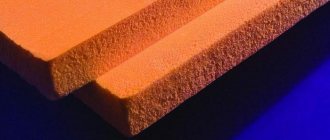
Bung
Making a loggia with cork sheets.
The raw material for the panels is cork oak. Pressed cork sheets are produced with a small thickness. The flexibility of the material makes it easy to shape and assemble the elements yourself.
Cork material can be installed not only in an insulated room, but also on a cold loggia without double-glazed windows.
The sheets are resistant to sun exposure, do not absorb moisture and odors. The main disadvantage is the cost - from 400 rubles. per sq. m.
Siding
Siding in a completed project.
Vinyl siding is used for interior wall surfaces. The cost of the material is low - from 180 rubles. and more (per sq. m).


Main characteristics:
- Harmless to humans;
- High level of resistance to cold temperatures and fire;
- Low weight.
It is better to purchase panels in a white shade. This color does not change over time; sun spots will not be visible on the surface.
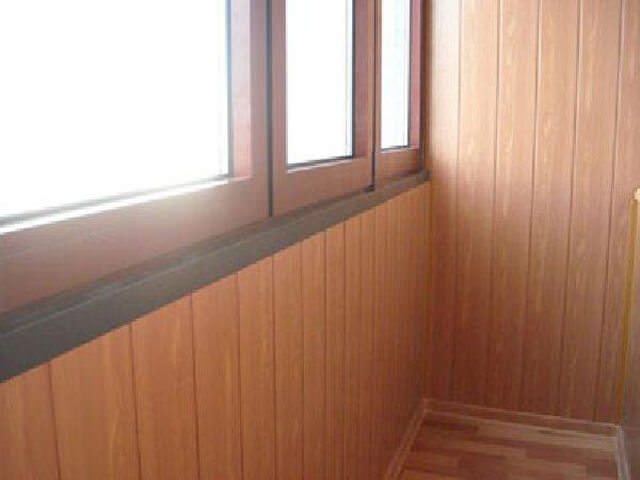
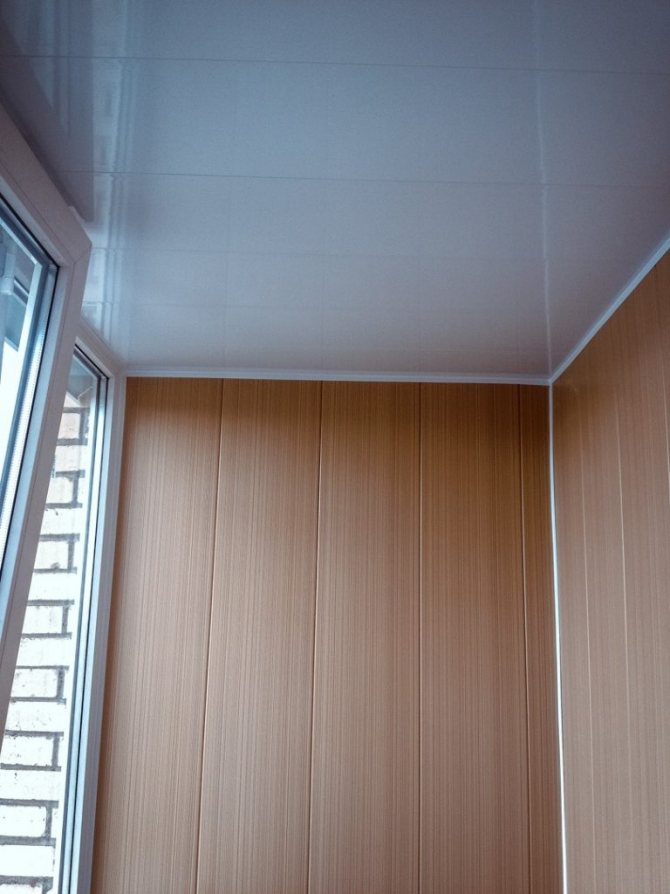
MDF panels
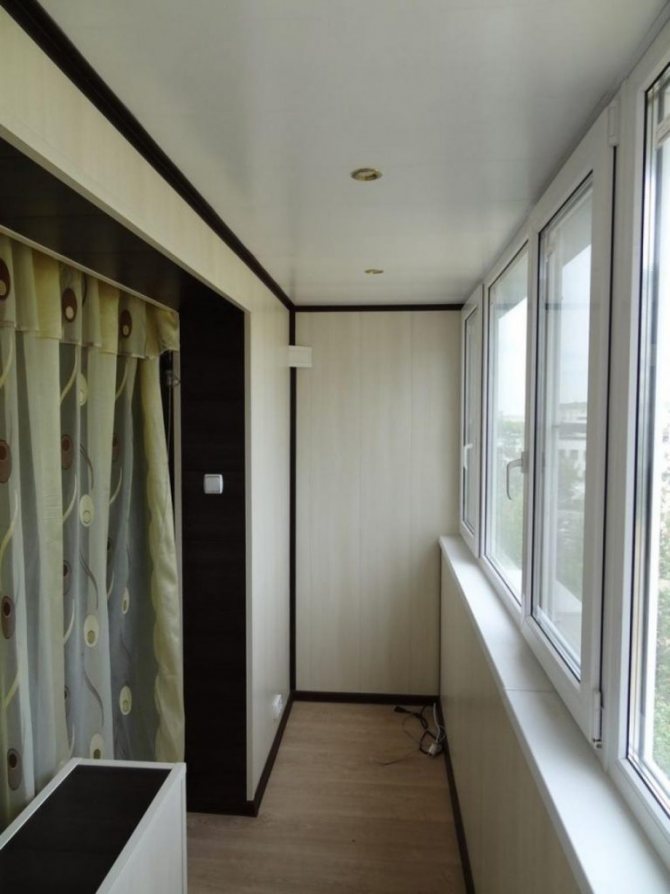
On the construction market, there is a large selection of shades and textures of MDF panels.
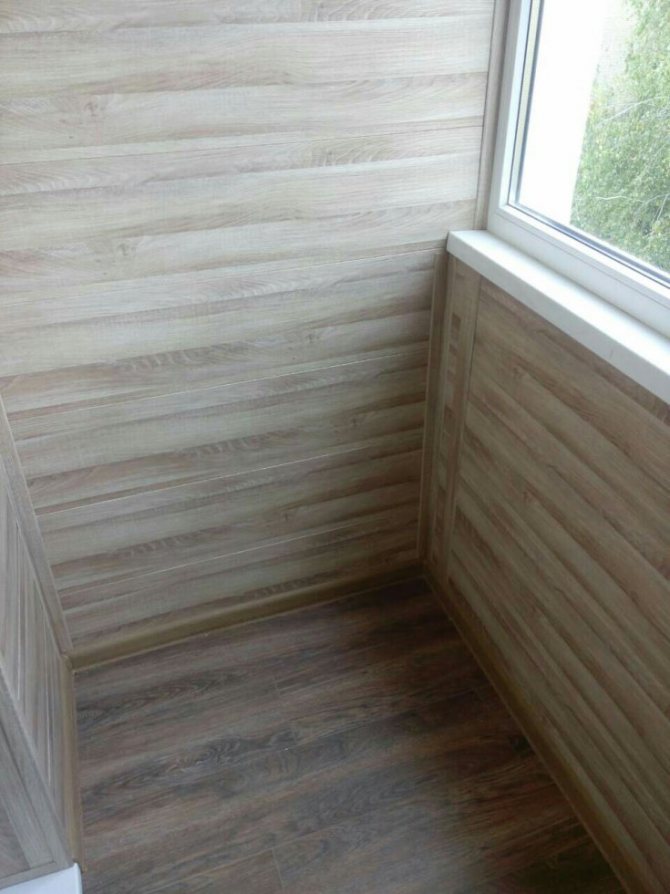
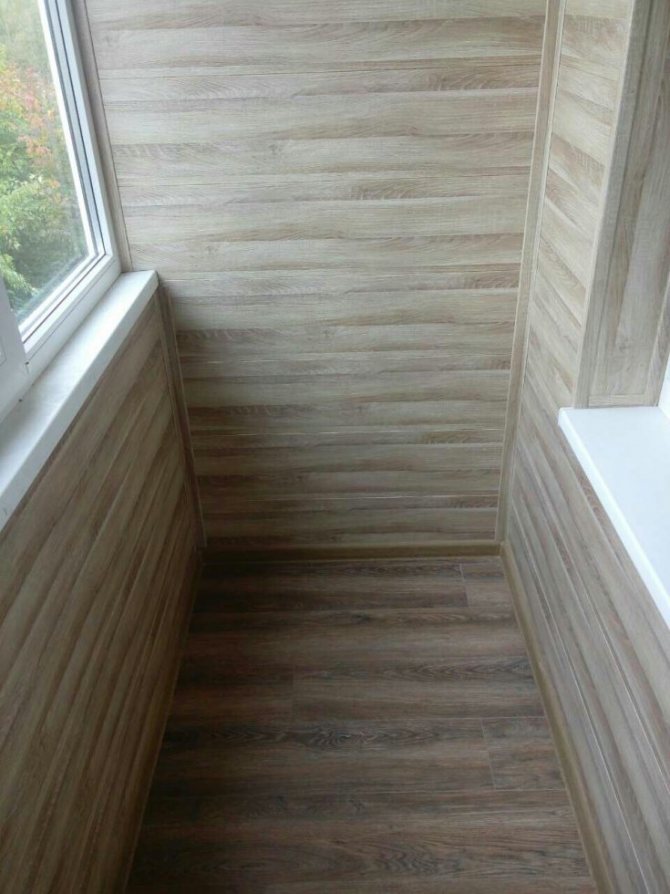
For production, compressed wood is used, which is pre-dried. The material is laminated on top. MDF surfaces can be colored (film), or repeat the texture of wood (veneer).
MDF panels imitating the texture of natural wood.
Pros: affordable price and the possibility of self-installation. The downside is poor resistance to moisture and low temperatures.
Block house
The material is made from metal, wood or vinyl. The shape of the elements is a rounded log. The imitation of a log house in the decoration of the loggia looks impressive and rich. The use of a block house is not appropriate in small rooms, since the area will become even smaller due to the thickness of the material (3.6 cm).
Block house in the interior of the room.
Better to choose a vinyl block house. Thus, it will turn out to reduce the load on the floor and walls.
Plastic lining
This is the most economical way of facing the loggia. The cost of 1 sq. m starts from 130 rubles. Feature of the material: practical, has good sound insulation and high thermal conductivity, the elements can be mounted even if the room is not insulated.
Plastic lining.
Operation of plastic lining is permissible both in cold conditions and at high temperatures.
A rock
Imitation of natural stone in the design of the balcony.
Artificial stone in the balcony space looks reliable and presentable. Manufacturers indicate the duration of operation of 15 years or more. The stone surface can be used in various temperature conditions. The finish is not afraid of moisture, prevents the emergence and spread of fire.
Disadvantage: the cost varies in the range of 400-2000 rubles (price per package).
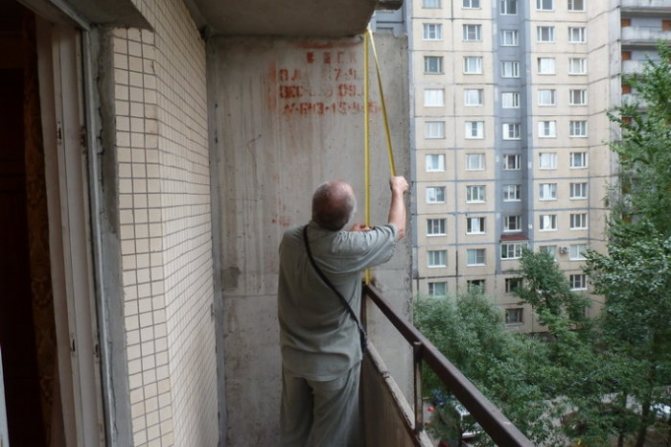
How to make measurements correctly
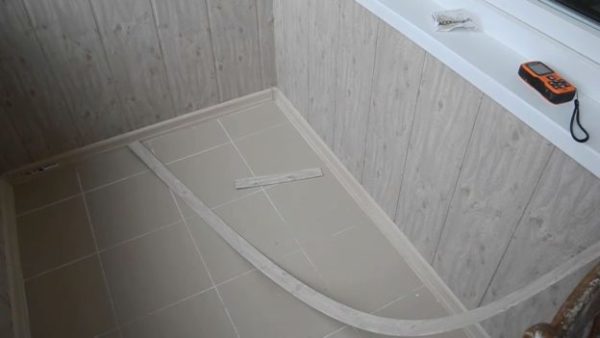
The correct calculation of the square meters that will be required to finish the balcony will save you from wasting time on alterations and re-searching for a suitable material.
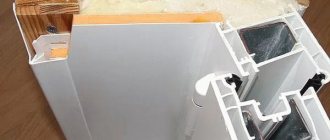
MDF boards look like a board. They come in different widths and heights. For balconies and loggias, moisture resistant varieties are used. The thickness of the product must be more than 6 mm. Plates are fixed using a groove-comb method. The calculation of the amount of material comes from the area of the walls, ceilings, where the installation will be carried out. Another 10-15% is added to the required number of square meters for adjustment.
Plastic corners connect the joints and form corners. Purchased according to the size of the balcony in accordance with the length of the joints. Insulation is calculated by the footage of the area that needs to be protected, taking into account the presence of beams.
Longitudinal wooden beams are required for the lathing. Suitable size 20 * 40mm. Variety is a metal profile. They are measured in running meters, they will be fixed in increments of 40 cm over the entire finish area.

List of advantages and disadvantages
MDF is characterized by the following properties, allowing them to be used in the decoration of balcony rooms:
- moisture resistance;
- durability comparable to solid wood;
- low rates of thermal conductivity;
- durability;
- ease of installation and processing;
- budget cost.
The disadvantages of the material are the impressive weight of the panels, the ability to accumulate dust. Finishing the MFD balcony involves drilling holes for fasteners and screws.
In addition, the panels are protected from moisture by substances, some of which are harmful to health.
What is required for do-it-yourself installation
Complex equipment is not required during installation.

You will need to use:
- screwdriver;
- perforator;
- screwdrivers;
- jigsaw or saw;
- for metal - grinder;
- building level;
- furniture stapler;
- polyurethane foam;
- self-tapping screws;
- staples, glue, clamps.
Also stock up on a simple pencil, ruler, tape measure. For safety reasons, goggles, gloves.
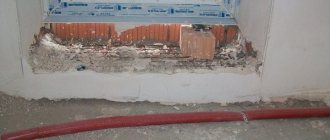
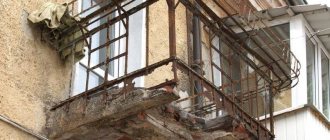
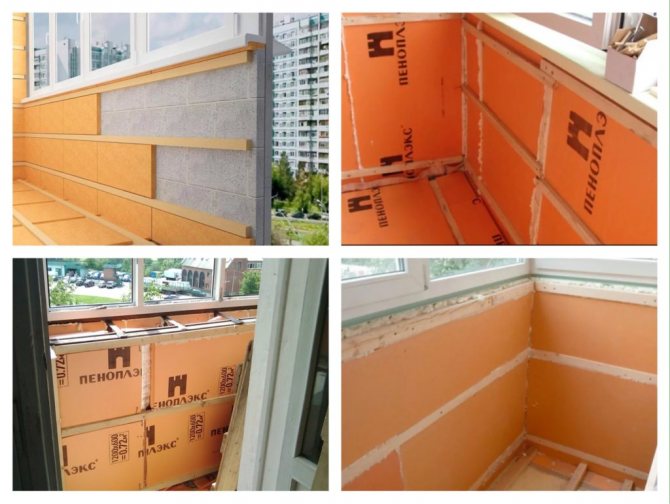
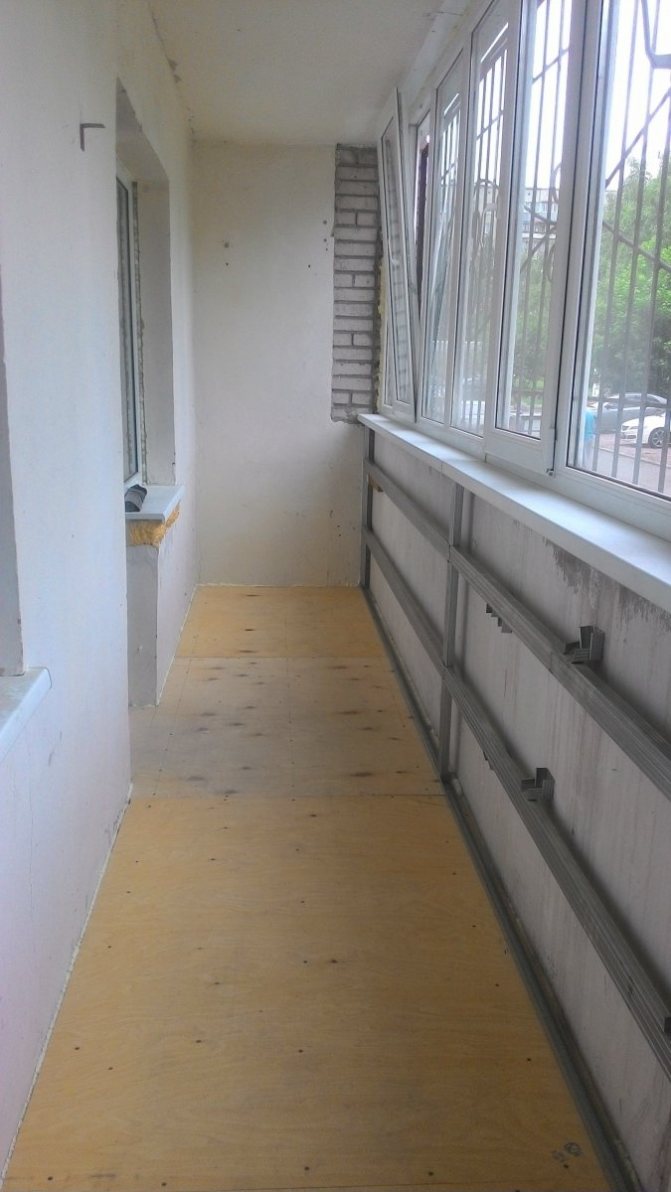
Preliminary work
The first step is to pay attention to the walls. You don't need to align them, but preparation is required. Outside rooms have direct contact with the street. There should be no cracks, gaps, or places where moisture can accumulate on the walls. Their presence can lead to the formation of mold and the subsequent dismantling of the entire structure.
Preparing the walls
Pre-cleaning is carried out from the previous finish. Unstable areas and cracks are covered with a layer of protective material (concrete, plaster). For treatment against parasites, an antifungal composition is used. From above, the walls are covered with a primer.
Useful tips for beginners
If this is your first time doing repairs on a loggia or balcony with your own hands, we recommend that you pay attention to a number of nuances: 1. First of all, the walls must be thoroughly cleaned from the remnants of the previous coating, the surfaces must be leveled using sheets of moisture-resistant drywall. 2. When choosing a finishing material, give preference to calm, monochromatic shades or a coating with imitation of wood texture, this color scheme is universal, it is in perfect harmony with various interiors. It is worth taking a closer look at the textured surface - when it coincides with the interior of the room, it automatically turns a simple DIY repair into a unique design work. 3. Pay attention to the width of the panels, as hardware stores offer several options - standard and narrow. For balcony cladding, wider panels will be optimal, they cover a large area, so with their help you can greatly simplify the cladding process. It is also recommended to buy materials with a small margin, because with such work there is always the possibility of a small defect.
You will be able to pay for light by 30-50% less, depending on what kind of electrical appliances you use.
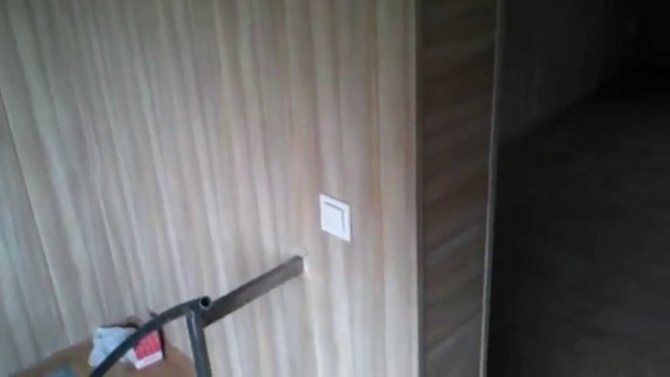
4. Since it is very convenient to have a complete lighting system on the balcony, take care of a sufficient number of switches and electrical outlets. All wires must be laid before the wall cladding, cut a hole in the selected panel, insert the junction box and remove the wires with their subsequent connection. However, in the absence of experience in this area, it is better not to lay electrical wiring with your own hands, but to invite a specialist. 5. The panels are adjusted in height and cut along the openings directly during the installation process, but if you are determined to do the layout in advance, then take into account the natural shrinkage of the panels in width. 6. The best way to cut MDF is to use an electric jigsaw. At the moment, there are many opportunities for ennobling the interior of the balcony space. The optimal material that should be used for this purpose is MDF panels. Simple installation manipulations, which you can do with your own hands, will turn the balcony into a beautiful, cozy room.
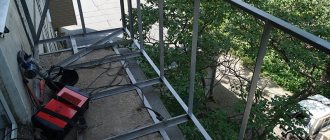
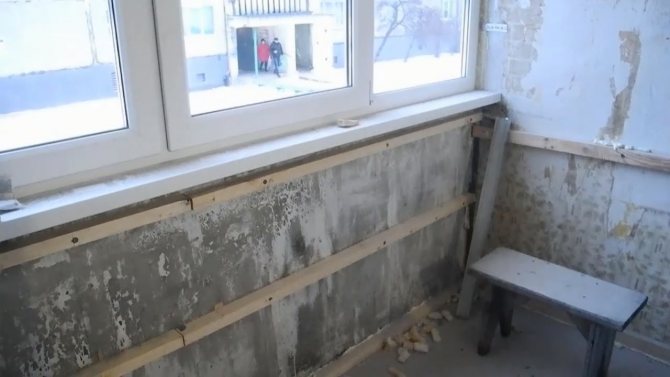
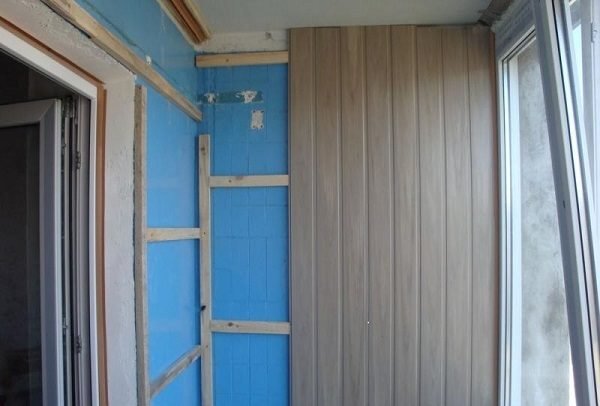
Installation of the lathing
The presence of a retaining frame is not a prerequisite for facing a balcony. It is possible to install the material with glue directly on the wall.In this case, experts recommend installing the crate only on the outer surface that is in contact with the street. It has direct contact with the street and needs insulation.
Grilles allow you to fill the space with insulation, which will maintain a pleasant indoor climate. Another plus in the presence of insulation - the cladding will retain its original appearance longer at room temperature on the balcony.
Why wooden lathing is preferable to metal:
- easier to mount;
- according to its characteristics, it has the same moisture absorption system as cladding panels, the possibility of warping of materials is significantly reduced;
- it weighs less, which is especially important when installing external structures (balconies).
The location of the lathing bars directly depends on the design of the cladding. They can be placed horizontally, vertically or diagonally, as the owners of the premises decide. According to the rules for installing the structure, the lathing is installed perpendicular to the direction of the MDF panels, in particular:
- horizontally if the panels are vertical;
- vertically, if the plates are horizontal;
- diagonally - not important.
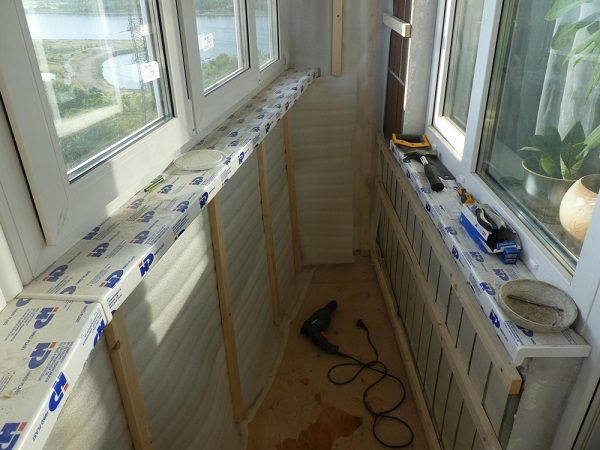
horizontal direction of siding - vertical crate
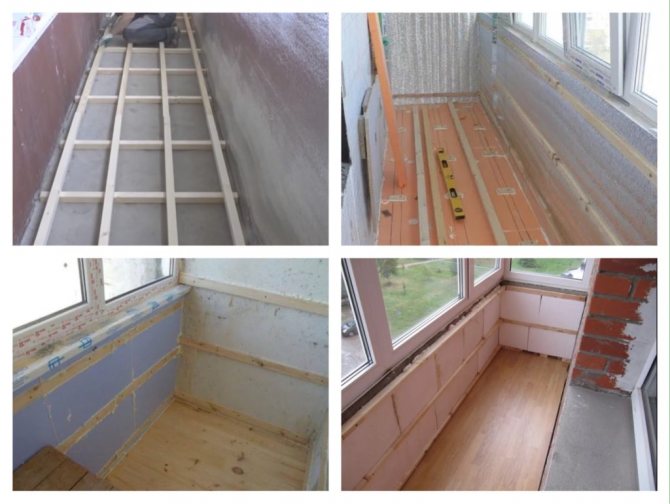
Stages of installing the lathing:
- Measure out equal segments on the wall in increments of 40-60 cm. Place marks with a marker and a ruler horizontally and vertically.
- Install the hangers according to the marks. They will help smooth out the unevenness of the wall, if necessary, level the lathing bars.
- Attach the bars, check if they are evenly installed. Adjust the tabs if necessary.
- Fasten the crate securely.
- Treat the timber with an antiseptic.
- Cut off pieces of insulation according to the size of the lags, insulate the walls.
After that, you can proceed with the installation.
Scope of use
Brick-like MDF panels are used not only for interior wall decoration, but also for external surfaces. The facing material has managed to prove itself quite well for cladding loggias and balconies, gazebos and terraces.
Designers use this cladding option to create different interior elements. A two-level floor, columns are made out with MDF wall panels, "torn" surfaces are arranged, ceiling ceilings are decorated.
Installation of MDF panels
Installation of decorative finishes is the main stage of cladding. There are several options for attaching material to the crate:
- on glue, suitable for thin slabs for placement on small balconies, large areas require a different level of reliability;
- on staples or self-tapping screws, suitable for warm rooms where the material is protected from temperature drops and will not change its physical properties;
- on kleimers (special devices that connect the crate and the panel), the best way for outdoor rooms.
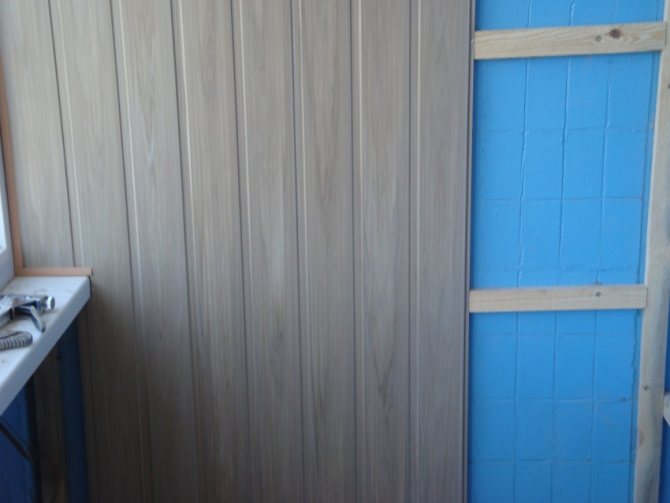
Step-by-step instructions for installing the plates:
- Cut the material according to the height of the walls. Take into account 3-5 mm, which must be left for the installation of the corners. Create the necessary holes for the outlet of electricity.
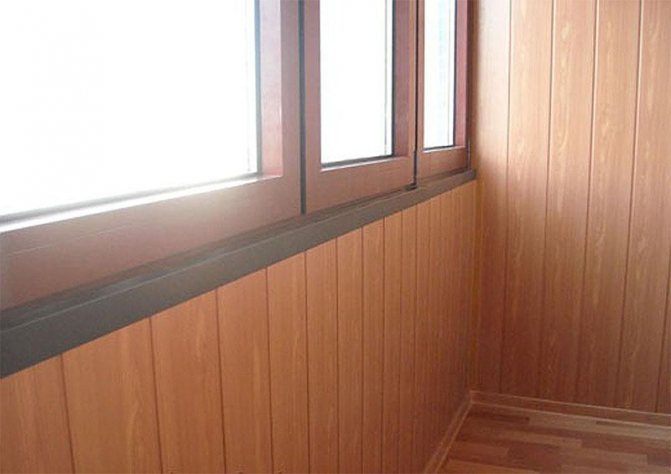
- It is recommended to start the installation from the window. The first panel is installed from top to bottom.
- The next one is mounted in the grooves of the previous one. On the reverse side, clings to the crate with clamps.
- At the corners, so that the material converges evenly, you will need to cut them. To maintain uniform placement, the angles that the eye falls on when entering the balcony are connected first and as evenly as possible, imperceptibly to the eye.
If a window sill or projections are present, the panels are trimmed to fit.
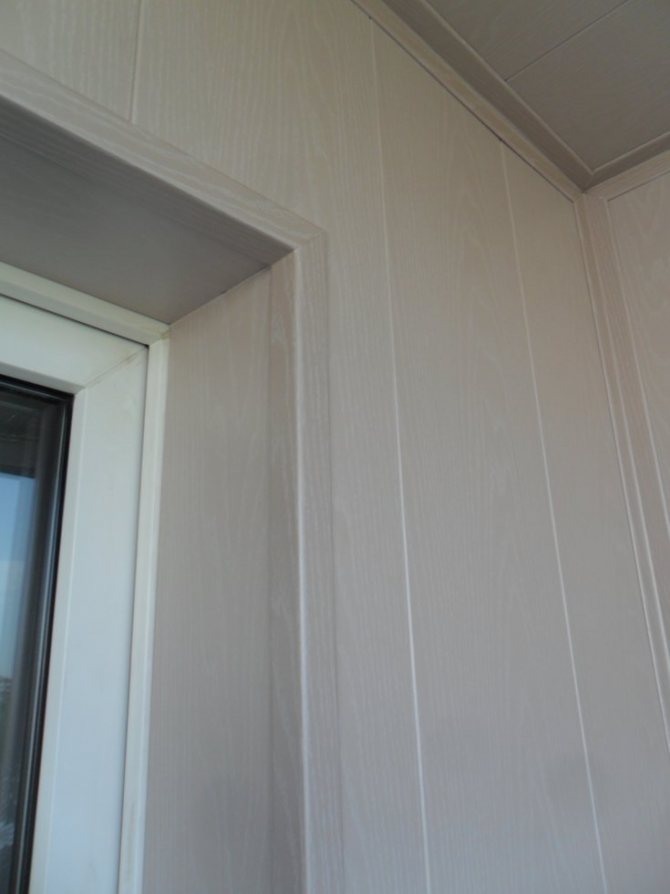
Slopes
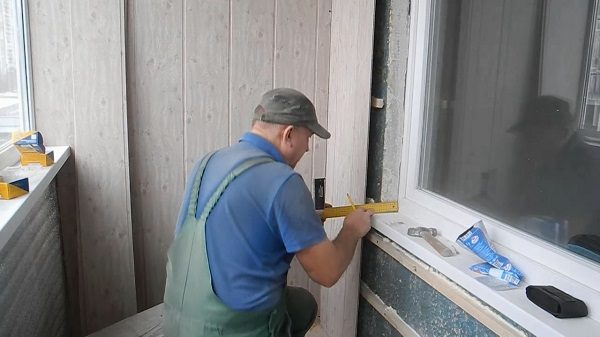
The horizontal slopes are attached first, followed by the vertical ones:
- Measure the required length under the windows, above them, near the door.
- Cut off pieces of the panel according to measurements.
- Install on foam.
- Press them against the wall and leave to dry.
- After fixing the polyurethane foam, eliminate excess material;
- Fix with self-tapping screws.Leave space for the final corners.
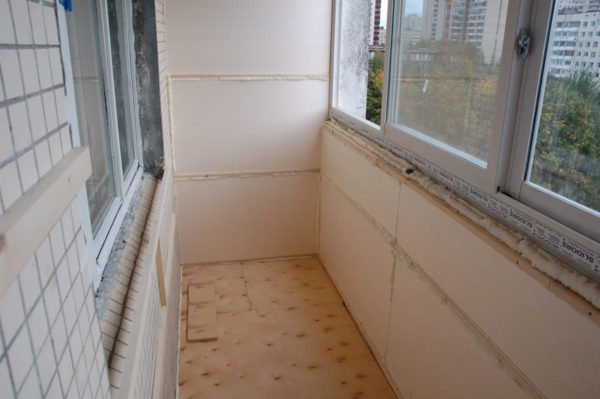
Preparatory stage
It will require an investment of significant effort, time and money. The fact is that it will not work to sheathe a MDF balcony with panels without creating a high-quality foundation.

Therefore, you will have to do this work:
All surfaces are cleaned and tapped with a hammer. If uneven places are identified or shedding has occurred, it is necessary to knock out the entire unreliable area, and fill it with a cement mortar with sand.
The smallest gaps are sealed with silicone sealant or closed with polyurethane foam. Various debris and dust layers are removed.
The surface is covered with an antiseptic primer twice - the second after 4 hours. This is to ensure that there is no mold or mildew under the panels. Although their surface is not subject to this kind of impact, it is recommended to perform this step.
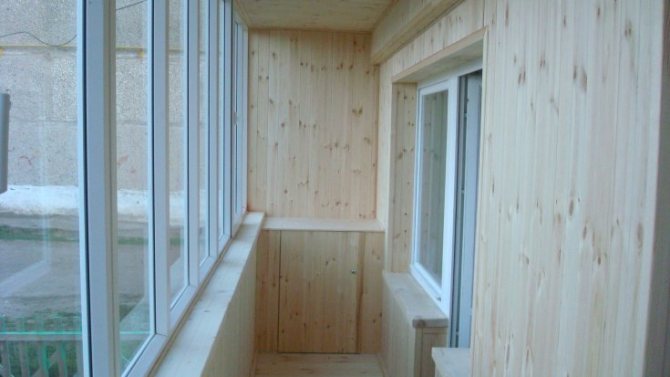
Home stretch
The last step helps to hide the flaws in the cladding. The design of the corners and joints gives the work a complete look:
- Start from the floor, attach the skirting board.
- Cut the corners for the joints according to their length. To make the joints of the horizontal corners and vertical corners even, look aesthetically pleasing, they should be cut off at an angle of 45 degrees. Then they will converge without a layer.
- To fix the joints: coat with glue from the inside, bend it with an angle inward, press it tightly against the wall. After that, spread the side wings and press tightly too.
- Seal small gaps between window frame and panels with silicone sealant. Remove excess.
Installation is easy to do with your own hands, without involving workers and spending extra money. If necessary, dismantling is also easy.
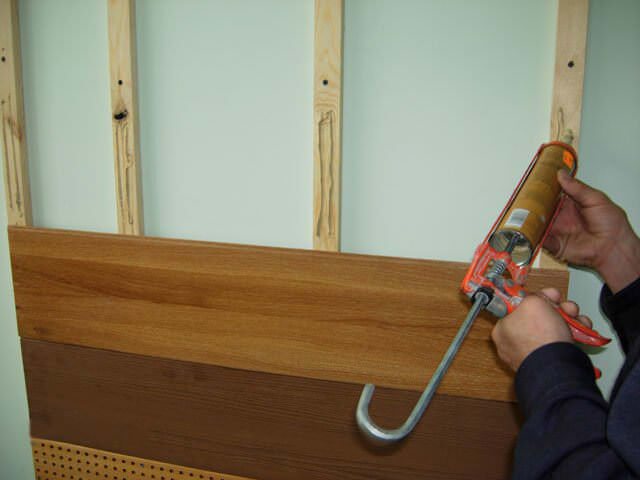
Glue mount
There is another way to fix the panels - using glue or liquid nails. This method is the fastest, but the quality of fastening does not suffer from this at all. It is ideal for those who do the cladding with their own hands, as it does not require special tools and significantly reduces the repair time. The algorithm of actions for gluing MDF panels includes: 1. Preparing the balcony walls, dismantling the old coating, cleaning from dust. 2. Treatment of walls with cement-sand mortar, paying special attention to cracks and depressions. 3. Covering leveled walls with a layer of primer. 4. After the primer layer has dried, putty must be applied to the surface. 5. Attaching MDF panels: apply construction glue to the panel and press firmly against the wall, starting from the corner of the balcony, gradually moving along the wall. The panels should be glued without gaps; excess glue can be removed with a knife.