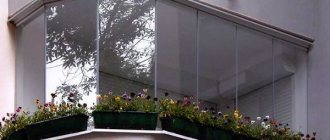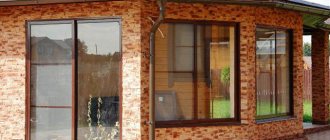
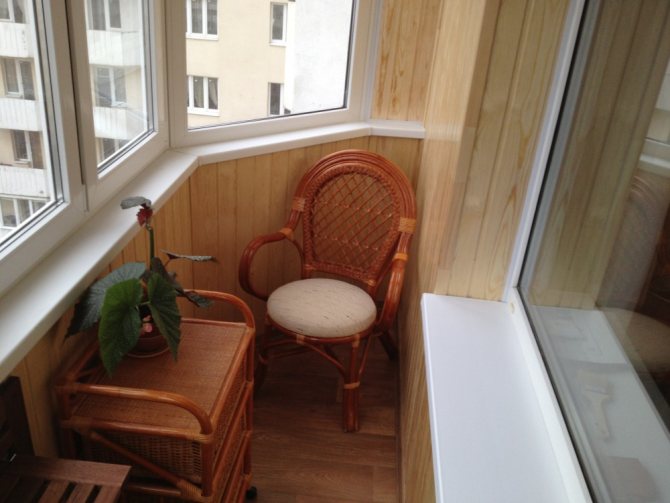
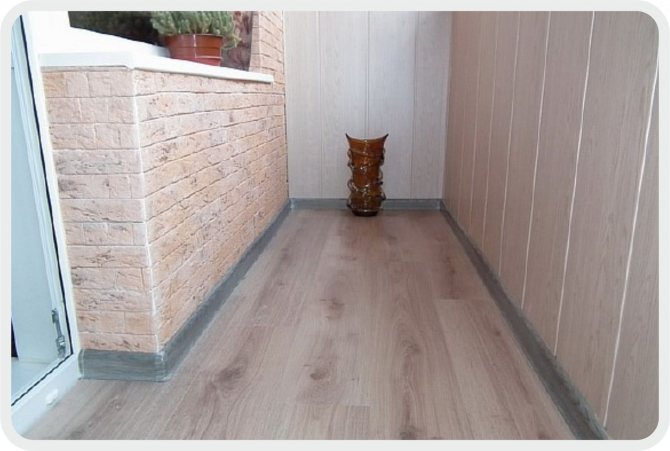
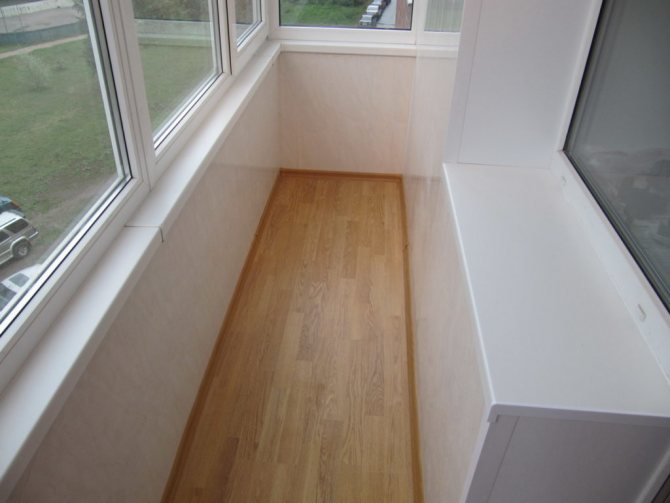
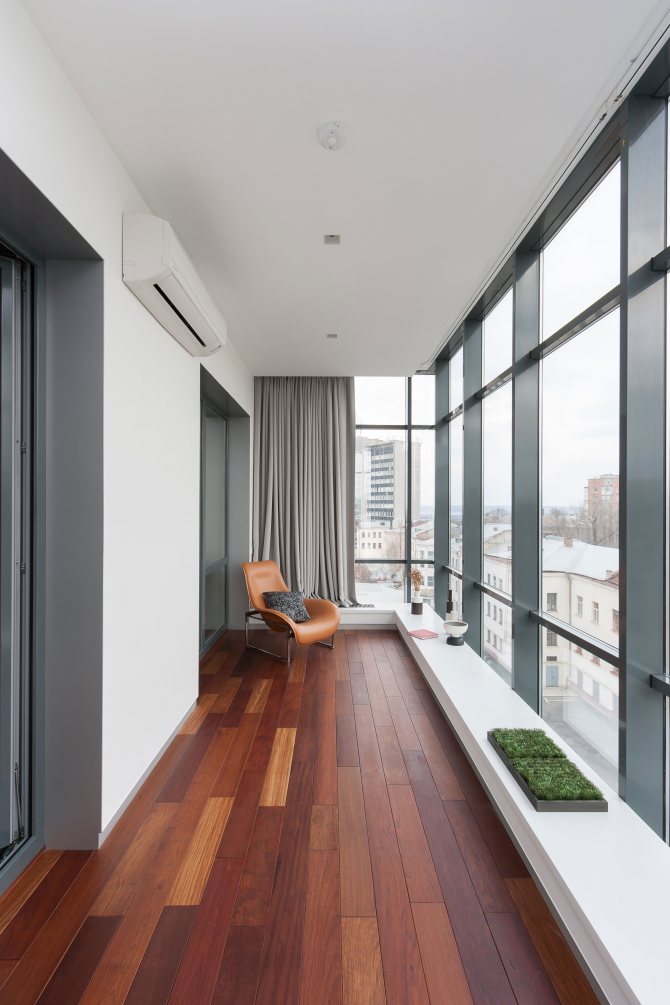
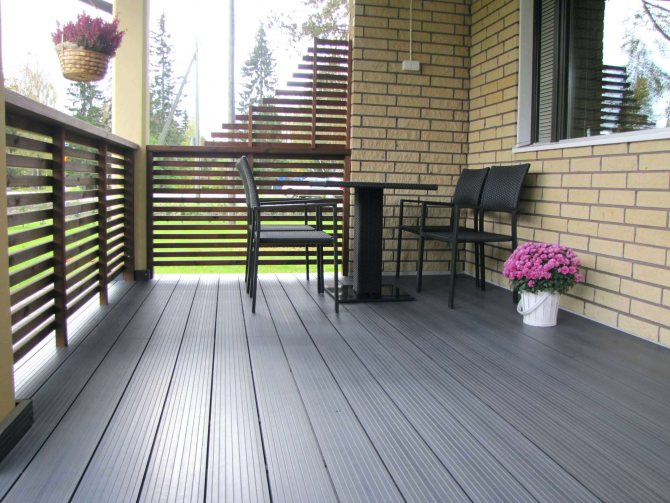
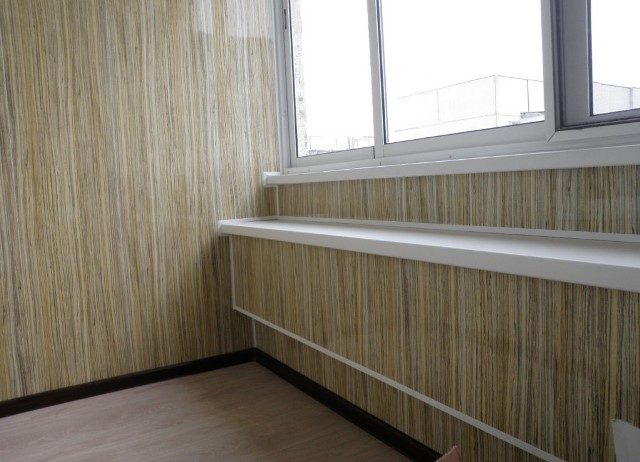
Finishing the balcony with laminate is an excellent solution for giving the room a stylish wooden look. Many are accustomed to seeing laminate flooring only on the floor, but with the correct technology, both walls and ceilings can be finished with this material.
In this article, we will analyze the advantages and disadvantages of laminate flooring, and with the help of step-by-step instructions, we will finish it ourselves.
Why he?
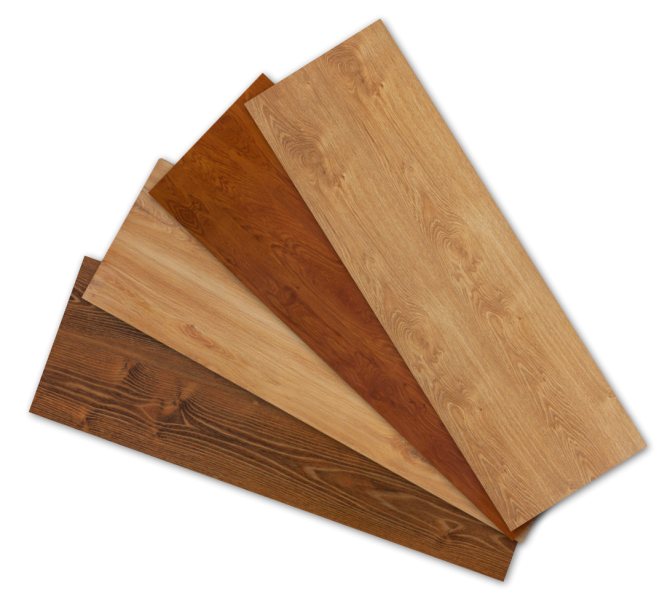
You can solve the design issue by installing a laminate on the balcony. The advantage of the material is its technical characteristics. It is based on layers of wood and plastic.
It is popular in the construction industry due to:
- cheapness;
- a variety of appearance (textures, colors);
- ease of installation, use;
- resistance to mechanical stress;
- heat resistance;
- hygiene (microorganisms, bacteria on the surface do not develop);
- simplicity of preserving its original appearance (easy to clean with a sponge).
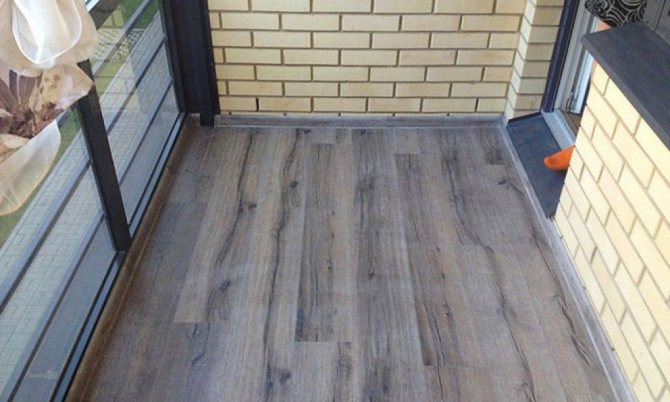
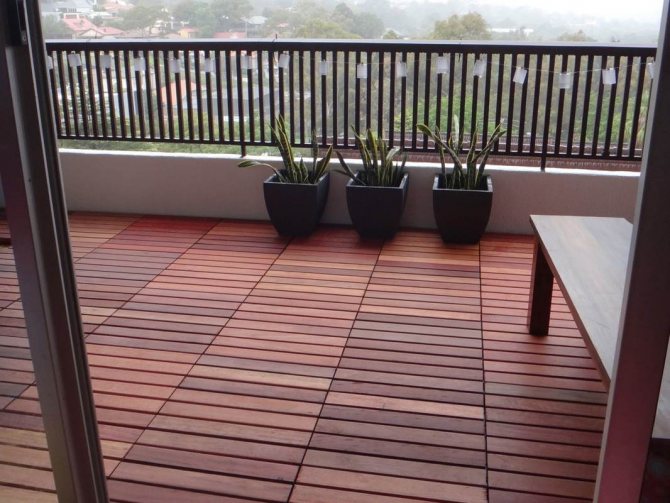
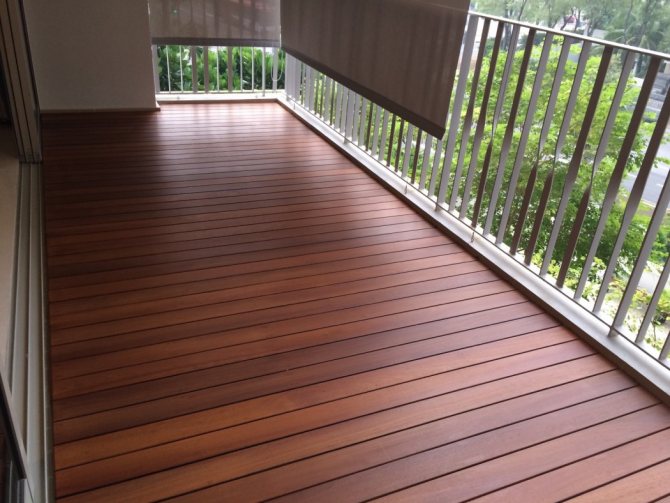
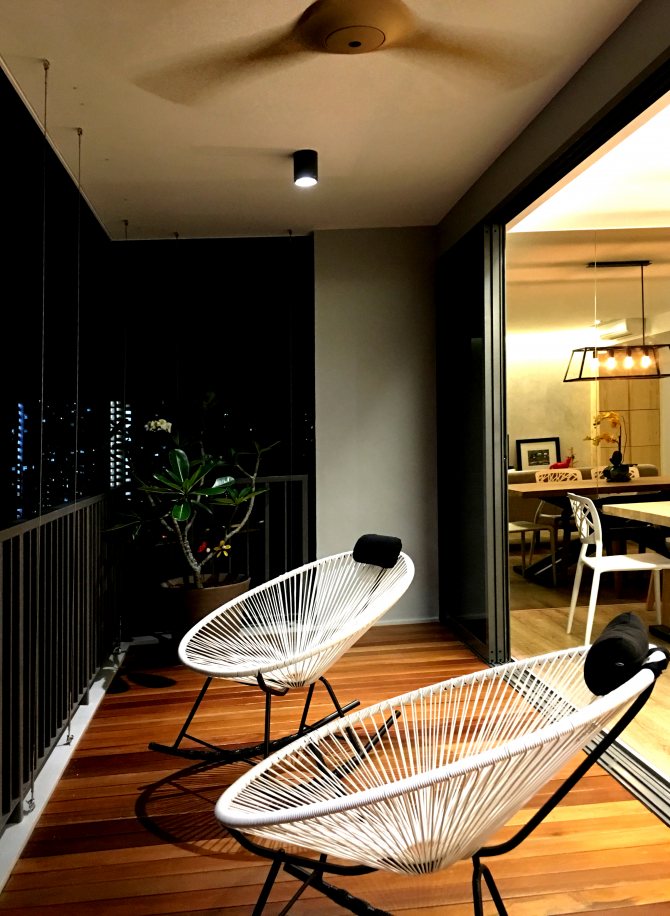
You can use laminate flooring for the entire balcony. Suitable for walls, floors, ceilings. There are no restrictions on the application. You can make a complete decoration of the room, adding aesthetics.
Finishing a balcony area with a laminate can be a nuisance in case of a sharp change in environmental conditions. It is susceptible to sudden changes in temperature, high humidity - it can easily swell and swell.
The material does not provide a high level of sound and heat insulation. Difficulties can arise due to the weight of the laminate board (more than two kilograms). It is not easy to lift and attach to a wall or ceiling; it is unlikely that you will be able to cope on your own.


Balcony cladding requirements
The decoration of the walls of the loggia has its own specifics. The requirements for it are somewhat different from those when working in other types of premises. Let's dwell on them in more detail.
- The quality of the coating is determined by its resistance to deformation during operation. To prevent the laminate from becoming cloudy and peeling in winter, it is necessary to ensure that the temperature on the balcony is at least 5 ° C. For this, the balcony must be glazed with double-glazed windows, and the walls under the laminate finish must have an additional layer of insulation.
- As with any coating containing wood, the laminate can swell under the influence of the high humidity of the loggia. An exception is a special water-resistant type of coating on a plastic base - the only option allowed for use on the balcony;
- The absence of rigid fastening of the laminate panel will provide the tolerances necessary so that, with some fluctuation in the linear dimensions, cracks do not appear on it.
- Panel fasteners should be located outside the laminate locks.
Styling features
Laying laminate flooring on the territory of the balcony requires compliance with a number of conditions. If you miss key points, you won't be able to install the panels neatly.
Remember:
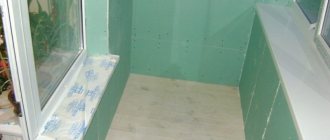
- Install only on a perfect base. You will need to make smooth, dry surfaces, without unnecessary dust and debris.
- Only carefully insulated loggias will do. The minimum allowable temperature is +5 degrees Celsius. A double-glazed window (two- or three-chamber) must be installed, walls, floors, ceiling must be insulated.
Floor material composition
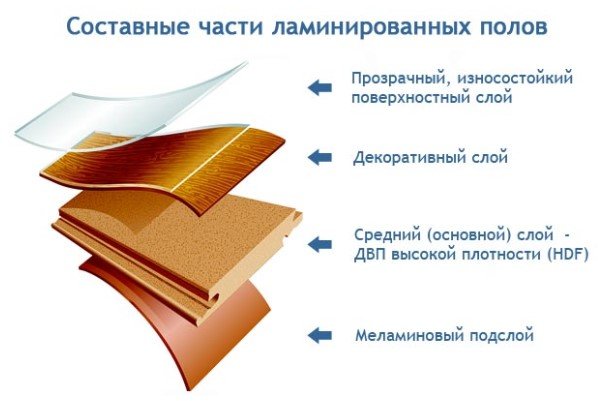
Laminate is quality panels that consist of several layers:
- protective film with special resins that protect the coating from significant mechanical damage;
- decorative film that imitates the pattern;
- base layer made of waxed paper and impregnated with special substances.
Laminate classes: which one to choose
The classification determines the technical indicators of laminate panels: moisture resistance, shock resistance, sound insulation, fatigue. Production is represented by boards of two groups: household (21-23) and commercial (31-34).
For a balcony, choose a cladding with a laminate of the second group. The service life will be about 10-15 years, with careful care it can last. If the balcony space is not insulated enough, take waterproof panels 33 or 34. Their cost is much higher, but such panels will withstand changes in temperature and humidity.
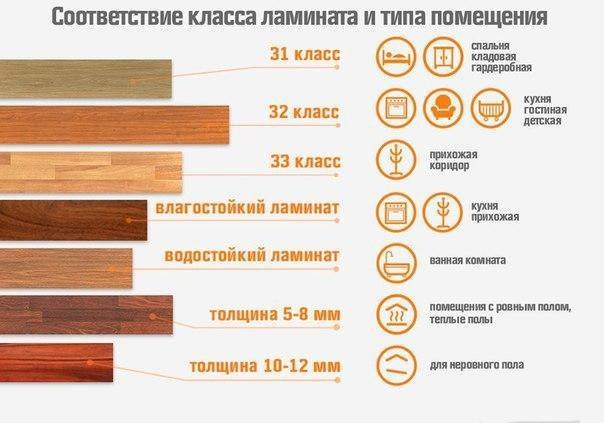
You can choose 31 or 32 classes if the windows, walls are carefully insulated, the temperature is kept to zero degrees. Their price is lower, but in terms of strength, durability, they are not inferior to other classes.
Mounting method
There are three options for fixing laminate flooring: on drywall, metal or wooden lathing. Let's analyze each installation method.
It is easiest to attach to drywall with glue, but it is not recommended to choose it. The material can withstand heavy loads, but reacts negatively to excessive moisture in the air. If you choose this method, initially choose drywall impregnated with a waterproof mixture.
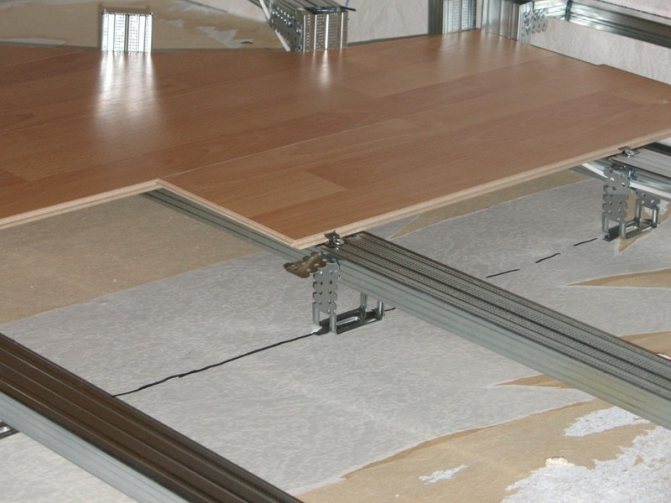
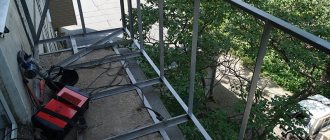
Frame made of metal profiles
Initially, you will need to prepare a flat surface. Drywall can be planted with glue, additionally strengthening with self-tapping screws, dowels. Next, glue the boards, connect the locks, placing them in the grooves. It is advisable to grease the grooves with a sealant (glue) - this will increase the resistance to moisture.
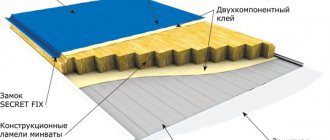
A better installation option is on the crate. The material of the lathing affects the purchase price, the term of use. Wooden bars will come out more economically, but metal profiles will last longer.
The wooden lathing is created by vertical fastening over the entire surface every 40 cm, then horizontal slats are installed on top. First, it is advisable to treat the tree with an agent that prevents the development of fungi.
Installation on a metal crate is carried out in the same way. The basis of the frame is zinc profiles. Wooden planks are also used for horizontal battens.
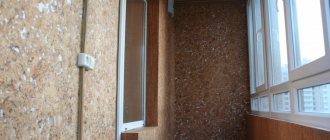
Substrate selection
The main function of the underlay is to provide a snug fit, additional protection from moisture and excess noise.
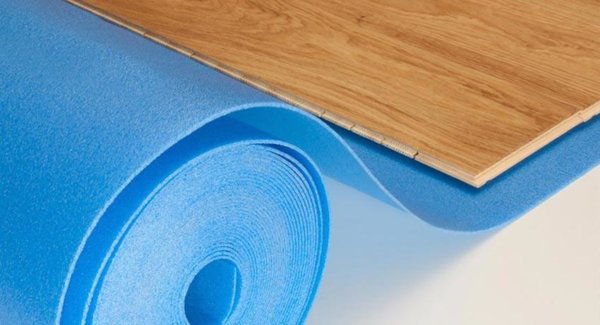
The choice of material is small, but requires attention:
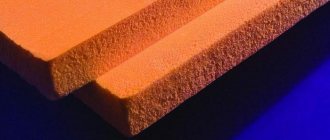
- Cork backing. Has good shock absorption, resistant to stress. This option is not suitable for a balcony - the material is susceptible to moisture. But you can use impregnations.
- Polyethylene foam (isolone). The cheapest option with increased moisture resistance. The material is fragile; it begins to deform under load. The service life is short, since it will soon lose quality.
- Expanded polystyrene (penplex, techno-nicol, styrex). It is better to choose it for installation on a balcony area. Provides sound and thermal insulation, durable, moisture resistant material. Wears out over time, like any resource.
The thickness of the substrate is different for each type: about 2-20 mm when using foamed polyethylene, 3-5 mm - expanded polystyrene.
Sequence of work
To understand the question of how to sheathe a balcony with a laminate with your own hands, we will take a closer look at the main stages of work.
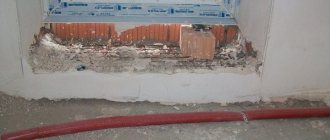
Initially, it is necessary to check the boards for compliance with quality, the subject of detection of defects. Next, prepare the surface for cladding: dismantle the old coating, eliminating irregularities, excess dirt. The depth of permissible differences is no more than 2 mm per 1 cm.
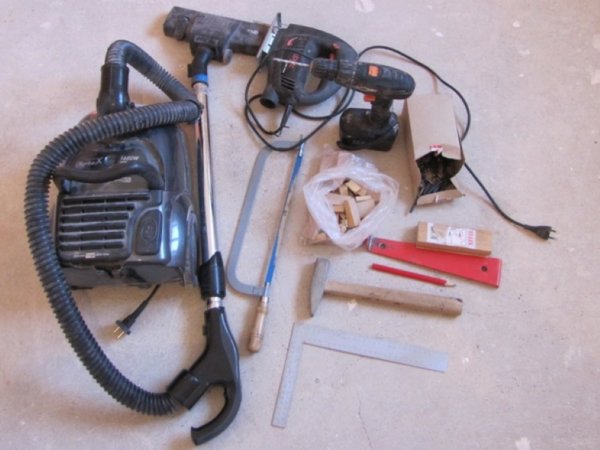
Required tools
Prepare the tools you will need when trimming your balcony:
- ruler, marker (pencil) for marks of the desired distance;
- a hacksaw or circular saw with fine teeth;
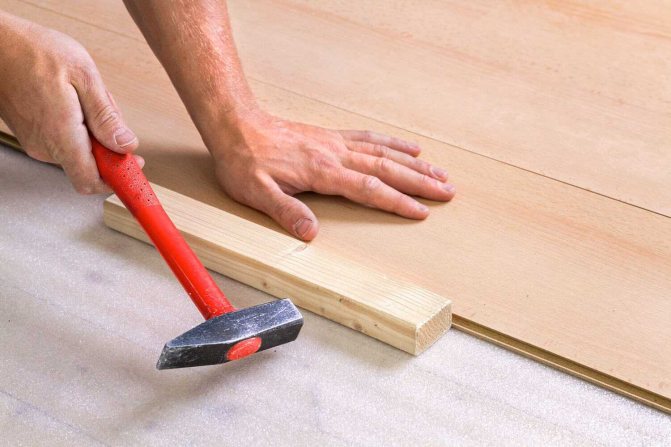
- a hammer;
- puncher;
- screwdriver, screwdrivers;
- screws, nails.
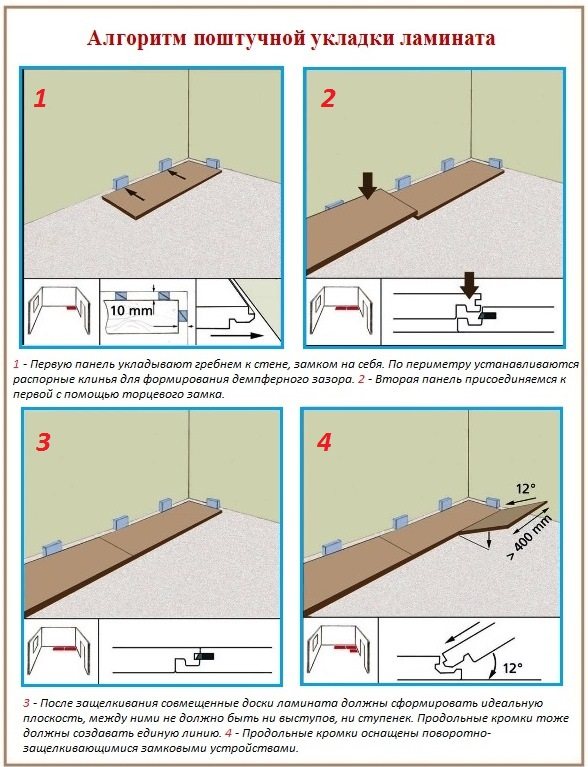
Install the substrate, prepare the frame for installation. Planks should be staggered parallel to the sun's rays. In the process, leave gaps 1-1.5 cm wide between the walls and the material using expansion wedges. The length of the plate must be at least 30 cm.
Next, you should disassemble the process separately for the device of the floor and walls, since there are different nuances of work.
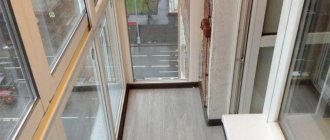
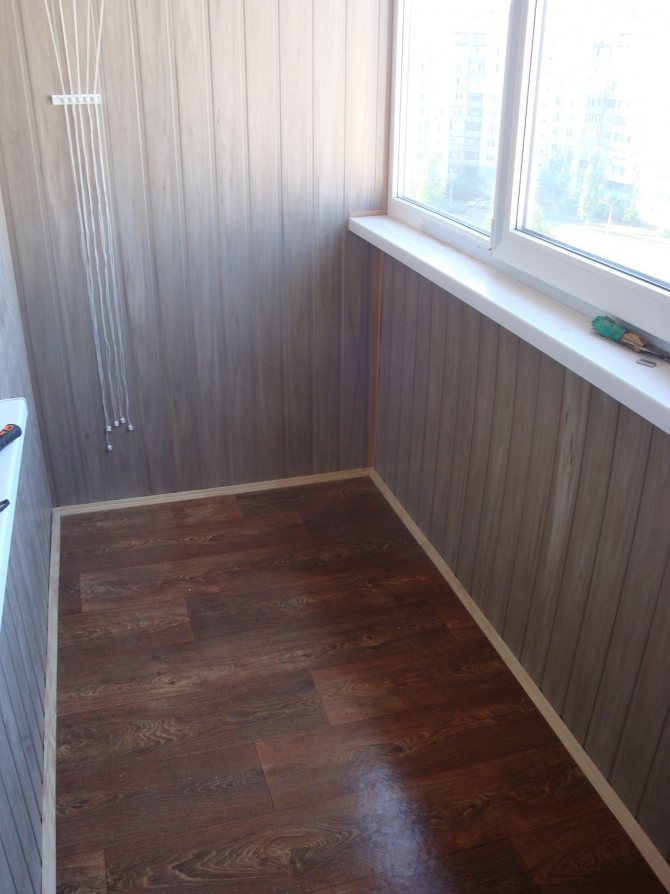
Stages of laying on the floor
To achieve a perfectly flat floor surface, you can use a concrete screed in the form of a mortar or a self-leveling type mixture. Previously, it is worth insulating with expanded polystyrene or expanded clay in order to maintain favorable conditions for the laminate all year round.
If there is a tree at the base of the floor, you need to level it with a floor log, laying plywood raised floors in a checkerboard pattern.
The next stage of finishing the balcony floor with laminate is the laying of the slabs. Previously, after leveling the floor, overlap the waterproofing film, leaving an overlap of 20-25 cm. A substrate of the selected material is installed on top.
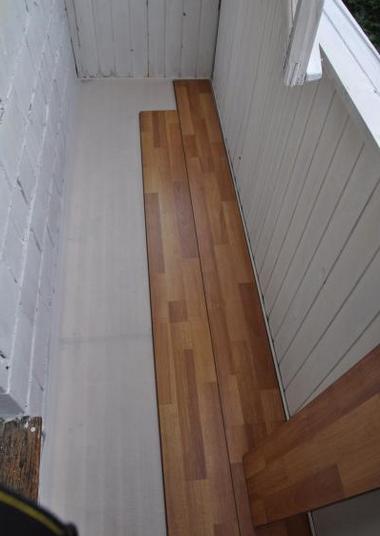
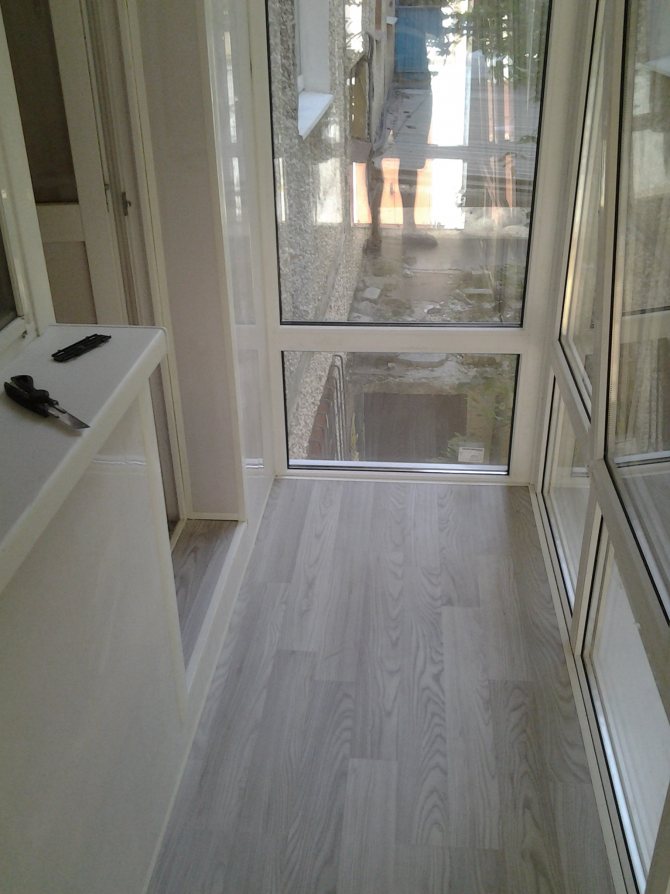
Measure the room, adjust the material. The installation of the slabs should be started from the extreme corner of the balcony. Each panel should fit snugly, the joints should be filled with sealant.
Technological sequence for cladding balcony walls with a do-it-yourself laminate
Let us analyze how the balcony is decorated with laminate panels. The method will be understood using a metal grate and fastening brackets - it is not as simple as some others, but it is suitable for wet rooms.
Required tools
To implement laying work, you will need the following items:
- Hacksaw for metal;
- Electric drill;
- Self-tapping and ordinary nails;
- 2 types of clamps - with an even protrusion and with notches;
- Square;
- Simple pencil;
- A block with which the laid out panels are adjusted;
- Ruler;
- A hammer.
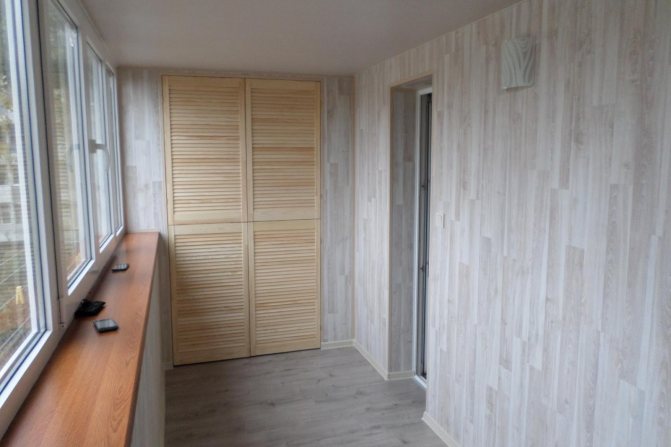
Wall decoration: order, pros and cons
Installing the plates on walls requires more attention than for flooring. It is important to take accurate measurements, choose the appropriate panel size.
You can choose any installation method:
- Lock-type panels can be fixed with glue or silicone, if you choose to fasten to a metal or wooden crate - use the lining method;
- the Click type is more reliable because it provides increased resistance to mechanical stress.
In the first case, the metal profiles (step size 0.4 m) are leveled using a building level. We fix it to the wall with dowels. Fill the resulting cells with sheet insulation. We sheathe the crate with plasterboard, forming a surface for the front finish. We fix the plates with self-tapping screws. We glue the joints with tape, process with putty.
When using Click laminate, we make a similar frame, no additional plasterboarding is required. We fasten the boards with liquid nails or a stapler, a kleimer with flat projections.
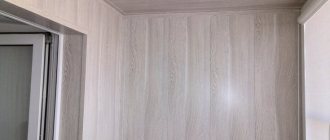
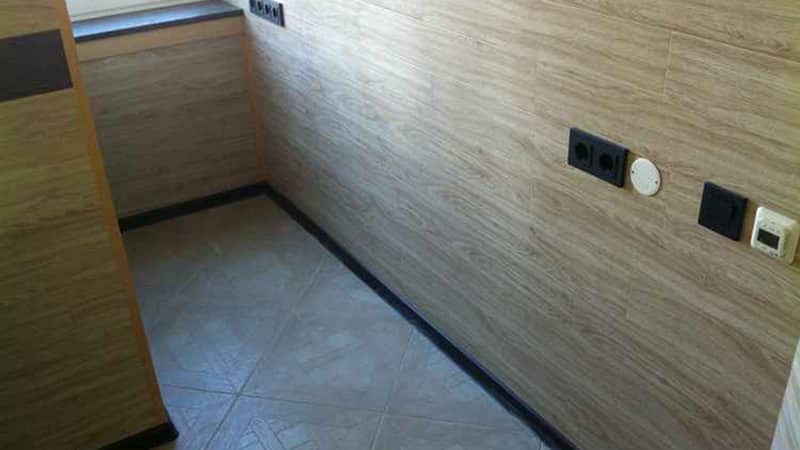
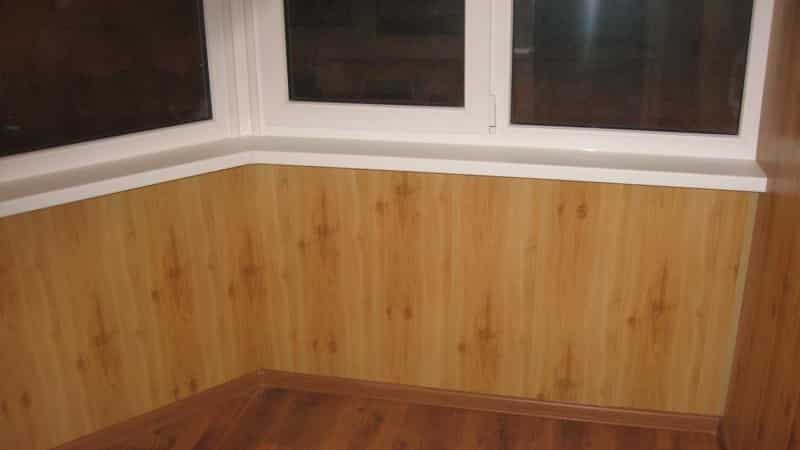
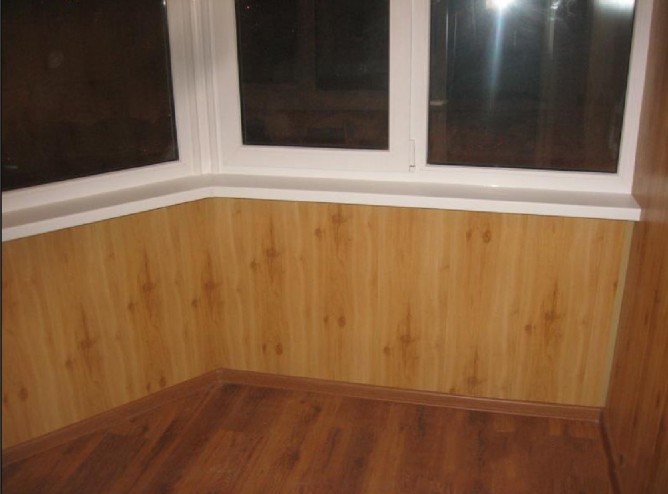
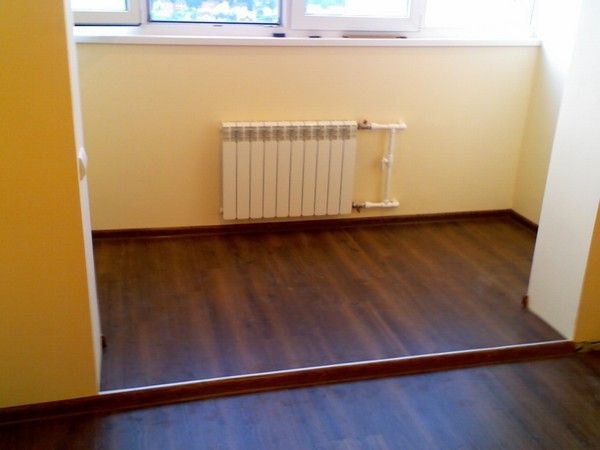
Decorating the walls of a balcony or loggia with laminate helps to refine the appearance. A functional room where rubbish is collected turns into a resting place with a view of the city or nature. You don't need special skills for wall cladding with laminate, enough time and desire. To understand is available to everyone. No additional work is required after assembly.
In order for the material to serve you fruitfully, you should carefully consider creating optimal conditions. Having insulated the balcony, additional problems will not be revealed.
Common mistakes in interior decoration
Experts note the following common mistakes that are often encountered when self-repairing a room:
- Redevelopment of the premises is carried out without prior agreement with the supervisory services.
- The owners forget about laying the vapor barrier, which leads to deterioration of the insulation.
- The inner wall of the balcony, which is adjacent to the living quarters, is insulated. You do not need to do this, since this wall is not in contact with the street.
- Installation of single double-glazed windows on a warm balcony, which significantly reduces the thermal insulation properties of the room.
Winter styling technology
If the balcony cladding is carried out during the cold months, a number of conditions for the main stages of work should be taken into account:
- perform alignment with cold-resistant additives - they can withstand up to -10 to -25 degrees (UPDM, FTS, Hydrozim, Pobedit, etc.);
- the drying period of the screed increases - it will take at least a month to gain strength;
- use wooden battens to avoid cold bridges;
- arrange a gap of 5-10 mm, additionally using a damper tape;
- insulate in two layers.
To equip the balcony for the winter, install underfloor heating. The classic installation method involves the location of the heating element on the base, then a screed is made. You will need to pre-arrange the grooves, line the surface of the logs with Penofol. It is better to choose infrared films for the "warm floor", it is much easier to lay them.
Screed alignment
The initial stage of arranging any floor covering is to level the base (balcony slab). Traditionally, for this, leveling building mixtures (self-leveling floors) are used to equip the screed. But in winter, when the air temperature is below 0 ° C, a number of conditions must be observed.

To prevent freezing and crystallization of water into ice, special additives can be added to building mixtures, which reduce the freezing threshold of water. These are:
- UPDM. An additive that allows the screed to be poured at temperatures down to -25 ° C. It not only accelerates the process of "setting" the solution, but also prevents the crystallization of water;
- FTS. Additive based on alcohols-sodium formate components. It is introduced into the water used for the preparation of cement mortar. Effective at temperatures up to -15 ° С;
- Hydrozyme. Liquid antifreeze, allowing concrete work at temperatures down to -15 ° C;
- Axol-K. A complex complex of substances of mineral and organic origin. Effective at air temperatures up to -10 ° С;
- Will win. The most suitable additive for dry mixes, which is used to accelerate the "setting" of the solution. The temperature depends on the concentration (from 2 to 8%), but not lower than -15 ° С;
- Lingopan 4. Accelerate the "setting" and subsequent loosening of concrete. It is used at temperatures down to -18 ° C.
The disadvantages of the technology for leveling the surface of the slab on the balcony (loggia), for the subsequent laying of the laminate in the winter, pouring the leveling screed - a very long drying time for the cement mixture and a set of the necessary strength. If, under conditions when the air temperature is above 0 ° C, it takes 28-30 days for a full set of strength, then in winter conditions this may take 2-3 times longer.
Exploitation
Laminate has good technical performance, but lends itself to sharp temperature changes. It is necessary to look after, carefully use the material so that it can serve for many years.
To pay attention:
- The constancy of the temperature regime. The minimum allowable temperature is 5 degrees above zero.
- Selection of waterproof options. The cellulose included in the composition exposes the plates to swelling at high humidity.
- Mount. It is not necessary to mount rigidly in order to avoid deformation of the material. Do not use laminate locks.