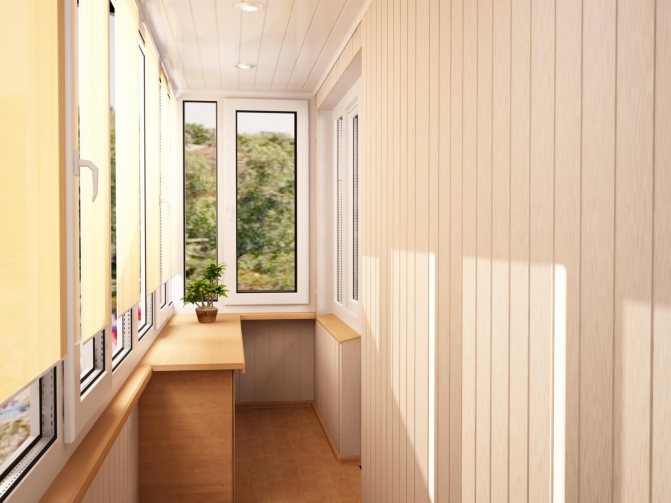
To expand the functionality of the balcony and turn it into a cozy room, it is glazed. This raises the question of how to provide waterproofing, insulate surfaces and make them more aesthetic. Experienced craftsmen recommend cladding with plastic panels. They are durable, resilient, water-resistant and wear-resistant. Let's consider how to install panels on the ceiling, and then perform hydro and thermal insulation without the help of specialists.
Pros and cons of plastic panels on the balcony
In addition to the budgetary cost and the ability to keep out moisture, PVC lining has the following positive properties:
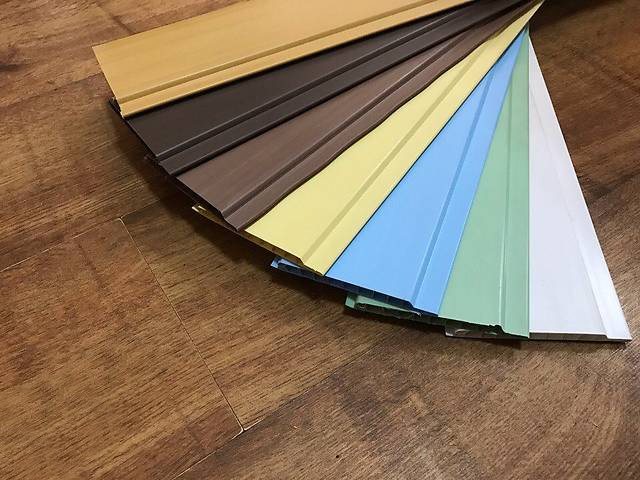
- attractive appearance, large selection of colors;
- ease of installation and maintenance;
- hygiene;
- long service life;
- the possibility of fragmentary repair;
- ability to keep warm;
- lightness, strength, resistance to mechanical stress;
- environmental friendliness;
- the possibility of frameless installation.
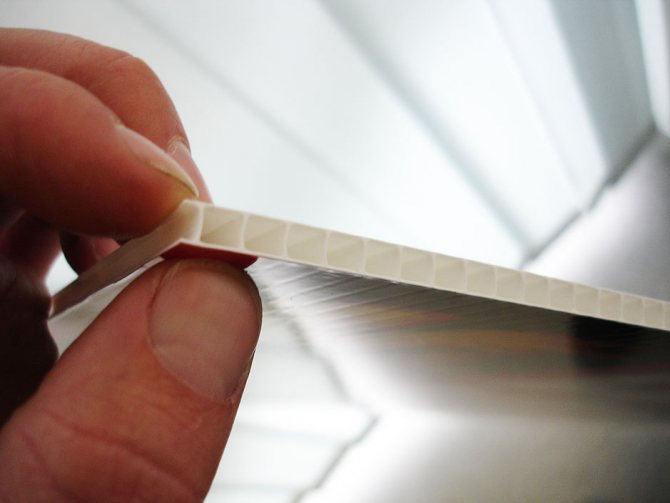
These products also have drawbacks that are taken into account when repairing a balcony. The seams between the elements remain visible, and there is no way to fix this. The plastic has a thickness and is attached to the frame, therefore, after installation, the height of the balcony will decrease slightly.
If polyvinyl chloride panels are heated to + 80 ° C, they deform, at a higher temperature they melt. In case of fire, they quickly ignite and release toxic substances. In cold weather, the material becomes brittle and cracks. Colored slabs that are exposed to direct or reflected sunlight will fade over time.
There are products with a protective coating, but they are more expensive.
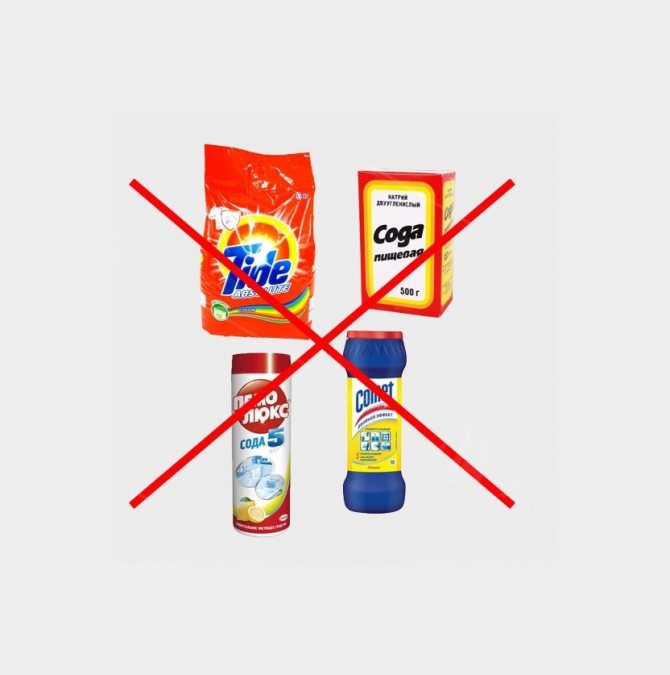
PVC boards must not be cleaned with powder containing abrasive particles, or rubbed with metal sludge with other hard brushes. This cleaning results in scratches. From accidental blows, the plastic deforms and cracks, dents appear on it. However, with careful handling, the lifespan of the ceiling made of PVC panels on the balcony will be 12-15 years.

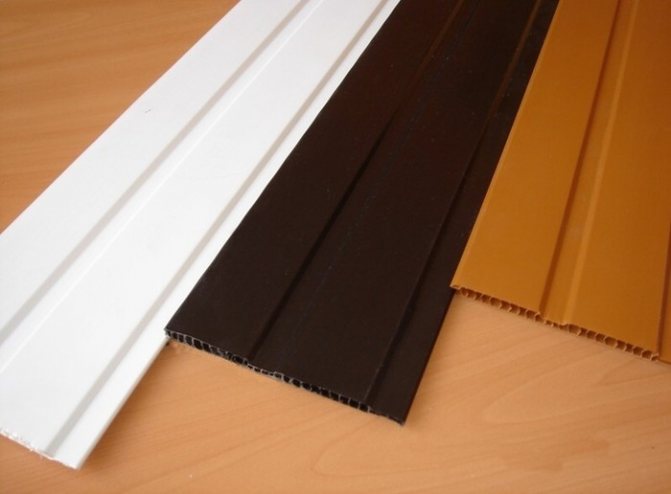
Panel features
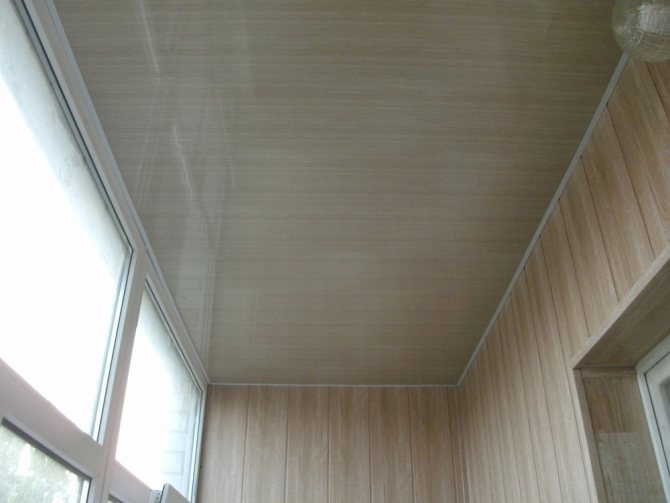
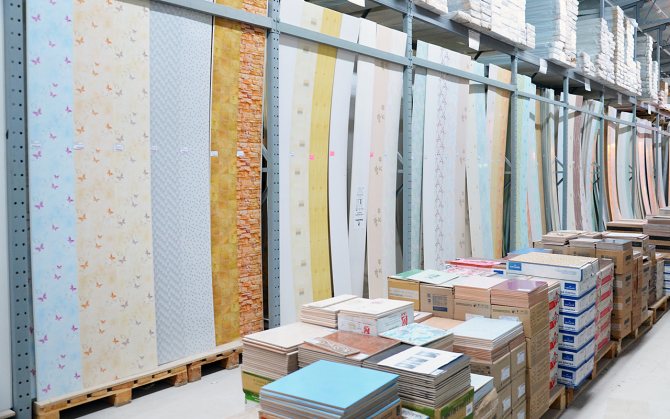
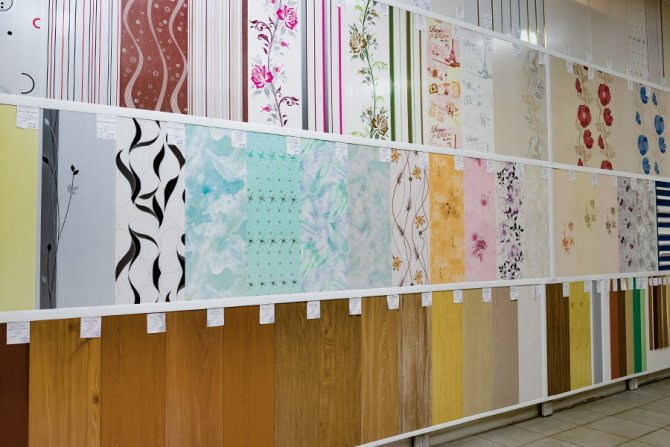
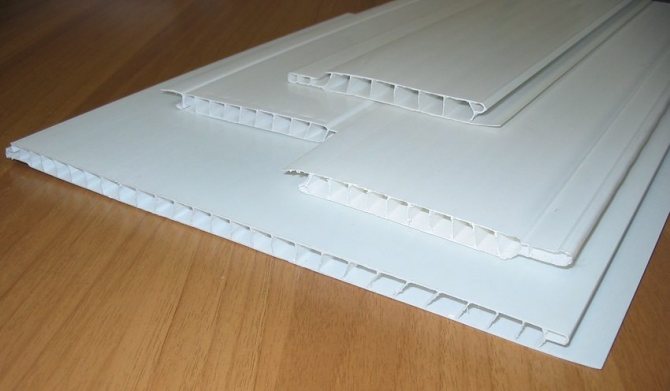
In building supermarkets, you can find a wide selection of various types of this material. There are both narrow and wide slats, the length of which is three meters. There are also longer varieties, however, the decoration of the balcony ceiling is usually made with just such plastic panels that are attached to a pre-assembled base or crate.
Parts that are made in the form of large sheets of the same material stand a little apart. They can be glued directly to the floor surface, without the use of battens. The most suitable type of adhesive for this is "liquid nails". However, significant differences in height or serious defects cannot be hidden with such a finish. Therefore, long parts, 10 to 30 centimeters wide, are more widespread.
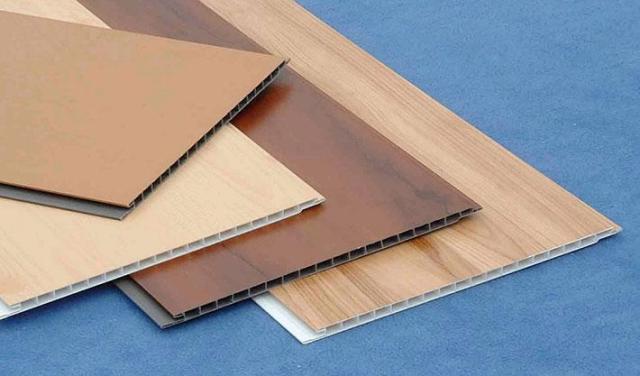
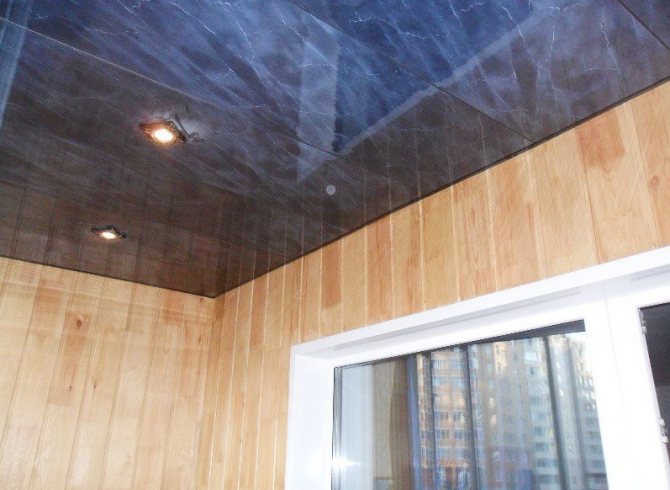
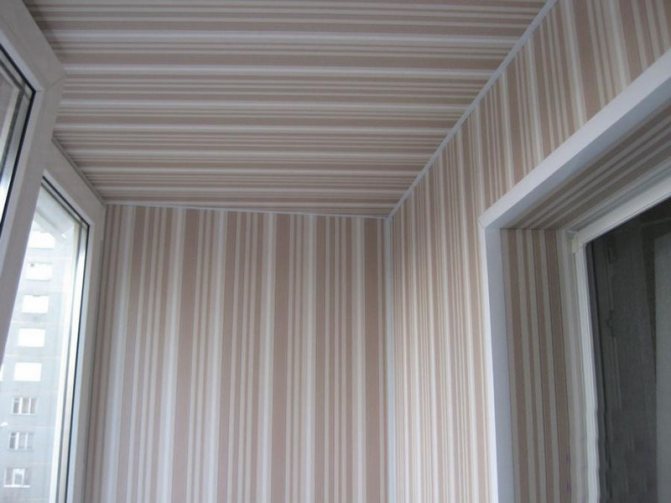
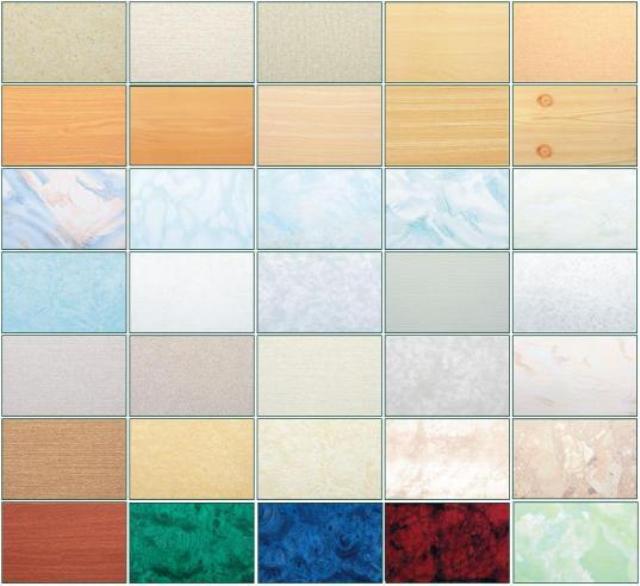
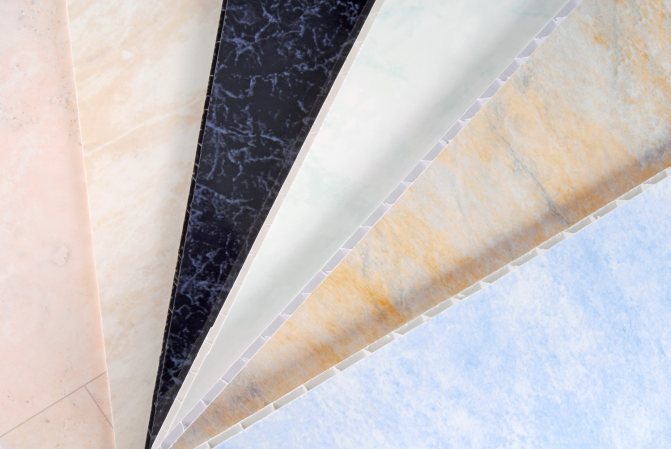
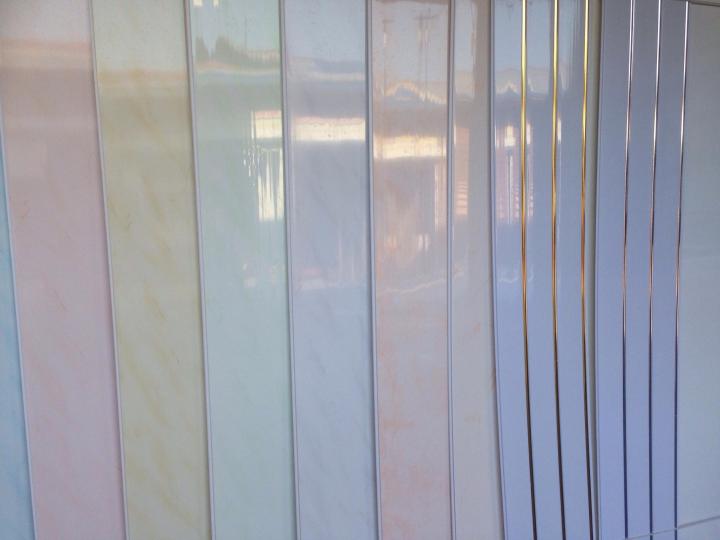
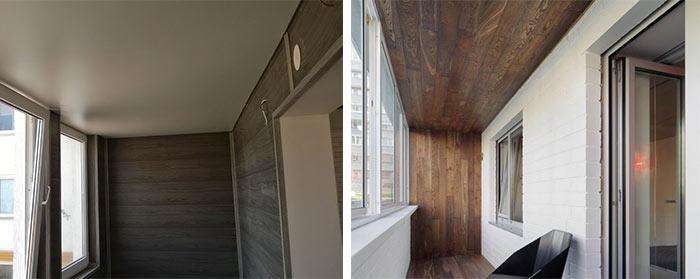
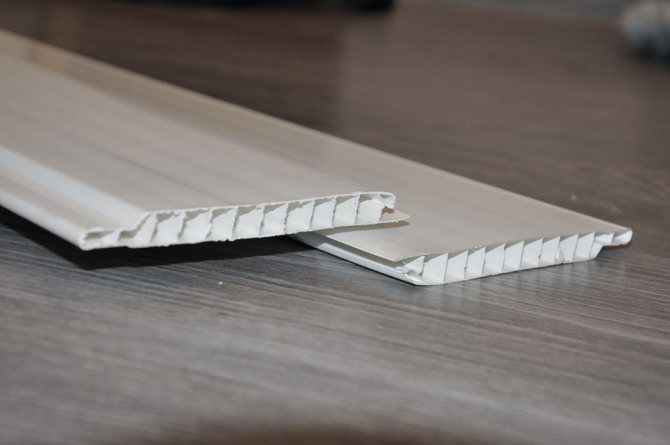
A solid surface can be assembled from such strips. To do this, you need to purchase the so-called "seamless" panels. They are distinguished by a special connecting edge, which allows parts to be joined without visible gaps. In addition, you can choose the appearance of the future coating. The wide range of colors is not limited only to monochromatic colors. There are imitations of different types of wood, various natural surfaces, such as marble or reed linen.
Often, on the balcony, it is required to insulate the ceiling, and in this, a covering of plastic panels can also help.Being a suspended structure, this design allows you to place a layer of insulating material in the ceiling space.
What types of PVC panels are best used for ceiling sheathing
For cladding a balcony ceiling in a Khrushchev with your own hands, not any slabs are suitable, but only those that are designed specifically for ceiling surfaces. Execution options:
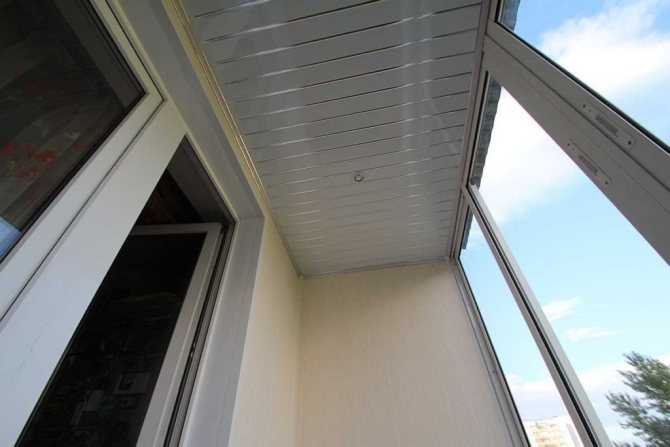
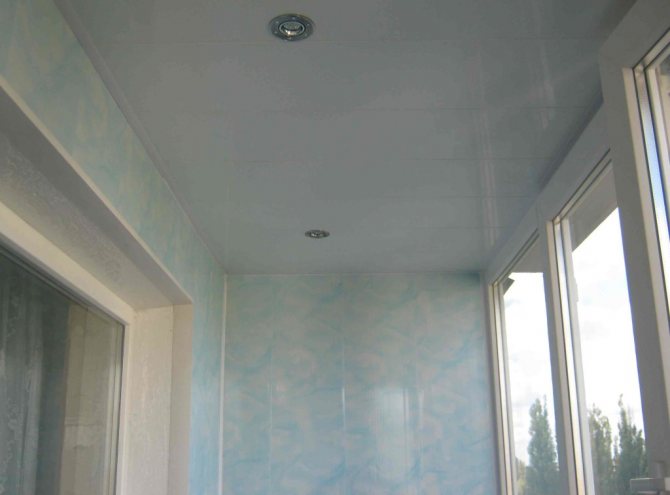
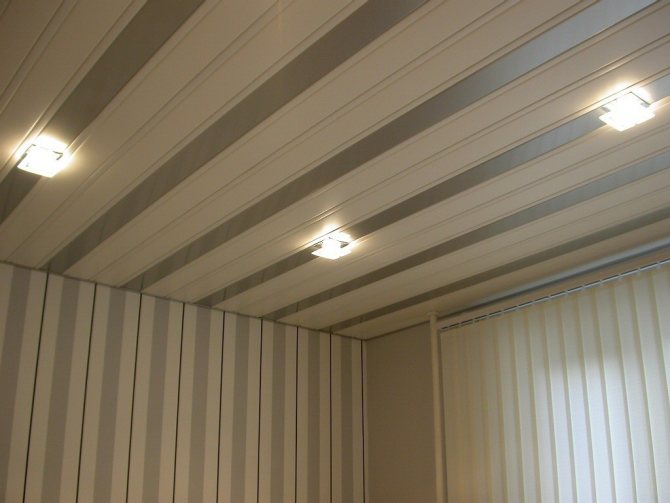
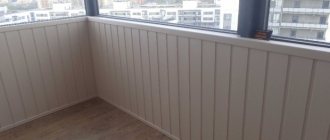
- Planks with a smooth surface. They are fastened with a lock connection, and fastened to the ceiling with brackets or self-tapping screws.
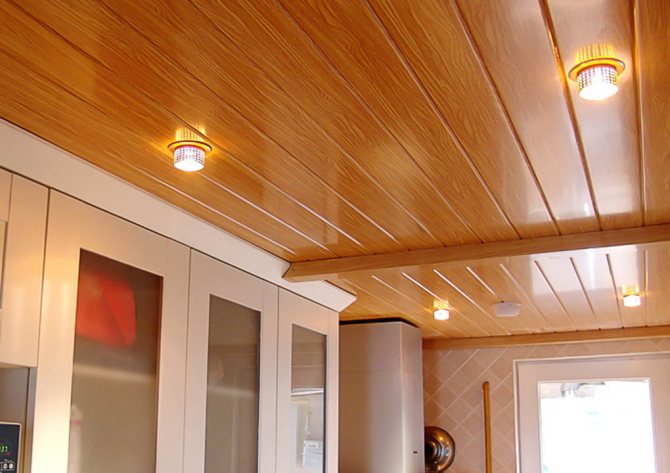
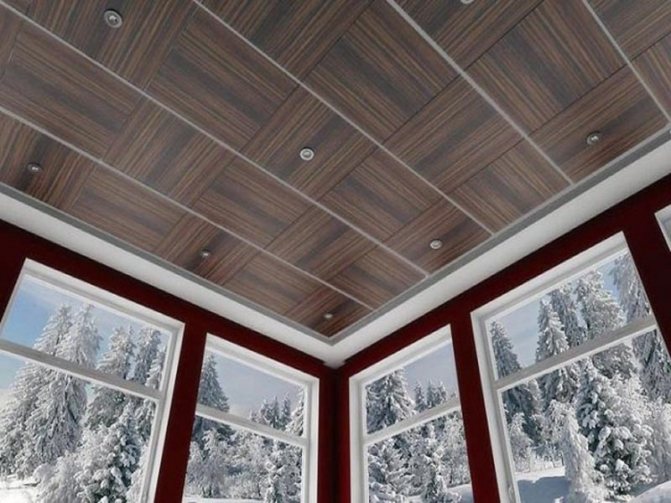
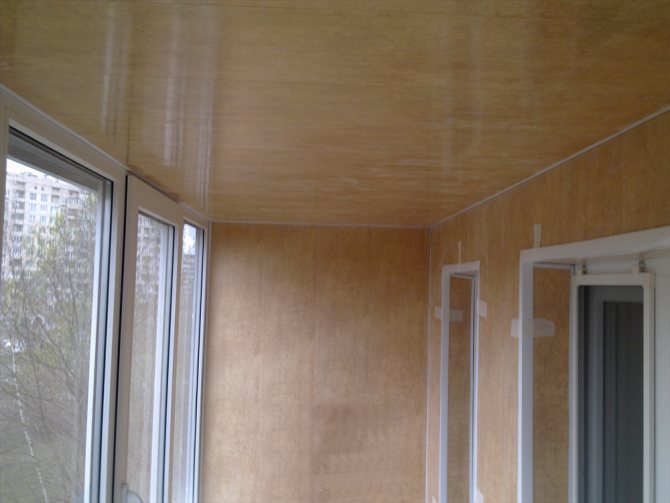
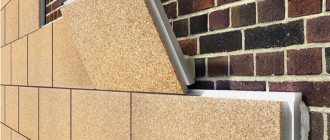
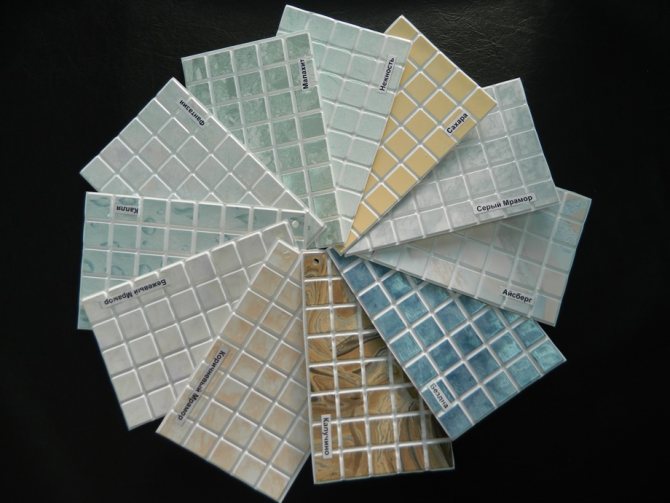
- Under the tiles. Products with imitation of decorative stone, wood and other materials are produced. The photo shows what kind of drawings are. Fastening - with liquid nails.
- Leafy. Standard dimensions in mm: 3000 × 250 × 8, 2700 × 500 × 8, 3000 × 500 × 8, 2700 × 250 × 8, 1035 × 500 × 4. Installation - on self-tapping screws.
- "Mosaic". The difference from the previous version is in size. The standard parameters of the products are 955 × 480 × 4 mm. Fastening - on self-tapping screws or liquid nails.
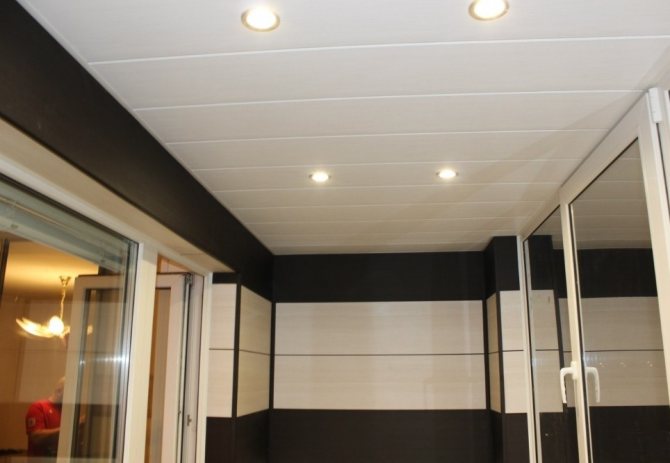
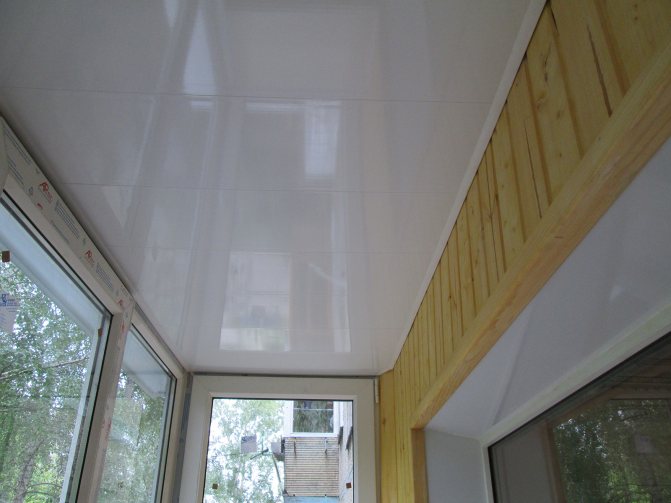
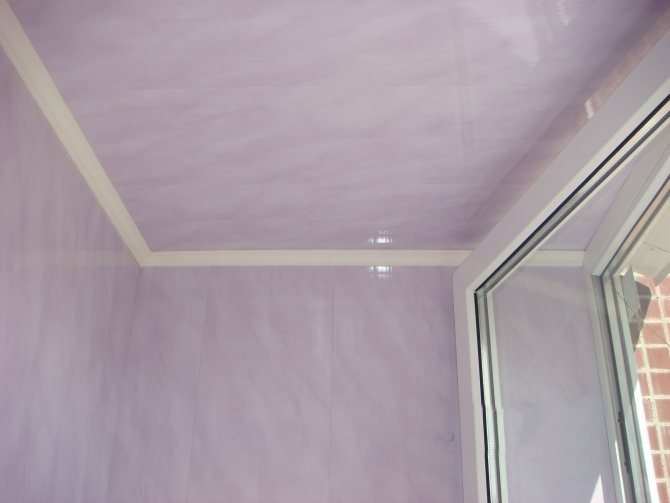
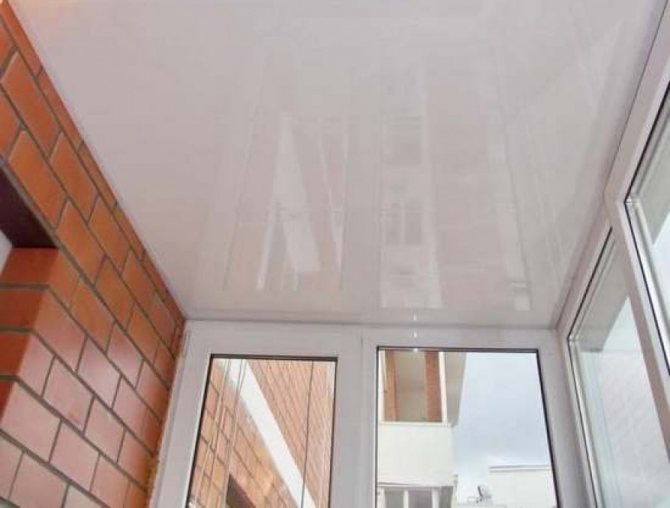
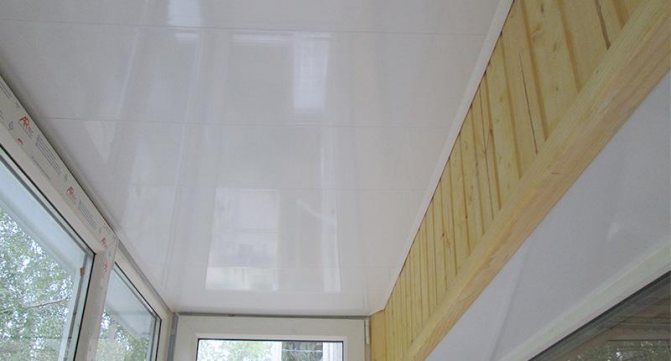
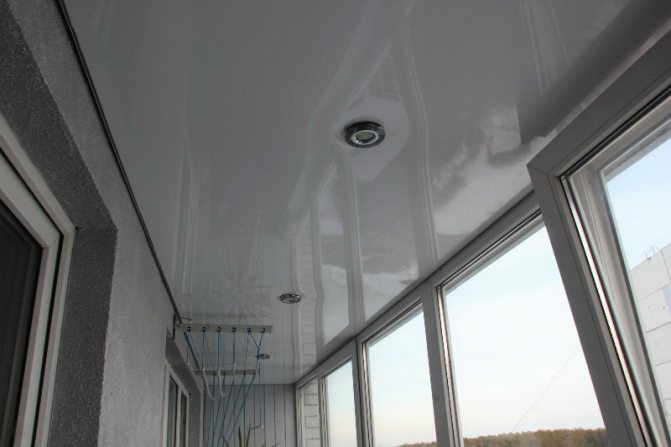
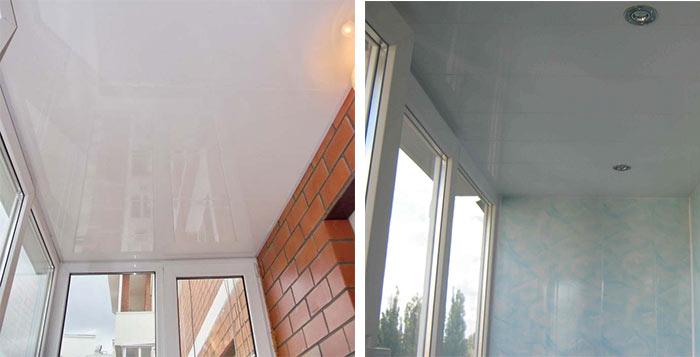
The surface of polyvinyl chloride boards can be matte or glossy. The first option is suitable for the balcony: when the backlight is turned on, such panels do not give glare. When choosing, take into account the thickness and width. Too thin products are deformed during operation, and in cold weather condensation and ice form on them.
Important! For the installation of a ceiling on a loggia of PVC panels that have a white or other light color, use fasteners of a suitable shade, otherwise they will stand out.
If the balcony is not insulated, width also matters: narrow slabs withstand temperature changes better. Sheet materials are not suitable for balconies where the ceiling has a complex configuration or defects, as they do not eliminate the flaws.

Installation procedure
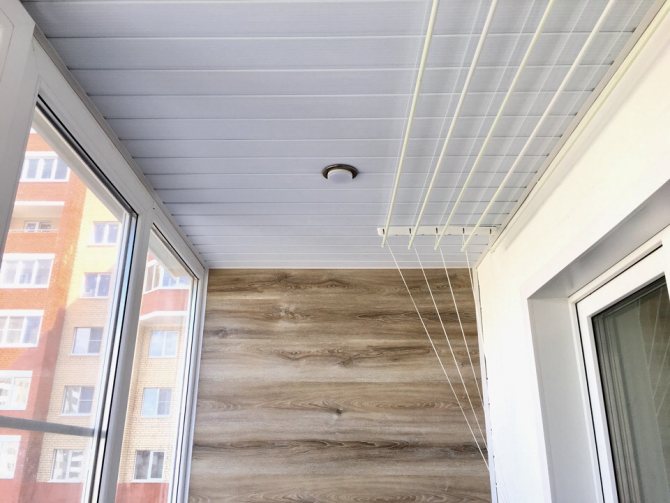
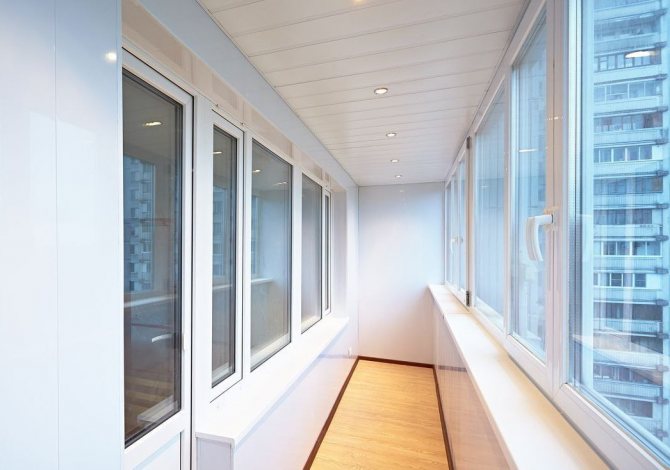
Consider how to sheathe the ceiling of a remote balcony with cold glazing with plastic panels. The elements will be fastened across. The finishing method assumes that in the future there will be a hanging dryer on the balcony. You will need tools and materials:
- pencil (you can use a dye thread instead);
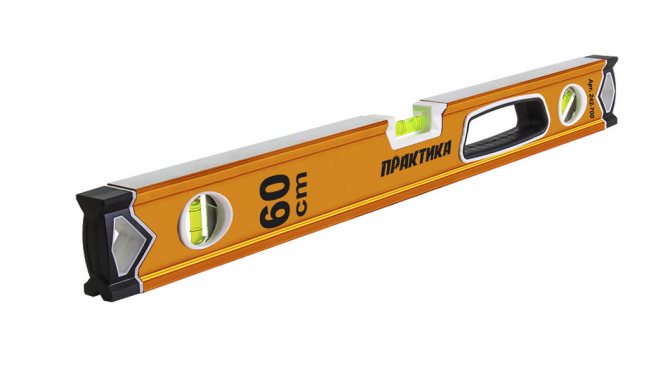
- building level;
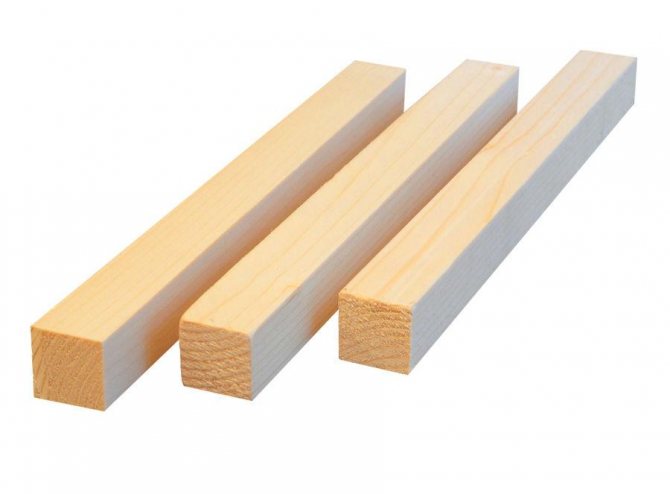
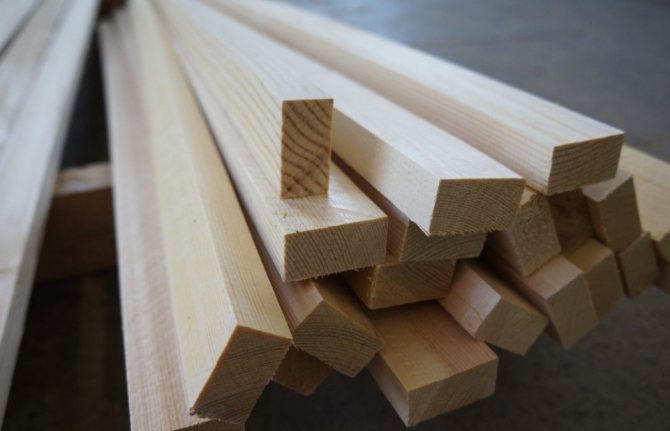
- wooden bars.

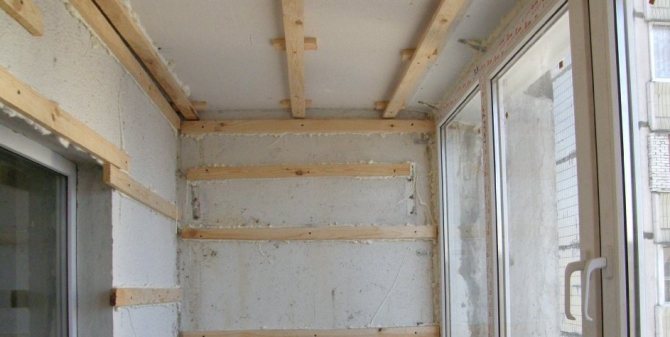
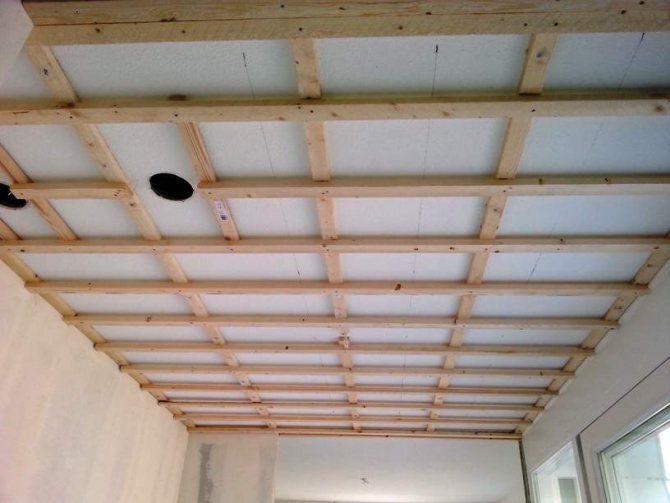
Frame device
Before installation, markup is done. The upper edge of the balcony frame is taken as the reference point. The level is transferred from it to the opposite side. Two bars are mounted across the length of the balcony - a dryer will be attached to them, and a place is chosen for it as far as possible from the entrance.
They retreat 20 cm from the window sill and draw a line perpendicular to the wall. Measure the distance from the front frame to the rear plane of the balcony, add 1 cm and saw off 2 pieces of timber of this length. These are embedded elements. The first is mounted along the line that was drawn earlier. The second block is fixed in parallel, so that the distance between the centers of it and the other element is equal to the length of the dryer.

Further, the installation of the remaining embedded parts is carried out. They are also sawed off with a hacksaw from a long bar.
On a note! In the process of fastening, the level is monitored: all elements are aligned so that they are in the same plane.
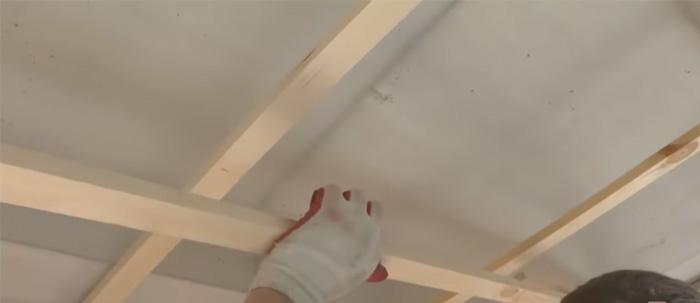
It is better to assemble the frame from wooden blocks, and not from metal profiles. The metal rusts over time and stains appear on the panels. The suitable size of the timber is 20x45 mm. The slats are reinforced along the balcony: one is mounted close to the wall, the second - in the center of the ceiling.
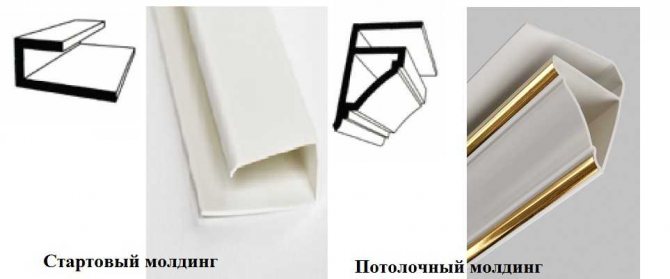
Installation of the starting strip
The starting plastic strip is a profile in the form of the letter "p". This element along the perimeter is attached with a stapler to a wooden frame, and the ends of the panels are inserted into the groove. In the front part of the balcony, as well as on the sides, the strip is fastened with self-tapping screws for metal, observing a step of 13-14 cm. If the profile is short, fastening is performed end-to-end, trying not to see the gap. The connection in the corners is made with an overlap.
Fastening panels
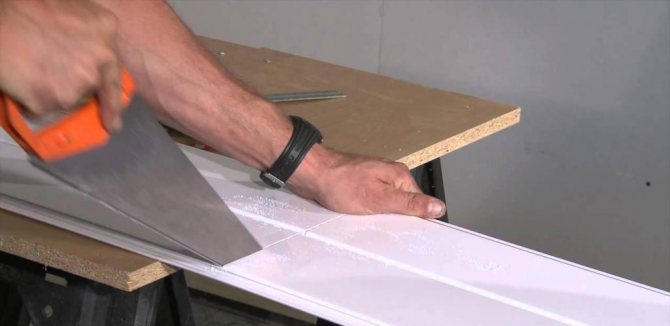
When the starting strip is reinforced around the entire perimeter, measure the distance from the front frame to the rear wall. Cut strips 1 cm shorter from the panels to leave small gaps. They are needed because as the temperature rises, the PVC panels become slightly longer.
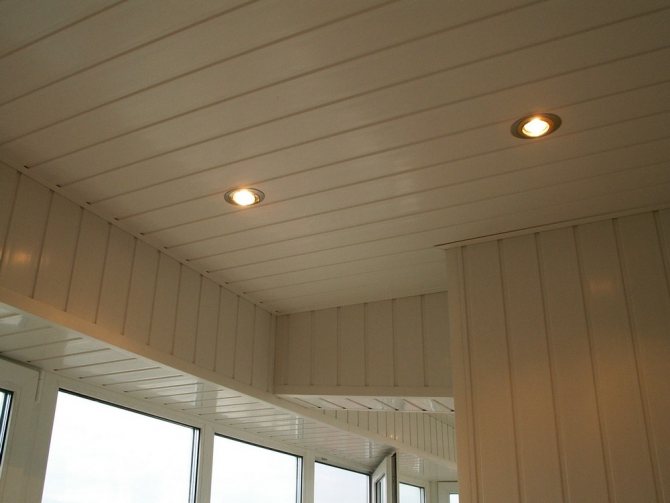
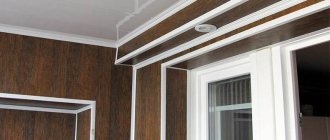
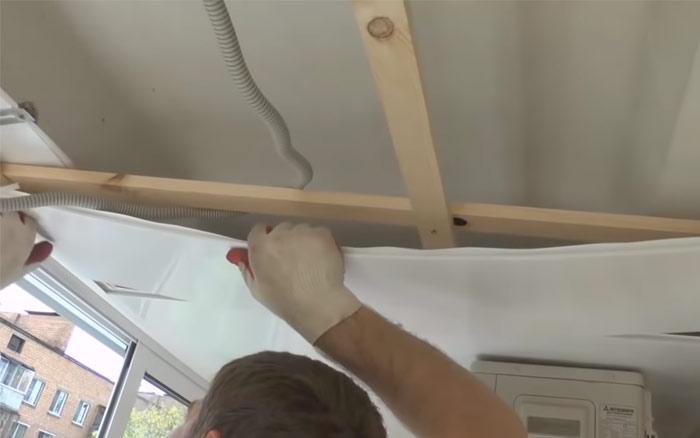
The ceiling cladding on the balcony is made of PVC panels from the entrance side. The protrusion of each subsequent panel is inserted into the groove of the previous one. The location of the bars for attaching the dryer is marked in advance on the back wall and window.
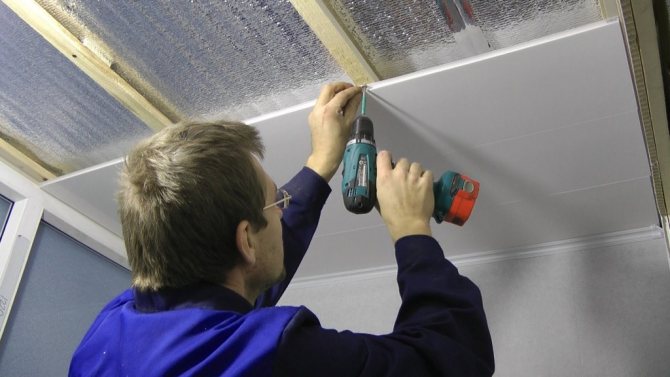
The slabs are fastened to the central element of the frame with staples using a construction stapler. Difficulty may arise when installing the last element. It must be measured and cut off especially carefully so that the dimensions match exactly. A wide, blunt-edged trowel is used to install this panel. First, it is brought up to the stop in the starting strip, while the edge will go into the groove by 8-10 mm, then it is pushed back to the opposite side.
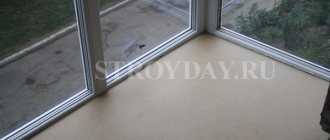
Balcony or loggia floor lathing
The floor of the balcony should also be insulated in order to reduce heat loss. To do this, you will need a wooden beam with a cross section of at least 50 x 50 mm, the segments of which are laid in increments of no more than 500 mm perpendicular to the front wall and fixed on a concrete base. These wooden elements will act as lags. The space between them can be covered with expanded clay, mineral wool mats or foam sheets of appropriate thickness can be placed in it. After that, an ordinary floorboard is laid along the logs. Sometimes plywood, up to 20 mm thick, or chipboard is used. After that, the resulting subfloor can be of your choice and the owner's taste is covered with linoleum, laminate, putty and painted with oil paint. It may happen that the height of the floor on the balcony and in the adjacent room will not be at the same level, and the difference between them will be significant. Then you need to arrange a sill step from the inside or from the outside of the doorway, using concrete, brick or wooden beams for this purpose.
Hydro and thermal insulation of the ceiling on the loggia
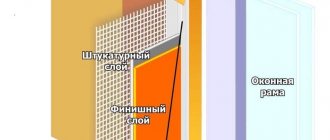
Waterproofing and thermal insulation is carried out before the beginning of the ceiling sheathing on the balcony with plastic panels. To protect the structure well from moisture, all problem joints are filled with a sealant. If there are gaps, they are also sealed.
The open neighbor's balcony, which is located above, is examined with the consent of the tenants. Found problem areas are put in order. If this is not done, the water from the neighbor's balcony will drain and after a while will begin to seep through the sealant.
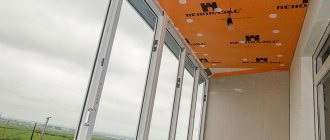
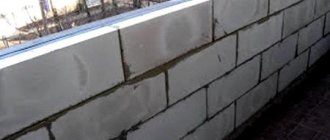
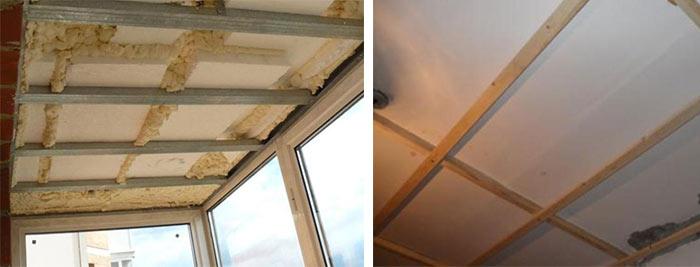
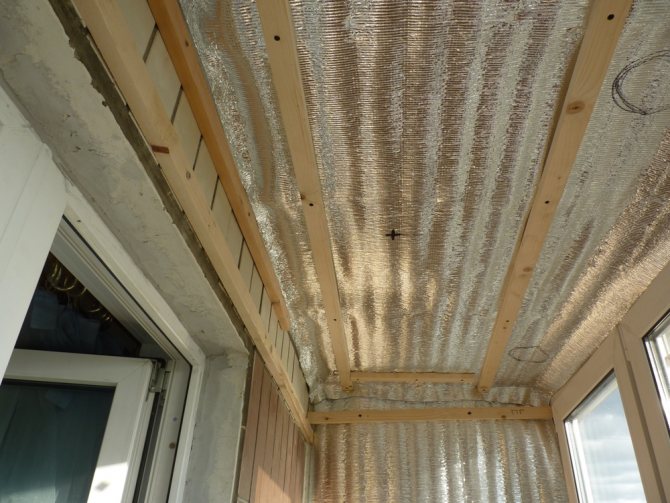
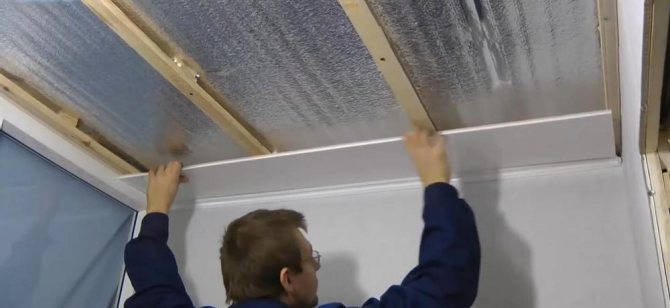
If there is an unheated balcony on top, thermal insulation is indispensable. It is done step by step in the following sequence:
- A waterproofing membrane is attached to the ceiling.
- Mount the frame as described above.
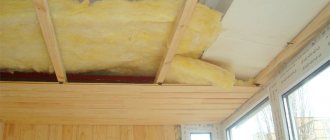
- Fill the space between the bars with insulation.
- The material is fixed with transverse slats or threads, tying them to the nails driven into the bars.
- Strengthen the vapor barrier membrane by turning it with the rough side outward.
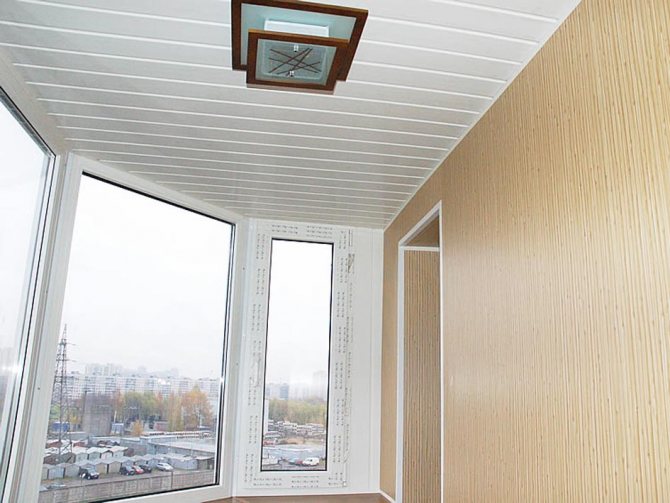
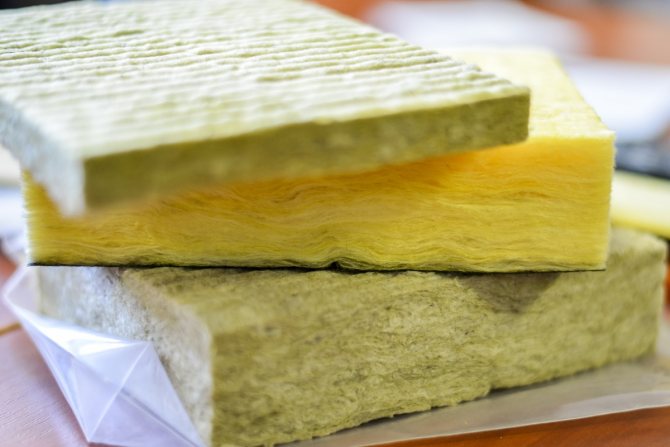
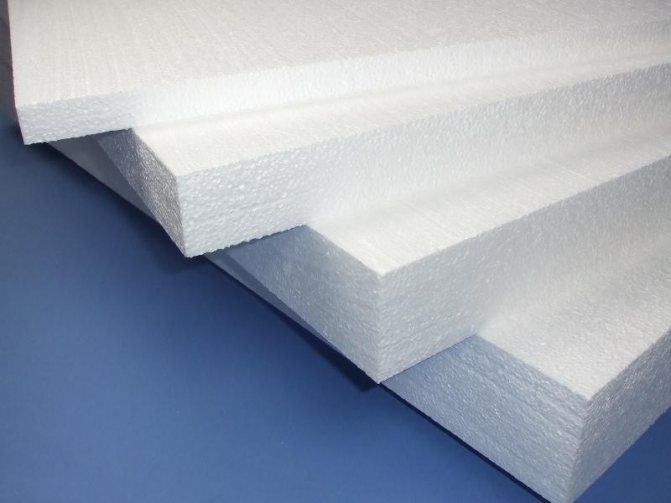
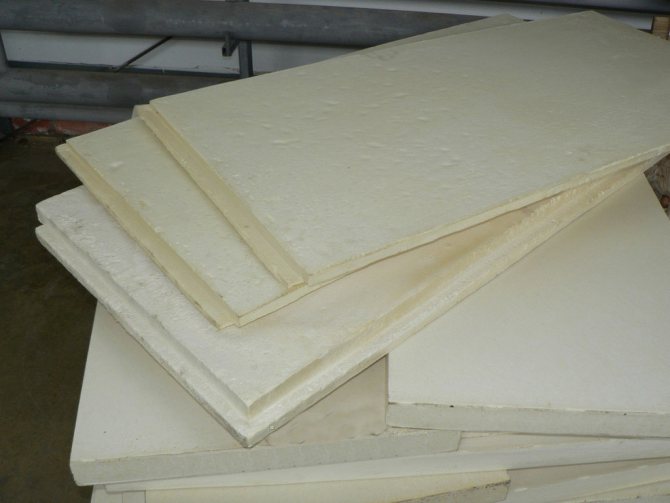
As a heater, polyurethane foam plates, polystyrene foam or mineral wool are used. Voids and corners are sealed with polyurethane foam. Finally, trim the edges with a ceiling plinth.
If all the recommendations are followed, the installation of plastic panels will not cause difficulties. If everything is done carefully, the balcony ceiling will be smooth, airtight and beautiful.
Read more: The better to finish the ceiling on the balcony
Preparatory work and selection of tools
Before starting work on lining the ceiling with plastic panels, the surface of the ceiling must be leveled and then measured. Plastic is purchased with a 10% margin. Insulation panels are also purchased if necessary. During the installation process, you will also need:
Ceiling plinth for plastic panels
- mounting plastic strip (corner 90 °) in an amount equal to the perimeter of the ceiling;
- ceiling plastic skirting board (in the same quantity);
- corners and joints for joining the skirting board around the perimeter;
- self-tapping screws with a press washer for fastening plastic.
Purchase plastic panels only from trusted manufacturers. High-quality plastic will not dry out and crumble. In addition, dense panels will not show through.
If it is wet on your balcony or loggia, then it is better to make a metal frame with a guide and a ceiling profile (as for drywall). The profile is fixed to the ceiling with straight hangers. If the balcony is qualitatively insulated and dry, then for the lathing under the plastic panels, you can use a wooden bar attached to the ceiling with self-tapping screws and dowels in 1 meter increments.
Required tools include:
- level (water, laser);
- upholstery painting thread;
- hammer drill or hammer drill;
- screwdriver;
- hacksaw for metal or wood;
- clerical or construction knife;
- building corner;
- pencil,
- yardstick;
- a hammer.